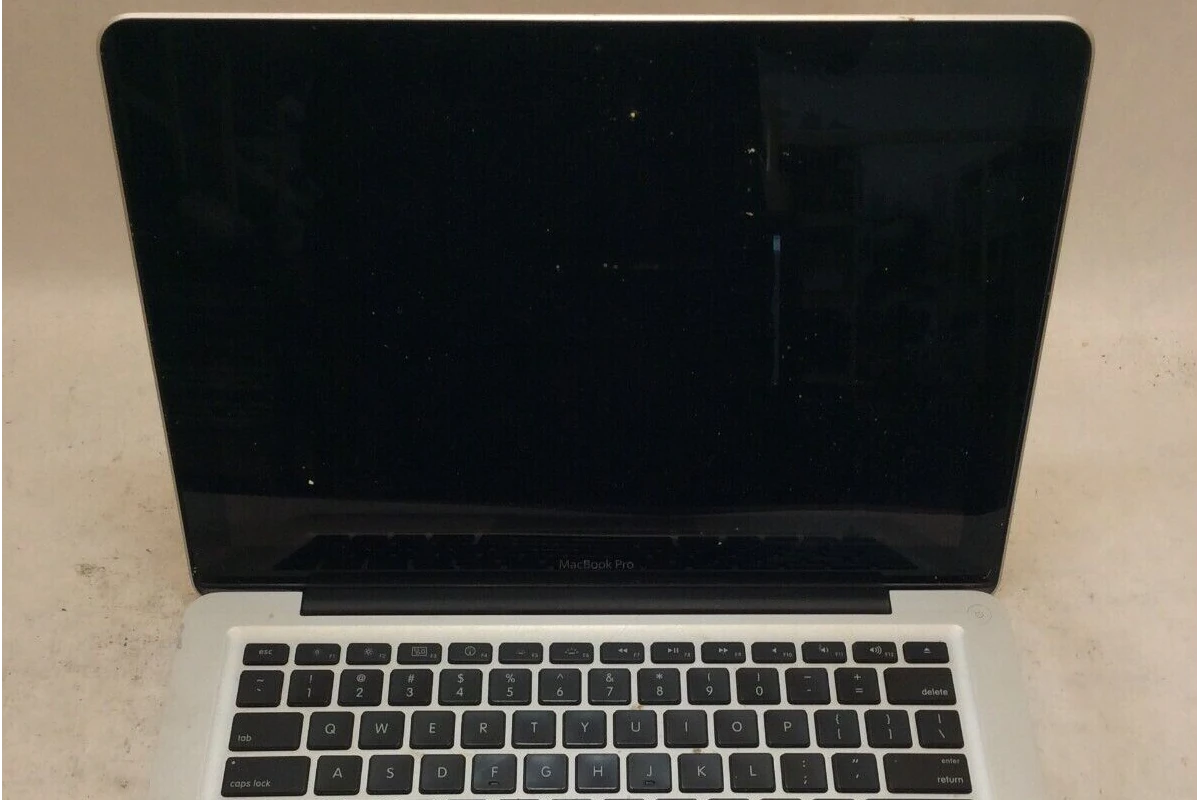
Upgrading a MacBook Pro with a new SSD should be an exciting step toward better performance, but it can come with unexpected issues. One such problem users may encounter is the MacBook Pro not booting after the SSD installation. This situation can occur for several reasons such as the need for the drive to be formatted correctly, a firmware update might be necessary, or the need to use Disk Utility to set up the new SSD.
The process of upgrading to an SSD is aimed at enhancing the computer’s speed and storage capacity. When a MacBook Pro doesn’t boot after an SSD upgrade, it usually displays a white screen or an Apple logo without progressing further. It’s crucial to approach this issue methodically, checking connections, the format of the SSD, and ensuring compatibility between the SSD and the MacBook Pro’s hardware. Sometimes, the problem requires initializing the SSD using Disk Utility to make sure the MacBook Pro recognizes the new drive.
Troubleshooting a MacBook Pro That Won’t Boot After an SSD Upgrade
Here’s a breakdown of the common issues that occur when upgrading the SSD in your MacBook Pro. If your MacBook doesn’t boot after installing a new SSD, try some of these solutions:
Potential Causes and Solutions
- Incorrect Installation:
- Check the connection: Double-check that the SSD is seated correctly in its slot and firmly connected.
- Reset NVRAM: Reset your Mac’s Non-Volatile Random-Access Memory (NVRAM) to potentially resolve boot issues. Follow these steps on Apple’s website: https://support.apple.com/en-us/102539
- Incompatible SSD:
- Confirm Compatibility: Make sure your new SSD is compatible with your MacBook Pro model. Consult the manufacturer’s website or seek support to ensure you’re using a supported SSD.
- Faulty SSD:
- Test Elsewhere: If possible, try plugging the SSD into a different computer or using an external enclosure to test if it’s working correctly.
- macOS Not Installed:
- Boot into Internet Recovery: Hold Command+Option+R while booting to access Internet Recovery.
- Reformat and Reinstall macOS: From Internet Recovery, format the SSD and reinstall macOS. See Apple’s guide for more information: https://support.apple.com/guide/mac-help/erase-and-reinstall-macos-mh27903/mac
- Hardware Issues
- SATA Cable Failure: MacBook Pros, especially the 2011 model, are known for SATA cable failures. Symptoms are similar to a failed SSD.
- Replacement: Consider replacing the SATA cable. They are relatively inexpensive and you can find guides on https://www.ifixit.com.
- RadeonGate Failure: The 2011 15-inch and 17-inch MacBook Pros had widespread graphics card (GPU) issues, known as “RadeonGate”.
- Apple Repair Program (expired): Unfortunately, Apple’s repair program for this issue is no longer available.
- Workarounds:
- Disabling the discrete GPU: There are advanced workarounds to force the Mac to use only the integrated GPU. These require technical expertise.
- Reflowing the GPU: Some repair shops offer reflowing services, but this is only a temporary fix.
- SATA Cable Failure: MacBook Pros, especially the 2011 model, are known for SATA cable failures. Symptoms are similar to a failed SSD.

Troubleshooting Guide
| Problem | Potential Solutions |
|---|---|
| SSD not detected | Ensure the SSD is connected properly. Reset NVRAM. Confirm SSD compatibility. |
| macOS not found or unbootable | Boot into Internet Recovery and reinstall macOS |
| Slow performance or errors after SSD upgrade | Check SSD health. Consider replacing the SATA cable. |
| Persistent issues despite troubleshooting | Suspect RadeonGate failure (2011 models) or other hardware problems. Seek professional repair. |
Important Notes:
- Seek Professional Help: If you are uncomfortable attempting repairs yourself, always seek assistance from an Apple Authorized Service Provider or a reputable repair shop.
- Data Backup: Before any hardware change or reformatting, make a backup of your important data.
Key Takeaways
- Upgrading to a new SSD can lead to booting issues which require troubleshooting.
- Proper SSD formatting and firmware updates are essential in resolving boot problems.
- Using Disk Utility assists with SSD recognition and system restoration.
Troubleshooting Boot Issues After SSD Installation
When installing a new SSD into a MacBook, booting problems can be common. It’s crucial to follow precise steps to resolve these issues.
Verifying the SSD Connection and Installation
First, ensure that the SSD is properly seated. Turn off the MacBook, then open it up to check the SSD’s connection. It should fit snugly and securely. If the MacBook still doesn’t recognize the SSD, try reseating it or testing the drive in another Mac to rule out a defective SSD.
Accessing Recovery Mode and Disk Utility
If the connection is secure, boot into Recovery Mode by pressing Command (⌘) + R when you turn on the Mac. Once there, use Disk Utility. Look for the SSD in the sidebar and select it. Then, click on First Aid to repair the disk. If the disk is not visible, it might need to be formatted.
Performing Firmware Update and PRAM Reset
A firmware update may be necessary if you’ve installed a new SSD. Check the Apple website for any available updates for your MacBook model. After updating, reset the Parameter RAM (PRAM) by turning on the Mac and immediately holding Option + Command (⌘) + P + R for about 20 seconds.
Using Internet Recovery and External Drives
If the MacBook still won’t boot, use Internet Recovery by holding Command (⌘) + Option + R at startup. This allows you to reinstall macOS. Alternatively, you can also use a bootable installer on a USB or external drive to run the operating system.
Reinstalling MacOS and Migrating Data
If other steps fail, reinstall macOS. Start from Recovery Mode and choose “Reinstall macOS” from the utilities window. Once the OS installs, you can migrate your data back onto the MacBook using Time Machine or a manual copy if you had previously backed up your files.
Frequently Asked Questions
Installing a new solid-state drive (SSD) in a MacBook can sometimes lead to startup issues. This section provides clear answers to common queries that arise during such upgrades.
What are the steps to enable my MacBook to recognize a newly installed SSD?
First, confirm the SSD is properly seated in the connection. Next, reset the MacBook’s NVRAM (Non-Volatile Random-Access Memory) by turning on the laptop and immediately pressing and holding the Option, Command, P, and R keys.
Why does my MacBook fail to start up after an SSD upgrade?
Upgrade-related startup issues can happen if the SSD is not compatible or if the necessary firmware updates haven’t been applied. Make sure the SSD is suitable for your MacBook and check for any pending firmware updates.
Can you outline the boot process for a Mac after installing a new solid-state drive?
After an SSD installation, the boot process involves powering on the MacBook and holding down the Command and R keys. This boots the Mac into Recovery Mode, where you can install the operating system onto the new SSD.
How do I resolve issues with a MacBook not detecting a newly installed SSD?
Ensure that the SSD is compatible and properly connected. If the MacBook still doesn’t recognize the SSD, try booting in Recovery Mode to see if the drive is detected in Disk Utility.
What is the proper procedure to follow when a new SSD causes boot problems on a MacBook?
Check compatibility and connection issues first. Use Recovery Mode to access Disk Utility for drive detection and formatting. If problems persist, seek professional assistance or refer to Apple’s support resources.