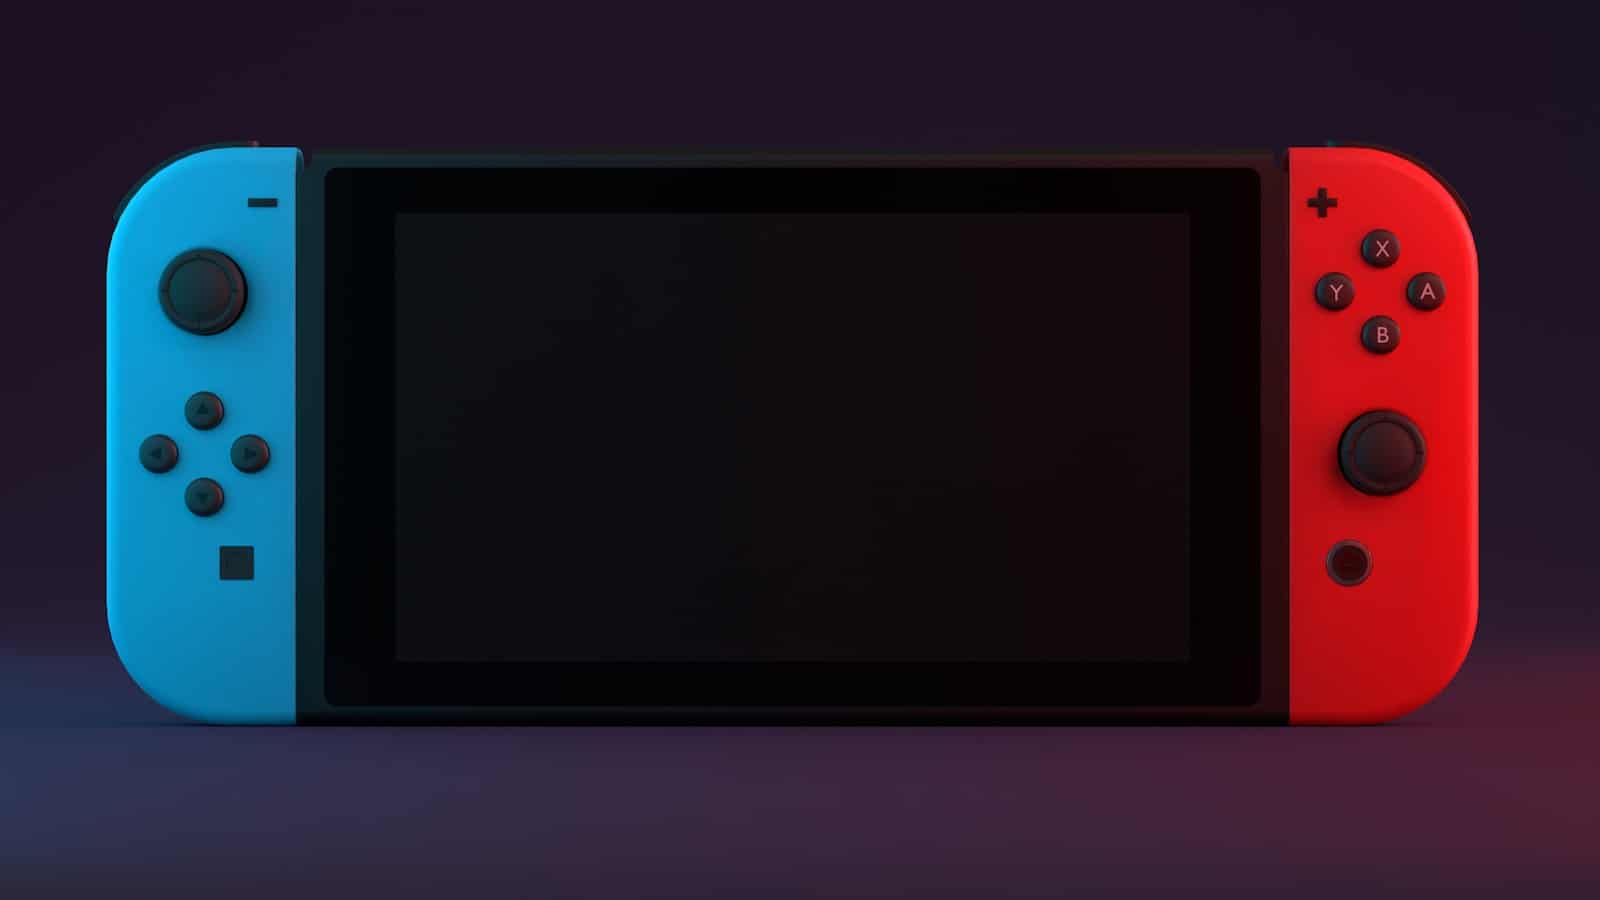
After a long period of time with your Switch it may come time to change the battery. This process involves careful steps to avoid damaging the console. Safety should be a priority, so taking necessary precautions and following a detailed guide is essential. Before starting, it’s important to have the right tools and understand the proper procedure to access the battery. Preparing the workspace and the console is also crucial, including powering off the Switch, partially discharging the battery, and ensuring the area is static-free. When prepared, replacing the battery with careful attention to the unique screws and connectors is vital.
Nintendo Switch Battery Replacement Process
Please note that this requires some technical skill and will void your warranty.
Tools Needed:
- Y00 Tri-wing screwdriver
- Phillips #00 screwdriver
- Plastic prying tool
- Replacement Nintendo Switch battery

Nintendo Switch Battery Replacement Steps
| Step | Description |
|---|---|
| 1. Power Down | Ensure your Switch is fully powered off (not just in sleep mode). Hold the power button for a few seconds, then select “Power Options” > “Turn Off”. |
| 2. Remove Joy-Cons | Slide the Joy-Cons off the console. |
| 3. Remove Back Screws | Unscrew the four tri-wing screws at each corner of the back panel. |
| 4. Open Back Cover | Gently pry the back cover away from the console using a plastic prying tool. Start near the bottom and work your way around. Be careful of the ribbon cable on the top. |
| 5. Remove MicroSD Card | Locate the microSD card reader under the kickstand. Gently lift the metal shield and remove the microSD card (if present). |
| 6. Unscrew Metal Shield | Remove the five Phillips screws securing the metal shield, then carefully lift it away. |
| 7. Disconnect Battery | Use the plastic spudger to carefully disconnect the battery connector by gently prying it upwards. Be careful not to damage the connector or surrounding components. |
| 8. Remove Old Battery | Gently pry the battery upwards using the plastic tool and lift it out of the device. Take care not to puncture or bend the battery. |
| 9. Install New Battery | Position the new battery in the designated slot and gently press it into place. |
| 10. Connect Battery | Align the battery connector and press it down firmly to establish a secure connection. |
| 11. Replace Metal Shield | Position the metal shield back in place and secure it with the five Phillips screws. |
| 12. Replace Back Cover | Carefully align the back cover and gently press around the edges until it snaps back into place. |
| 13. Reinsert Screws | Secure the back cover by reinserting the four tri-wing screws. |
| 14. Test | Power on your Switch and check if the new battery is working and charging correctly. |
Important Notes:
- Ground Yourself: Prevent electrostatic discharge, which might damage your Switch components.
- Compatibility: Ensure the replacement battery is specifically designed for the Nintendo Switch.
- Video Guides: Search online for “Nintendo Switch battery replacement” videos for visual guidance.

Key Takeaways
- The battery can be safely replaced by following step-by-step guidance.
- Proper preparation before starting the replacement is crucial.
- Attending to the process meticulously avoids damage to the Nintendo Switch.
Preparing for Battery Replacement
When replacing the battery of a Nintendo Switch, proper preparation is fundamental. This involves selecting the correct tools and knowing the specific model of your device.
Gathering the Necessary Tools
Before starting the battery replacement process, gather all required tools to avoid interruptions. The essentials include:
- Screwdrivers: A Y00 screwdriver for the special Y00 screws found in the Switch, and a PH00 Phillips screwdriver for standard screws.
- Spudger and Opening Picks: These plastic tools help to safely open the console without scratching it.
- Adhesive Remover or Isopropyl Alcohol: To dissolve adhesive that holds the battery in place.
- Plastic Card: A card helps to pry up the battery.
- Microfiber Cloth: Useful for cleaning any residue during the process.
- Magnetic Project Mat: To organize screws and small components, as they are easy to lose.
Additional recommended tools:
- A tool kit, such as one from iFixit, can provide a comprehensive set of tools specific to electronics repair.
Identifying Your Nintendo Switch Model
Different Nintendo Switch models may require distinct approaches for battery replacement:
- Original Switch: Model number HAC-001, identifiable by the serial number on the bottom of the unit.
- Switch Lite: This handheld version is smaller and has non-detachable controllers.
- Switch OLED: Newest model featuring an OLED screen.
Before starting, ensure the Switch is powered off and the microSD card reader is empty to prevent damage to the card or the device. Knowing the exact model is crucial because it affects the type and placement of screws and components inside the console.
Executing the Battery Replacement
Prior to beginning the battery replacement, users should ensure they have the necessary tools, a new HAC-003 battery designed for the Nintendo Switch, and a clear workspace to avoid potential damage.
Disassembling the Console
To access the battery compartment, begin by powering off the console and removing the Joy-Con controllers. Release them by sliding them off after pressing the small button on their back. Next, take off the backplate by unscrewing the four screws holding it in place. With a plastic spudger, gently detach any cables connected to the backplate.
Removing the Old Battery

Once inside, locate the battery and detach it by carefully unplugging its connector from the motherboard. The battery is held in place with adhesive, so a spudger may be necessary to gently lift it out without bending the battery or damaging the console.
Installing the New Battery
Place the new battery into the battery compartment. Align it correctly and gently press down to adhere it to the surface. Connect the new battery’s connector to the motherboard. It’s crucial to ensure the connection is secure for the console to function properly.
Reassembling and Testing
After the new battery is installed, reverse the disassembly steps. Reattach the backplate, screw it in place, and slide the Joy-Cons back into position. Power on the device to ensure the new battery is functioning as expected. If the console starts without issue, the battery replacement has been successful. Regular charging and maintenance will prolong the battery’s lifespan and playtime for the console.
Frequently Asked Questions
When it comes to changing the battery in a Nintendo Switch, there are several common concerns owners may have. This section aims to address those questions with direct and helpful responses.
What steps are involved in replacing the battery on a Nintendo Switch console?
To replace the battery in a Nintendo Switch, users need to open the device’s back cover, disconnect the old battery, and insert the new one. Safety and proper tool use are crucial during this process.
Can the battery be replaced in a Nintendo Switch Lite, and if so, how?
Users can also replace the battery in a Nintendo Switch Lite similar to the standard model. However, the internal layout differs slightly, demanding extra care when removing and fitting the new battery.
What is the estimated lifespan of a Nintendo Switch battery before it requires replacement?
A Nintendo Switch battery typically lasts for about 2.5 to 6.5 hours on a single charge but may degrade over 2-3 years of regular use, necessitating eventual replacement.
Where can I find a service that offers Nintendo Switch battery replacement?
Several electronics repair shops offer battery replacement services for Nintendo Switch consoles. Consumers might also consider contacting Nintendo’s official support for reliable service options.
Are there any recommended battery packs for extending the playtime of a Nintendo Switch?
Yes, users can opt for portable battery packs that support a 30-watt output via USB-C to keep their Switch charged on the go, prolonging playtime significantly.
What is the price range for having a Nintendo Switch battery replaced?
The cost to replace a Nintendo Switch battery can vary by service provider but generally falls between $40 to $100, factoring in parts and labor.


