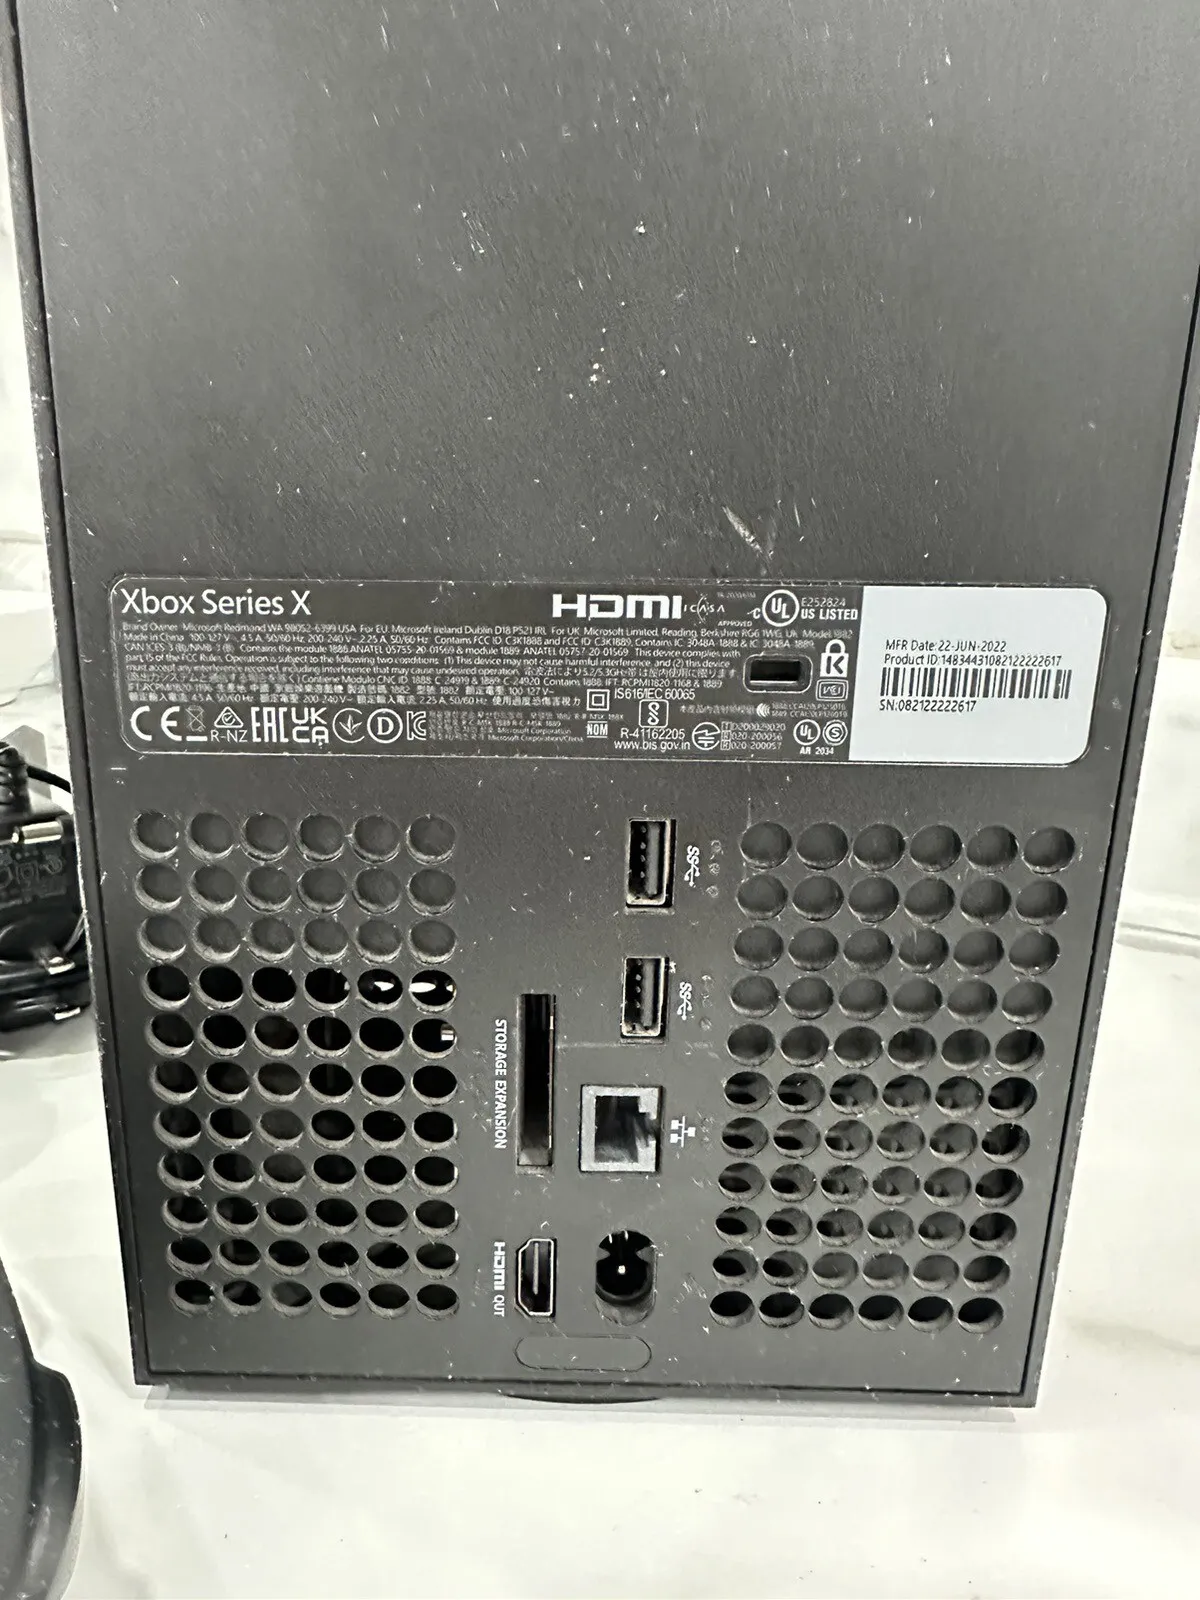
A damaged HDMI port on your Xbox Series X can be very frustrating as it interrupts your gaming sessions and disconnects you from your favorite titles. However, addressing this issue might not be as difficult as it seems. Let’s explore the common causes of HDMI port problems and the potential solutions available. The HDMI port of the Xbox Series X is the only video output option available, so it’s pretty important. Without a functioning HDMI port, you can’t do much of anything with the console. Therefore, ensuring that it works, properly maintaining it, and getting it fixed when it’s broken beyond basic troubleshooting are important aspects that this article aims to address.
HDMI Port Issues on the Xbox Series X
Understanding the Problem
Before diving into repairs, it’s essential to diagnose the root of the issue. Here are some common causes of HDMI port problems on the Xbox Series X:
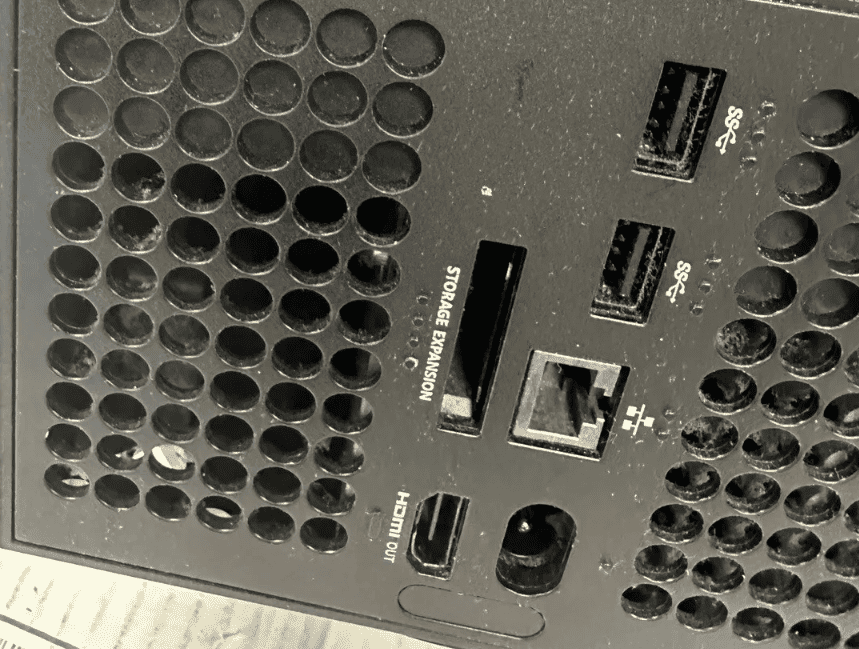
- Physical Damage: Bent pins, a loose connection, or a broken port due to mishandling or accidental impact can disrupt the HDMI signal.
- Dust and Debris: Accumulation of dust and debris inside the port can interfere with the connection, leading to signal loss or intermittent display issues.
- Software Glitches: In some rare cases, software conflicts or bugs can cause the HDMI port to malfunction.
Symptoms Of A Bad HDMI Port
- No Signal: The most common hiccup is the dreaded “no signal” message. It usually points to a loose HDMI connection or cable issues.
- Flickering Display: If your screen flickers or blacks out intermittently, the HDMI port might be at fault.
- Audio Problems: Sometimes, the video works fine, but the audio refuses to play ball. This could be due to connection or port issues.
- Poor Picture Quality: Blurred images or weird color patterns? This could be the HDMI port not transmitting data correctly.
- Unsupported Resolution: Getting an “unsupported resolution” message is a sign of compatibility issues between the Xbox and your display device.
HDMI Port on an Xbox Series X: Troubleshooting Steps
If you’re experiencing issues with your Xbox Series X HDMI port, try these troubleshooting steps before considering more extensive repairs:
| Step | Instructions |
|---|---|
| 1. Check for external damage: | – Inspect the HDMI port for any bent pins, debris, or cracks. – Use a flashlight to get a better view. – If damage is visible, proceed to step 2. |
| 2. Try a different HDMI cable: | – Use a different HDMI cable to rule out a faulty cable. – Ensure the cable is securely plugged into both the console and TV. – Try different HDMI ports on your TV. |
| 3. Power cycle the console and TV: | – Unplug both the Xbox Series X and TV from power outlets for 30 seconds. – Plug them back in and power them on. |
| 4. Reset the Xbox Series X: | – Press and hold the power button on the console for 10 seconds until it shuts down. – Disconnect the power cord for a few minutes. – Reconnect the power cord and turn the console back on. |
| 5. Update the Xbox Firmware: | – If there are times that you do get video output, check for available system updates in the console’s settings. – Install any pending updates. – Go to “Settings” > “System” > “Updates” to check for and install any available updates. |
| 6. Clean the Port: | – Carefully clean the HDMI port with compressed air to remove any dust or debris that might be causing connection problems. |
| 7. Contact Microsoft support: | – If none of the above steps resolve the issue, contact Microsoft support for further assistance. – They may offer repair options or a replacement console. |
Additional tips:
- Use compressed air: Gently blow compressed air into the HDMI port to remove any dust or debris.
- Handle with care: Avoid excessive force when plugging in or unplugging HDMI cables.
- Consider professional repair: If you’re not comfortable with DIY repairs, seek help from a qualified technician.
Repair Options
If the troubleshooting steps don’t resolve the issue, you’ll need to consider repair options:
- Professional Repair: Contact Microsoft support or an authorized repair center to inquire about repair services. They can diagnose the problem and provide an estimate for the repair cost.
- DIY Replacement (Advanced): If you’re comfortable with electronics repair and soldering, you might be able to replace the HDMI port yourself. However, this requires technical skills and specialized tools. Proceed with caution, as improper repairs can further damage your console.
Tools for the Task
Before we dive into troubleshooting, ensure you have these handy:
- Xbox Series X console
- A reliable HDMI cable
- Soft cloth or microfiber cloth
- An alternative display device
- Active internet connection (for updates)
Troubleshooting Procedure: Step-by-Step
Step 1: Check Connections
Turn off your Xbox and TV. Disconnect, inspect, and then firmly reconnect the HDMI cable. Turn everything back on and check if the problem is solved.
Step 2: Inspect the HDMI Cable
Examine the cable for damage. Look for cuts, kinks, or bent pins. If it looks dodgy, replace it.
Step 3: Try a Different HDMI Cable
If steps 1 and 2 don’t work, try a different HDMI cable. This helps determine if the cable is the culprit.
Step 4: Clean the HDMI Port
Dust and dirt can mess with connections. Turn off and unplug your Xbox. Gently clean the HDMI port with a lint-free cloth dampened with isopropyl alcohol. Let it dry before plugging everything back in.
Step 5: Reset Display Settings
If you’re still stuck, reset your Xbox’s display settings. Go to System > Settings > General > TV & display options. Choose the right resolution or set it to auto-detect.
Step 6: Test with Another Display Device
Still no luck? Connect your Xbox to a different TV or monitor. This will help you figure out if the issue is with your Xbox or the original TV.
Step 7: Check for Firmware Updates
Outdated firmware can cause issues. Turn on your Xbox, go to Settings, and check for any available updates. Install them if needed.
Step 8: Reach Out to Xbox Support
If all else fails, it’s time to contact Xbox Support. They can offer personalized assistance and guide you through more complex solutions.
How To Replace an HDMI port on an Xbox Series X
Please note: Replacing the HDMI port requires advanced technical skills and soldering experience. Incorrect repair attempts can damage the console further. It’s highly recommended to seek professional assistance unless you’re confident in your skills.
General Steps:
| Step | Instructions |
|---|---|
| 1. Gather tools and materials: | – Soldering iron, solder, desoldering wick, heat gun, opening tools, replacement HDMI port, protective gear (gloves, eye protection) |
| 2. Power off and open the console: | – Disconnect all cables and remove any external accessories. – Carefully open the console using appropriate tools, following disassembly guides or videos. |
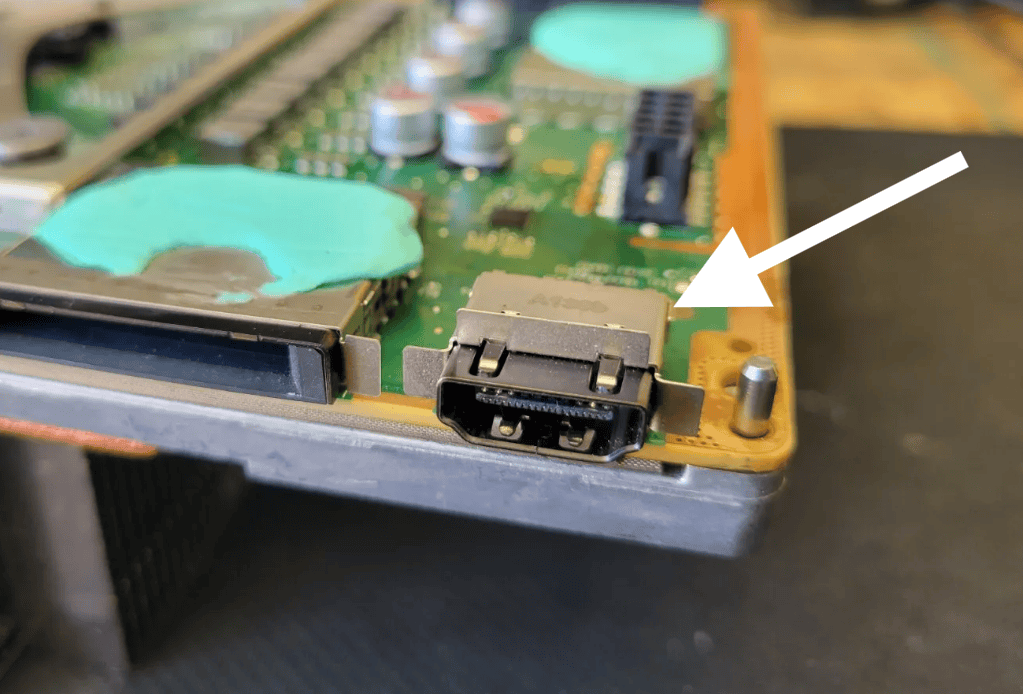
| 3. Locate and remove the faulty HDMI port: | – Identify the HDMI port on the motherboard. – Use a soldering iron and desoldering wick to remove the existing port, taking care not to damage surrounding components. |
| 4. Install the replacement port: | – Carefully align and solder the new HDMI port in place, ensuring proper connection and alignment. – Use a heat gun to set the solder firmly. |
| 5. Reassemble the console: | – Reverse the steps taken for disassembly, ensuring all components are properly connected and secured. |
| 6. Test the repair: | – Connect the HDMI cable and power on the console. – Verify that the video and audio output are functioning correctly. |
Important Considerations:
- Voiding warranty: Opening the console may void your warranty.
- Risk of damage: Improper handling or soldering can cause permanent damage to the motherboard.
- ESD protection: Use anti-static gloves and mats to prevent electrostatic discharge.
- Heat management: Apply heat carefully to avoid overheating components.
- Professional assistance: If you’re not comfortable with the process, seek help from a qualified repair technician.
Prevention Tips
To minimize the risk of HDMI port problems in the future:
- Handle your console with care: Avoid yanking or twisting the HDMI cable when plugging or unplugging it.
- Keep the port clean: Regularly clean the HDMI port with compressed air to prevent dust and debris buildup.
- Store your console in a safe place: Avoid placing your Xbox Series X in areas where it’s prone to accidental bumps or falls.
Remember, if you’re unsure about performing any repairs yourself, it’s always best to seek professional assistance to avoid further damage to your console.
Summary of Facts
- HDMI Port Issues: Can range from no signal and flickering display to audio problems and poor picture quality.
- Troubleshooting Steps: Include checking connections, inspecting and replacing the HDMI cable, cleaning the HDMI port, resetting display settings, testing with another device, and updating firmware.
- Support: If issues persist, Xbox Support is your next stop for professional assistance.
FAQs
How Do I Know If My HDMI Port Is Broken?
If your TV doesn’t recognize your Xbox, or if you experience poor picture or audio quality, your HDMI port might be the issue.
Can I Fix an HDMI Port Myself?
Yes, for basic issues dirty ports that need to be cleaned you can fix your Xbox yourself. However, for hardware faults, loose connectors, etc. it’s better to seek professional help unless you are familiar with soldering and are willing to accept the risks of taking apart and putting back together your console.
Will Resetting My Xbox’s Display Settings Affect My Games?
No, it won’t affect your saved games or profiles. It just resets the video output settings to default.


