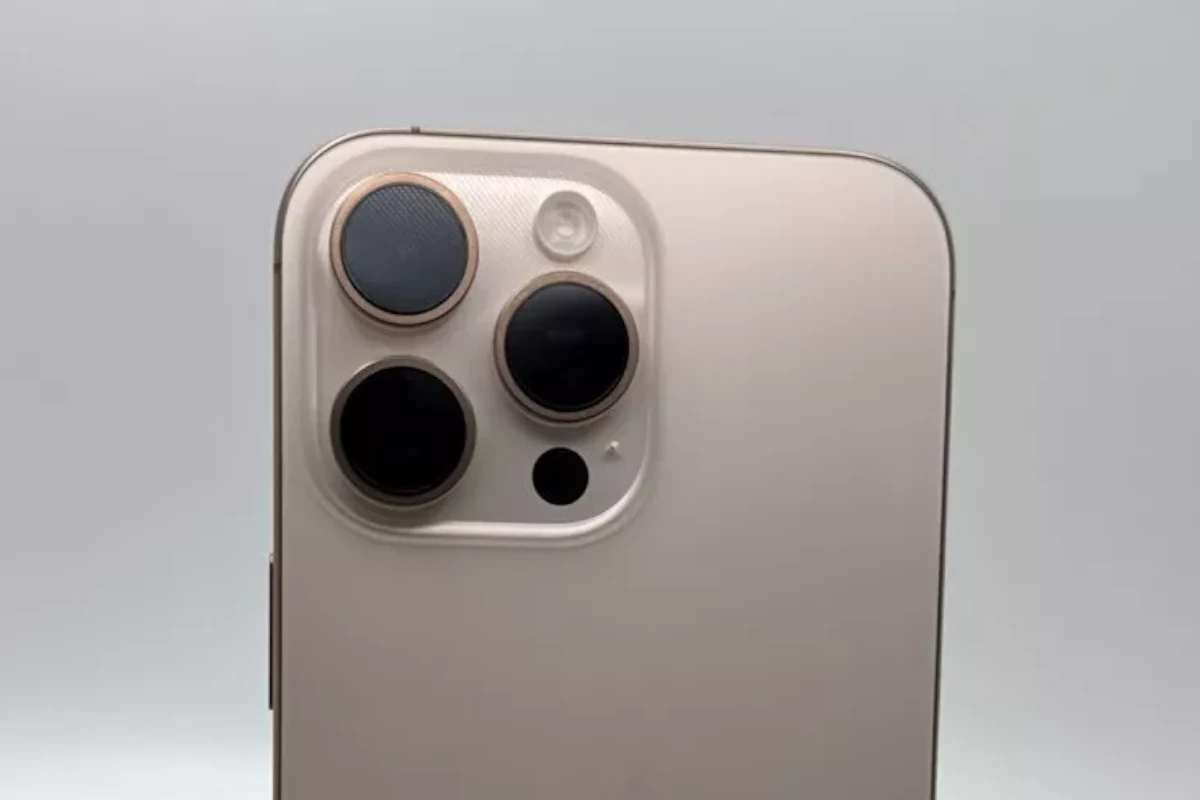
The iPhone camera timer feature offers a convenient way to capture group photos, steady shots, and selfies without pressing the shutter button. To set the timer on your iPhone camera, open the Camera app, tap the timer icon, and choose between 3 or 10 seconds. This simple tool enhances your photography options and allows for more creative compositions.
Using the self-timer can improve image quality by reducing camera shake. It gives you time to position yourself or your subjects perfectly before the shutter activates. The iPhone’s timer also triggers a burst mode, capturing multiple images in quick succession, increasing your chances of getting the perfect shot.
Using the iPhone Camera Timer

Setting the Timer for Photos
The iPhone camera app has a built-in timer feature that’s very useful for taking selfies or group photos where you want to be in the picture. Here’s how to use it:
- Open the Camera app.
- Tap the arrow at the top of the screen (in portrait mode) or on the left side (in landscape mode). This will reveal the camera options.
- Tap the timer icon. It looks like a clock.
- Choose a timer duration: You can select either 3 seconds or 10 seconds.
- Position your phone and frame your shot.
- Tap the shutter button. The timer will begin counting down. Your iPhone’s flash may blink to indicate the countdown.
- Hold still until the photo is taken.
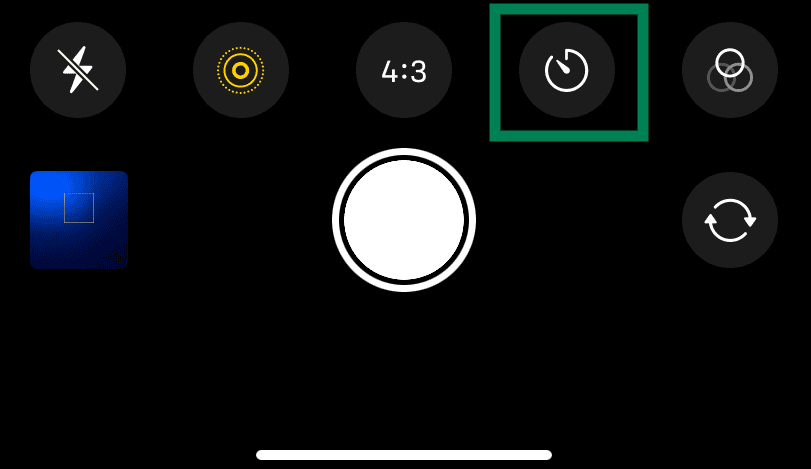
Step By Step Picture Guide
Step 1 – Tap The Up Arrow At The Top
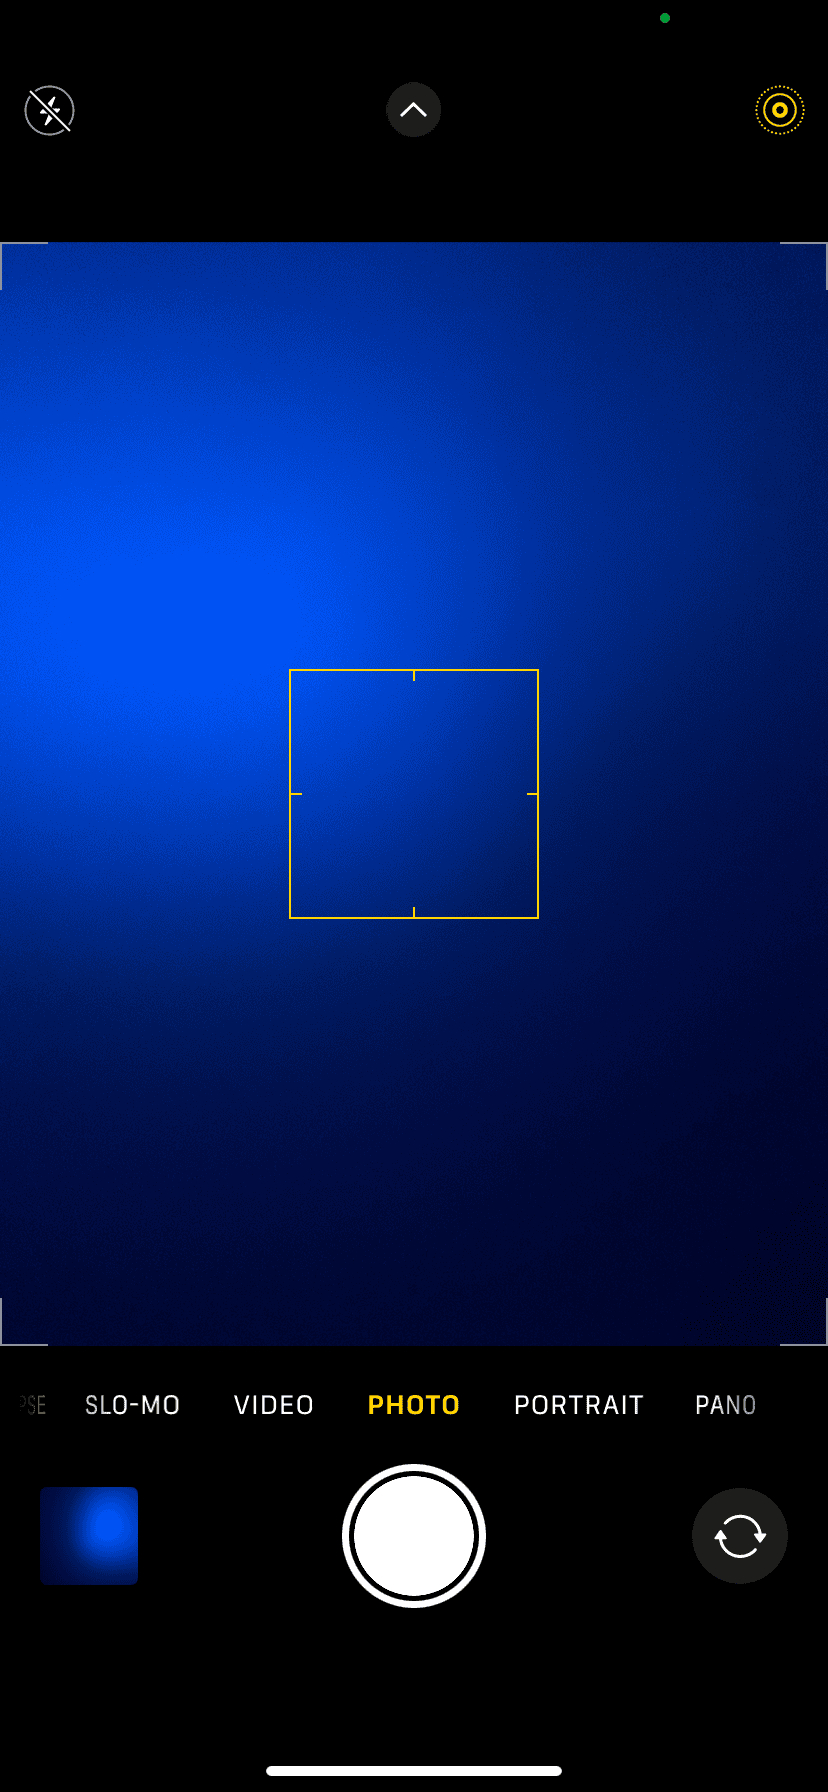
Step 2 – Scroll To Bottom And CliCk The Clock Icon
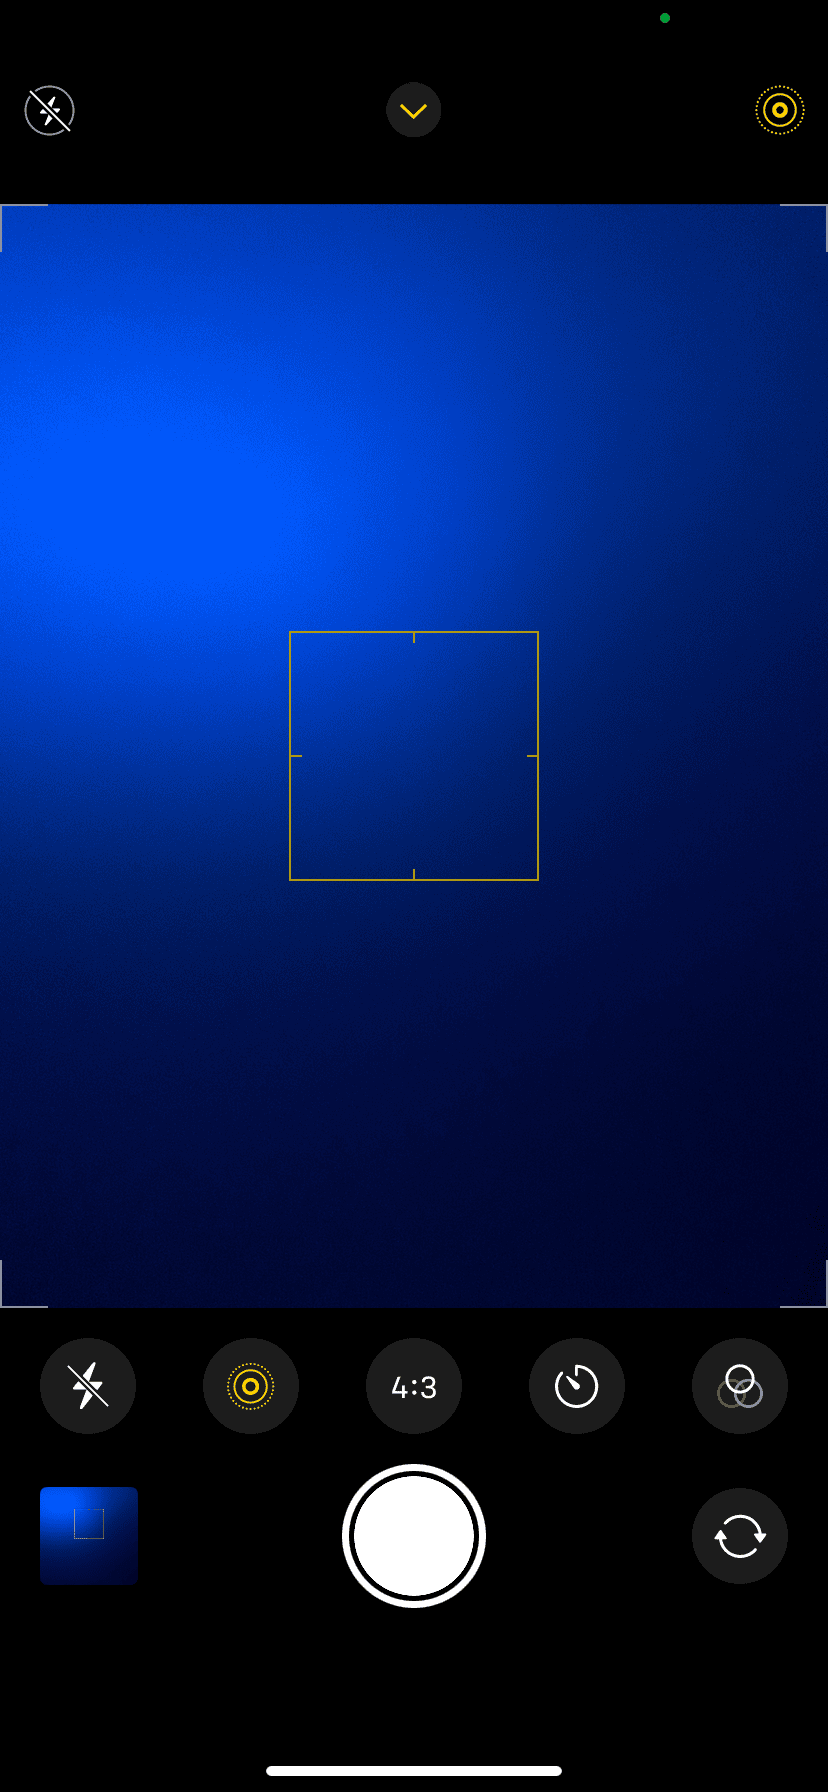
Step 3 – Choose Your Timer Length
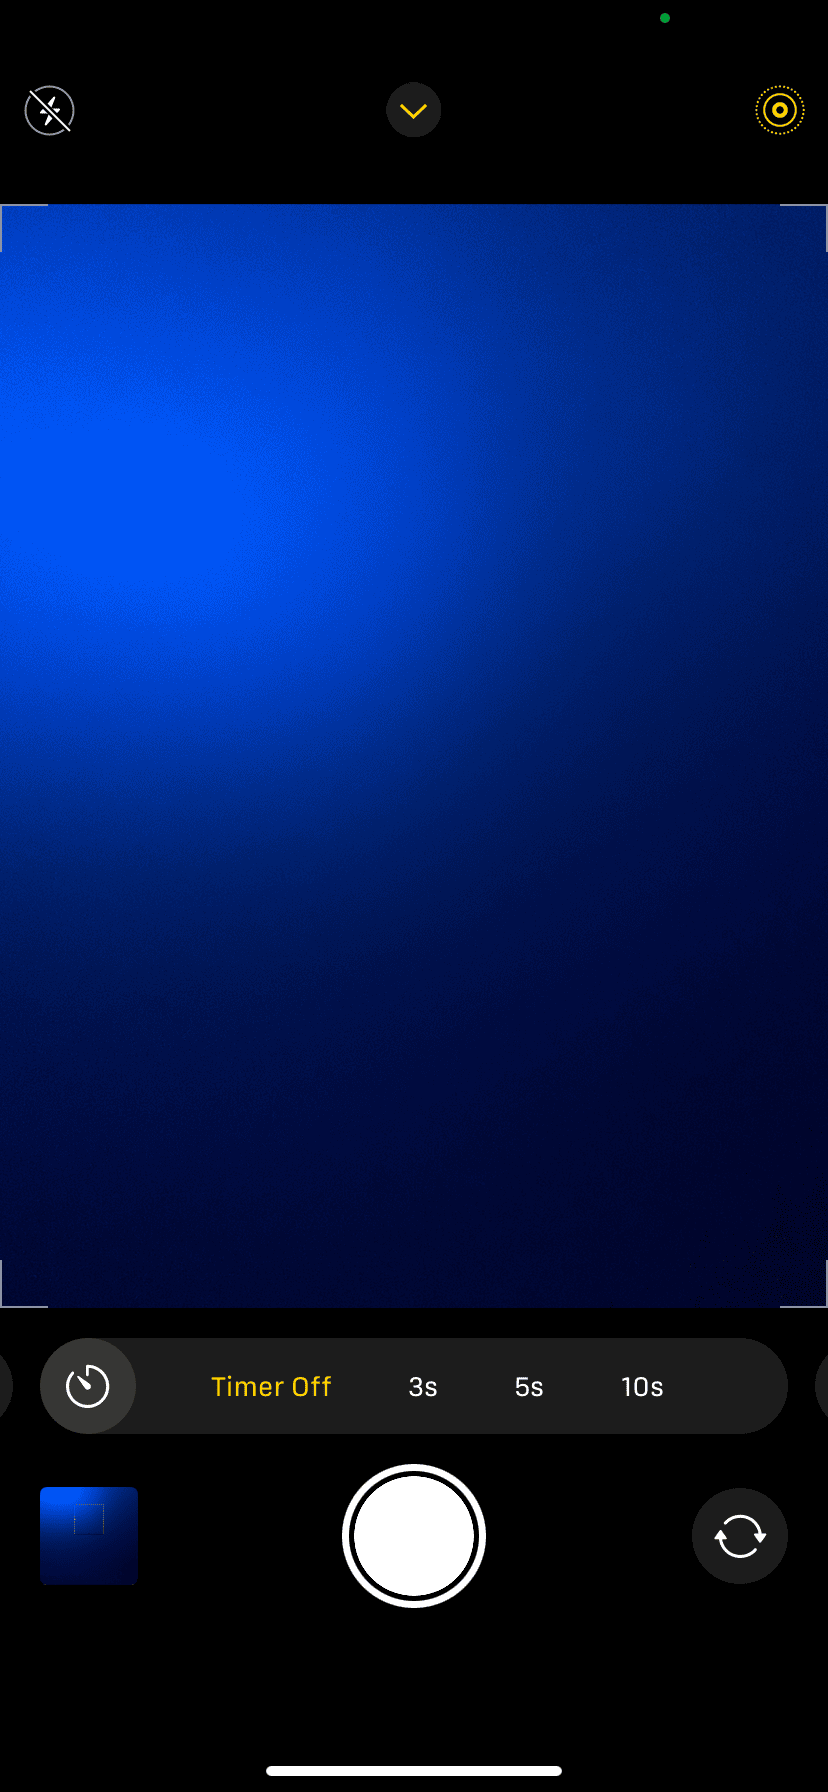
Step 4 – When Ready Click Capture Picture As Normal
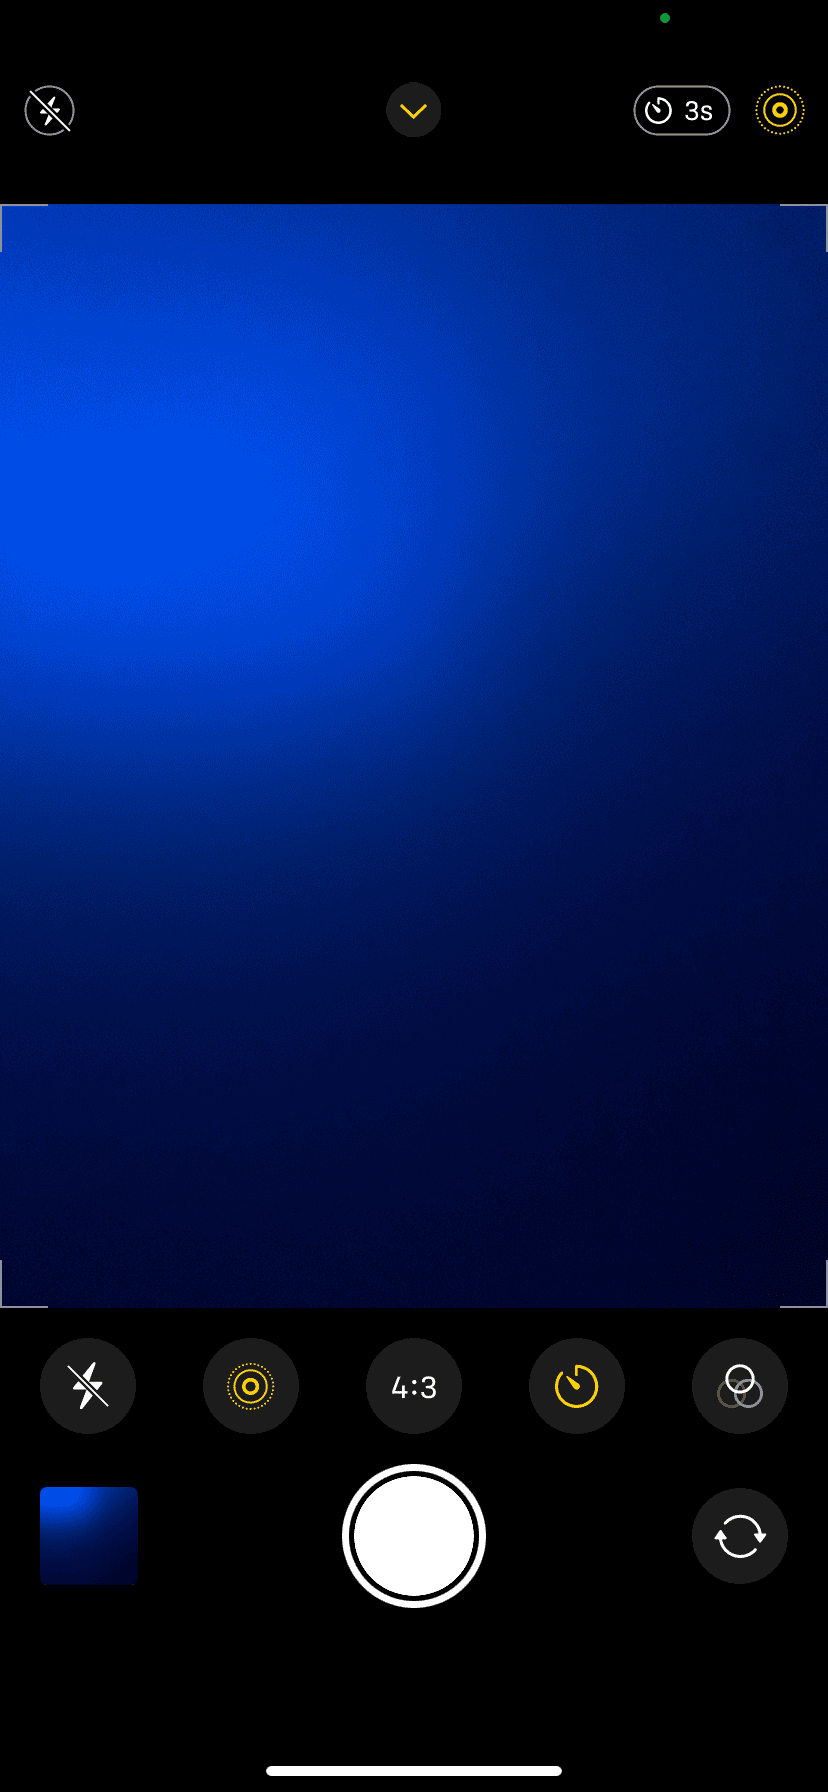
Step 5 – The Countdown Begins And Your PIcture Will Capture

Using the Timer for Burst Photos
When you use the timer, you can also take a burst of photos. After the timer counts down, the camera will take multiple photos in quick succession. This is great for capturing action shots or ensuring you get the perfect expression in a group photo. To use this feature, simply hold the phone steady after hitting the shutter button and the timer will start.
Why Use the Timer?
The timer is useful in several situations:
- Selfies: It allows you to position yourself and get the perfect pose without having to reach for the shutter button.
- Group photos: It ensures that everyone is in the picture, including the person taking the photo.
- Long exposures (with a tripod): It helps avoid camera shake when taking photos in low light or with slow shutter speeds.
- Creative shots: You can use the timer to capture interesting effects, like light trails or motion blur.
Alternatives to the Built-in Timer
While the built-in timer is convenient, there are other options available:
- Voice Control: You can use Siri or Voice Control to take a photo. Say “Hey Siri, take a photo in 5 seconds” or set up a custom voice command in Accessibility settings.
- Bluetooth Remotes: These small devices connect to your iPhone wirelessly and act as a remote shutter button. This gives you more flexibility in positioning your phone and taking photos from a distance.
- Third-Party Camera Apps: Some camera apps offer more advanced timer features, such as custom timer durations or interval shooting.
Tips for Using the Timer
- Use a tripod or stable surface: This will prevent blurry photos, especially in low light.
- Frame your shot before starting the timer: This will give you time to adjust your position and make sure everyone is in the frame.
- Look at the camera lens, not the screen: This will ensure that you are looking in the right direction in the photo.
- Practice your pose: This will help you avoid awkward expressions or poses.
Taking great photos on your iPhone is easier than ever with the built-in timer feature. By understanding how to use it and considering the available alternatives, you can capture perfect selfies, group shots, and creative images.
Beyond still photos, the iPhone camera also excels at video recording. You can enhance your videos with features like cinematic mode, which adds a professional-looking depth of field effect, or slow-motion recording for dramatic slow-motion sequences. These features, combined with the camera’s excellent image stabilization, make the iPhone a powerful tool for capturing high-quality video content.
Key Takeaways
- The iPhone camera timer offers 3 and 10-second delay options
- Self-timer reduces camera shake and allows for better composition
- Timer mode captures multiple images in burst, increasing shot selection
Setting Up Your iPhone Camera Timer
The iPhone’s camera offers a wide array of features for capturing high-quality photos and videos. One often-overlooked feature is the built-in timer, which provides a convenient way to take self-portraits, group photos, and even capture creative shots with long exposures.
This timer functionality, combined with other features like burst mode, voice control, and compatibility with external accessories, allows for greater flexibility and control over your photography, making it easy to capture the perfect image in various situations. Whether you’re a casual user or a serious photography enthusiast, understanding how to use the iPhone’s camera timer can significantly enhance your photography skills.
The iPhone camera timer feature allows users to capture photos hands-free. This tool is valuable for selfies, group shots, and situations requiring a steady camera.
Accessing the Camera App
Open the Camera app on your iPhone. The app icon resembles a camera lens. Tap it to launch. Once open, ensure you’re in Photo mode. If not, swipe left or right to select Photo mode from the carousel at the bottom of the screen.
Look for the timer icon at the top of the screen. It appears as a clock face. If you don’t see it, tap the chevron (^) at the top center to reveal additional camera controls.
Selecting the Timer Length
Tap the timer icon to reveal timer options. iPhones typically offer two preset timer lengths: 3 seconds and 10 seconds. Choose the duration that best suits your needs.
The 3-second timer is ideal for quick selfies or when you need a brief moment to prepare. The 10-second option provides more time to get into position, making it perfect for group photos or more elaborate setups.
After selecting your desired timer length, the icon will display your chosen duration.
Positioning Your iPhone
Place your iPhone on a stable surface or use a tripod for the best results. This step is crucial for avoiding blurry images caused by camera shake.
For selfies, prop your iPhone against a solid object or use a phone stand. Ensure the camera has a clear view of the intended subjects.
For group shots, position the iPhone far enough away to include everyone in the frame. Use the front-facing camera if you want to see the preview while setting up.
Once positioned, tap the shutter button. The timer will begin counting down, giving you time to get into position before the photo is taken.
Camera Techniques and Tips
The iPhone camera timer offers versatile options for capturing high-quality photos. It enables hands-free shooting and allows for creative compositions in various styles.
Utilizing the Self-Timer for Different Photography Styles
Self-timer settings open up new possibilities for iPhone photography. For group shots, set the timer and join the frame. This ensures everyone is included without needing an extra person to take the photo.
In landscape photography, use the timer to avoid camera shake. Place the iPhone on a stable surface or tripod, set the timer, and step back. This technique is especially useful for low-light scenes or long exposures.
For macro photography, the timer helps maintain focus. Set up the shot, activate the timer, and let the camera capture the tiny details without any hand movement affecting the image.
Maximizing Photo Quality with Timer Settings
Timer settings can significantly improve photo quality. Use the 3-second timer for quick setups, or choose 10 seconds for more complex arrangements.
In low light conditions, combine the timer with Night mode. This pairing reduces blur from handheld shooting and allows the camera to capture more light.
For action shots, use the timer with Burst mode. This combination captures a series of images, increasing the chance of getting the perfect moment.
Experiment with timer settings in Portrait mode to achieve professional-looking self-portraits. The delay allows time to perfect your pose and expression before the shot.
Frequently Asked Questions
The iPhone camera timer feature offers versatility for capturing photos. Users can adjust settings and utilize this function across different iPhone models.
What steps are required to activate the camera timer on an iPhone?
Open the Camera app on your iPhone. Tap the timer icon at the top of the screen. Select either 3 or 10 seconds for the delay. Frame your shot and press the shutter button. The timer will start counting down before taking the photo.
Can the duration of the camera timer on an iPhone be adjusted beyond 10 seconds?
The built-in iPhone camera app does not allow for timer durations beyond 10 seconds. Users are limited to choosing between 3 and 10-second delays. Third-party camera apps may offer extended timer options for those needing longer delays.
Is it possible to use a timer for video recording on the iPhone’s camera?
The timer function in the native iPhone camera app is only available for taking photos. It cannot be used for video recording. Users looking to delay the start of video recording may need to explore third-party apps with this capability.
Where can I find the timer function in the iPhone camera settings?
The timer function is not in the iPhone’s Settings app. It is located directly within the Camera app interface. Look for the timer icon at the top of the screen when the Camera app is open. Tap this icon to access the timer options.
How do I set a 10-second timer for taking photos on my iPhone?
Open the Camera app on your iPhone. Tap the timer icon at the top of the screen. Select the 10-second option. Frame your shot as desired. Press the shutter button to start the 10-second countdown. The photo will be taken automatically when the timer reaches zero.
What are the instructions for activating the camera timer on newer iPhone models?
The process for activating the camera timer is consistent across recent iPhone models. Open the Camera app. Tap the timer icon at the top. Choose between 3 or 10 seconds. Frame your shot and tap the shutter button. The timer will begin counting down before capturing the image.

