Encountering issues with the NVIDIA Control Panel not opening can be frustrating for users who need to adjust their graphics settings. This common problem affects many Windows users and can happen even when the GPU drivers appear to be properly installed. The issue can often be resolved by either restarting NVIDIA-related processes, updating drivers, or making adjustments in your computer’s BIOS settings.
Many users have reported that simply killing all NVIDIA-related processes through Task Manager and then attempting to relaunch the Control Panel solves the problem. Others have found success by copying the NVIDIA Control Panel program folder to their desktop using a PowerShell command, which allows them to open it directly. In some cases, the issue might be related to conflicts in the BIOS settings that require disabling and re-enabling the NVIDIA GPU.

NVIDIA Control Panel Not Opening: Troubleshooting Steps
If the NVIDIA Control Panel won’t open on your PC, you’re not alone—this is a common issue that can stem from driver problems, system conflicts, or corrupted settings. Below are the most effective steps to troubleshoot and fix the issue so you can regain access to your graphics settings.
1. Restart Your PC
Sometimes a simple reboot clears temporary glitches and background service issues that prevent the control panel from launching.
2. Manually Start the NVIDIA Control Panel Process
You can try launching the panel directly:
- Press
Ctrl + Shift + Escto open Task Manager. - Go to File > Run new task.
- Type
control.exeand click OK. - In the Control Panel window, switch to Large icons, and see if NVIDIA Control Panel is listed. Open it from there.

3. Restart NVIDIA Services
If necessary services aren’t running, the control panel won’t open:
- Press
Windows + R, typeservices.msc, and press Enter. - Look for these services:
- NVIDIA Display Container LS
- NVIDIA LocalSystem Container
- Right-click each one and select Restart.
4. Update or Reinstall NVIDIA Graphics Drivers
Outdated or corrupted drivers can prevent the control panel from launching:
- Open Device Manager (
Windows + X> Device Manager). - Expand Display adapters and right-click your NVIDIA GPU.
- Choose Update driver and follow prompts.
Alternatively, download the latest driver manually from NVIDIA’s official website.
To clean install:
- Use Display Driver Uninstaller (DDU) to remove old drivers.
- Then, install the latest driver from scratch.
5. Reinstall NVIDIA Control Panel from Microsoft Store
In some cases, the Control Panel is a separate app:
- Open Microsoft Store.
- Search for NVIDIA Control Panel.
- Download and install it, or update it if already installed.
6. Enable NVIDIA Control Panel in Windows Context Menu
If it’s missing from your desktop right-click menu:
- Go to
C:\Program Files\NVIDIA Corporation\Control Panel Client. - Right-click
nvcplui.exeand choose Run as administrator. - If it opens, create a shortcut for easier access.
7. Check for Windows Updates
System updates can sometimes fix compatibility issues:
- Go to Settings > Update & Security > Windows Update.
- Install all available updates and reboot your PC.
8. Perform a Clean Boot
Third-party apps can interfere with NVIDIA services:
- Press
Windows + R, typemsconfig, and press Enter. - Under the Services tab, check Hide all Microsoft services, then click Disable all.
- Under Startup, open Task Manager and disable all startup items.
- Restart your PC and try opening the control panel again.
9. Create a New Windows User Profile
If your profile is corrupted:
- Go to Settings > Accounts > Family & other users.
- Add a new user account.
- Log into the new account and try launching the NVIDIA Control Panel.
10. Scan for Corrupted System Files
System corruption can prevent programs from opening:
- Open Command Prompt as administrator.
- Run this command:
sfc /scannow. - Wait for the process to complete and then reboot.
By following these steps, most users can resolve issues preventing the NVIDIA Control Panel from opening. If none of the above methods work, consider contacting NVIDIA support or performing a system restore to a point when the panel functioned properly.
Key Takeaways
- Killing all NVIDIA-related processes before attempting to relaunch the Control Panel often resolves opening issues.
- Using PowerShell to create a desktop copy of the NVIDIA Control Panel can provide a workaround when the normal method fails.
- Hardware-level solutions like adjusting BIOS settings or updating GPU drivers are effective for persistent problems.
Understanding the Nvidia Control Panel
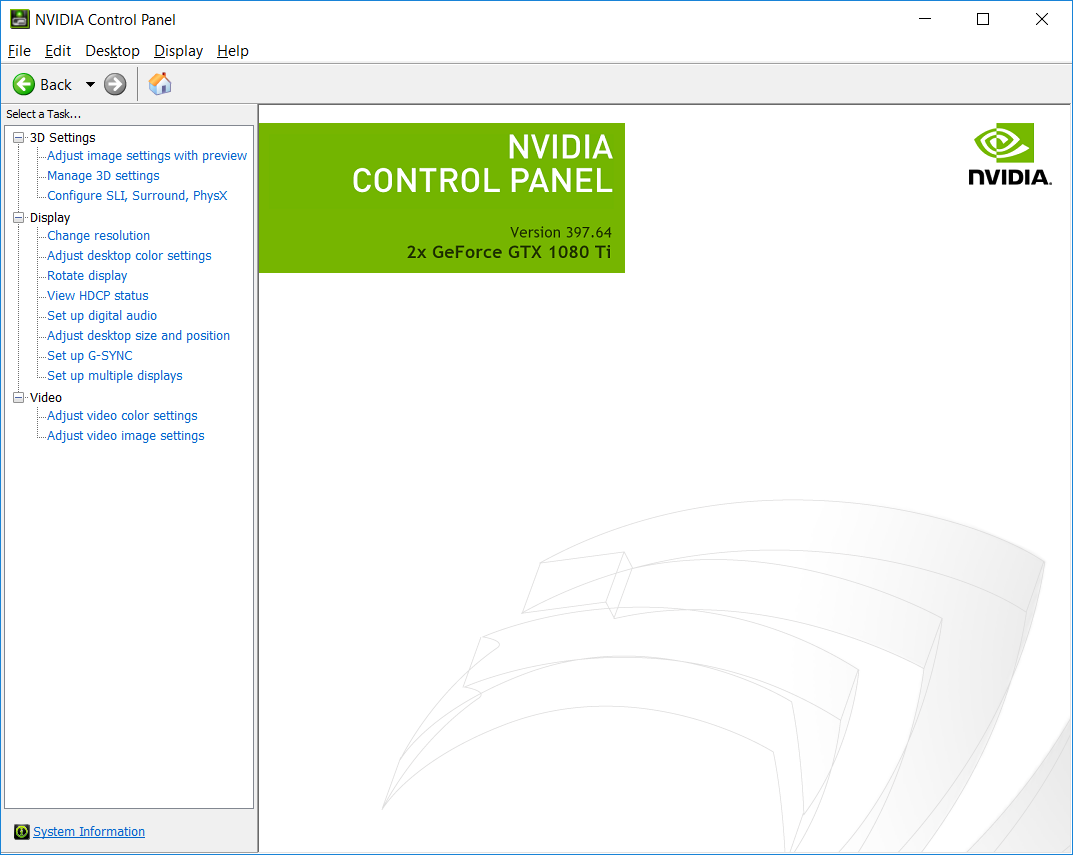
The Nvidia Control Panel is an essential tool for managing and optimizing your graphics card settings. It provides access to display configurations, 3D settings, and other important features that help users get the most out of their Nvidia GPUs.
Overview of Nvidia Control Panel
The Nvidia Control Panel is a software utility that comes with Nvidia graphics drivers. It allows users to adjust various settings related to their graphics card performance and display output. Users can access options for:
- Display settings: Resolution, refresh rate, and color settings
- 3D settings: Application-specific performance settings
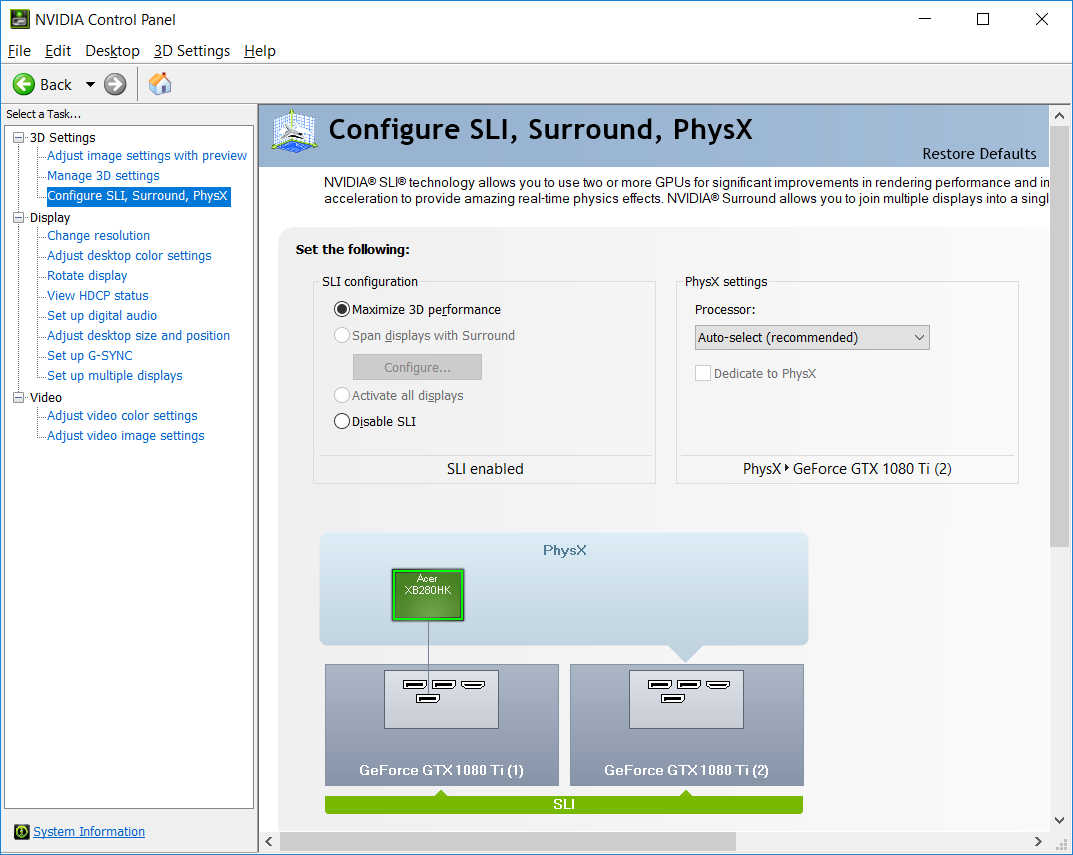
- PhysX configuration: Physics processing assignments
- Video color settings: Brightness, contrast, and color enhancement
The control panel is typically found in the Windows context menu when right-clicking on the desktop. It can also be accessed from the Windows Control Panel or by searching for it in the Start menu. For most users, the Nvidia Control Panel is crucial for enabling features like G-SYNC, which reduces screen tearing during gaming.
Common Issues and Error Messages
The Nvidia Control Panel sometimes refuses to open, causing frustration for users trying to adjust their graphics settings. Common error messages include:
- “Nvidia Control Panel is not found”
- “Nvidia Display Settings are not available”
- “You are not currently using a display attached to an Nvidia GPU”
These issues typically occur after driver updates, Windows updates, or hardware changes. The control panel might fail to start because the Nvidia services aren’t running properly. In some cases, the problem stems from conflicts between integrated graphics and the Nvidia GPU.
Users with multi-GPU setups (like laptops with both integrated and discrete graphics) may face additional challenges. The control panel might not open if the system is currently using the integrated GPU instead of the Nvidia card.
Troubleshooting Steps
When facing problems with the NVIDIA Control Panel not opening, there are several practical solutions to try. These steps range from checking basic installation issues to examining deeper system-level services that might be preventing the software from launching properly.
Verifying the Installation of Control Panel
The first step is confirming that the NVIDIA Control Panel is properly installed on the system. Users should check the Start menu or search for “NVIDIA Control Panel” to see if it appears. If it’s not visible, they may need to reinstall it from the Microsoft Store.
Sometimes the Control Panel gets installed but becomes inaccessible through normal methods. In such cases, a PowerShell command can help extract the program folder to the desktop. Users can open PowerShell as administrator and run a command to copy the NVIDIA Control Panel to an accessible location.
Another approach involves checking the Windows Apps & Features section to verify if the NVIDIA Control Panel is listed. If it’s missing, reinstalling the complete NVIDIA software package often resolves the issue.
Checking for Windows Compatibility
Windows compatibility issues frequently cause the NVIDIA Control Panel to fail. Users should ensure their Windows version is up-to-date by checking for pending updates in Settings.
Some Windows versions have known conflicts with certain NVIDIA driver packages. Updating to the latest Windows build often resolves these compatibility problems. Users can run the Windows Update troubleshooter if they suspect update-related issues.
The RAM usage on the system can also impact the Control Panel’s ability to launch. Closing memory-intensive applications before attempting to open the NVIDIA Control Panel might help. Users should check Task Manager to identify and close applications consuming excessive RAM.
Windows permissions sometimes block the Control Panel from opening. Running the application as administrator can bypass these restrictions.
Inspecting Graphics Card and Drivers
Outdated or corrupted graphics drivers are common culprits when the NVIDIA Control Panel won’t open. Users should open Device Manager and check for warning symbols next to the NVIDIA display adapter.
To update the driver, users can:
- Right-click on the NVIDIA display adapter
- Select “Update driver”
- Choose “Search automatically for drivers”
Alternatively, downloading the latest driver package directly from NVIDIA’s website offers a more comprehensive solution. The NVIDIA GeForce Experience application can also manage driver updates automatically.
If issues persist, a clean driver installation might be necessary:
- Uninstall current drivers completely
- Reboot the system
- Install fresh drivers from NVIDIA’s website
Examining Necessary Services
Several background services must run properly for the NVIDIA Control Panel to function. The most critical is the “NVIDIA Display Container LS” service, which must be set to automatic and running.
Users can check service status by:
- Pressing Win+R and typing “services.msc”
- Finding NVIDIA services in the list
- Ensuring they’re set to “Automatic” startup
- Verifying they show “Running” status
If these services aren’t running, users should right-click them, select Properties, change the startup type to Automatic, then start the service. Sometimes a simple reboot after adjusting these settings resolves persistent issues.
The NVIDIA Telemetry Container service also needs to be running correctly. If either service fails to start, checking the system event logs might reveal specific error messages that point to the underlying problem.
Solutions and Fixes
If your Nvidia Control Panel won’t open, there are several effective troubleshooting methods you can try. These solutions address common issues with the application and can help restore functionality without requiring advanced technical knowledge.
Performing a Clean Reinstall
A clean reinstall removes all Nvidia software components and starts fresh with a new installation. This often resolves corrupted files or conflicts with other programs.
First, open the Control Panel and go to “Programs and Features.” Find all Nvidia-related applications and uninstall them. Be sure to check the box for “Perform a clean installation” if prompted.
After uninstalling, restart your computer. Then download the latest driver package from the official Nvidia website. Make sure to select the correct driver for your graphics card model and Windows version.
During installation, choose “Custom Installation” rather than “Express.” This allows you to select specific components and avoid unnecessary software that might cause conflicts.
If the problem persists, try using Display Driver Uninstaller (DDU) in Safe Mode to completely remove all driver remnants before reinstalling.
Updating to the Latest Nvidia Driver
Outdated drivers often cause the Nvidia Control Panel to malfunction. Updating to the latest version can fix compatibility issues with Windows 10 and newer operating systems.
Open Device Manager by right-clicking the Start button and selecting it from the menu. Expand “Display adapters” and right-click on your Nvidia graphics card. Select “Update driver” and follow the prompts.
Alternatively, visit the Nvidia website and use their driver search tool to find the latest drivers for your specific graphics card model. Download and install these drivers manually.
Some users report success using GeForce Experience to manage driver updates. This application can automatically detect and install the appropriate drivers for your system.
If Windows keeps installing an older driver version, you may need to disable automatic driver updates in Windows settings temporarily.
Running Windows in Safe Mode
Safe Mode loads Windows with minimal drivers and services, which can help identify if third-party software is causing conflicts with the Nvidia Control Panel.
To enter Safe Mode, press Win+R, type “msconfig,” and press Enter. Go to the “Boot” tab and check “Safe boot.” Select “Minimal” and click “OK.” Restart your computer when prompted.
Once in Safe Mode, try opening the Nvidia Control Panel. If it works here but not in normal mode, a third-party application is likely interfering with it.
One PowerShell command solution mentioned in search results involves copying the Nvidia Control Panel program folder to your desktop, where you can open it directly:
Copy-Item "C:\Program Files\NVIDIA Corporation\Control Panel Client" -Destination "$env:USERPROFILE\Desktop\NVCP" -Recurse
Run this command in PowerShell with administrator privileges, then try launching the application from your desktop.
Adjusting Nvidia Service Settings
Sometimes the Nvidia Control Panel fails to open because related Windows services aren’t running properly.
Press Win+R, type “services.msc,” and press Enter. Look for services that start with “NVIDIA” in the list. Right-click each one and select “Properties.”
Make sure the “Startup type” is set to “Automatic” and that the service status is “Running.” If it’s not running, click the “Start” button to activate it.
The most important services to check include “NVIDIA Display Container LS” and “NVIDIA LocalSystem Container.” If these services keep stopping, you might need to check the Windows Event Logs for error messages.
Some users find that killing all Nvidia-related processes in Task Manager and then restarting them resolves the issue. Right-click the taskbar, select “Task Manager,” find any process with “Nvidia” in the name, right-click, and select “End task.”
Frequently Asked Questions
Many users encounter problems with the NVIDIA Control Panel not opening. These common issues have specific troubleshooting steps that can help resolve the problem and restore access to graphics settings.
What are the steps to troubleshoot the NVIDIA Control Panel failing to open on Windows 10?
First, restart the computer as this can resolve temporary system glitches. If that doesn’t work, try running the NVIDIA Control Panel as administrator by right-clicking the application icon and selecting “Run as administrator.”
Check Task Manager to ensure there are no hanging NVIDIA processes. End any NVIDIA-related processes that might be preventing the Control Panel from opening correctly.
Reinstalling the NVIDIA drivers can also help. Users should use Display Driver Uninstaller (DDU) to completely remove existing drivers before installing fresh ones from the official NVIDIA website.
How can users resolve the NVIDIA Control Panel not appearing after installing new drivers?
Users should verify that the NVIDIA services are running. They can check this by opening Services (type “services.msc” in the Run dialog) and looking for “NVIDIA Display Container LS” service.
If the service isn’t running, right-click it and select “Start.” Also set it to “Automatic” startup type to ensure it launches with Windows.
Sometimes the issue occurs because the Intel graphics are taking priority. Users can go to Device Manager, expand “Display adapters,” right-click the Intel graphics adapter, and select “Disable device” to force Windows to use the NVIDIA GPU.
What should be done if the NVIDIA Control Panel is missing from the desktop context menu?
Check if the Control Panel is available in the Start menu or Windows Control Panel first. If found, launch it from there and then enable the desktop context menu option in its settings.
If not found anywhere, reinstall the NVIDIA drivers. Download the latest drivers from NVIDIA’s website and select “Custom Installation” during setup.
During installation, make sure to check the box for “Perform a clean installation” to remove any corrupted settings. Also ensure “NVIDIA Control Panel” is selected during the installation process.
Is there a way to fix the NVIDIA Control Panel not opening after a Windows 11 update?
After a Windows 11 update, users should check for Windows updates again as Microsoft sometimes releases patches for compatibility issues. They should also look for newer NVIDIA drivers that are compatible with the latest Windows 11 build.
Sometimes the Windows 11 update changes system permissions. Right-click the NVIDIA Control Panel shortcut, select Properties, then the Compatibility tab, and check “Run this program as an administrator.”
If these steps don’t work, reinstalling the NVIDIA drivers using the DCH driver package from NVIDIA’s website often resolves issues specific to Windows 11.
What methods are available to manually start the NVIDIA Local System Container service when it doesn’t run?
Open Services by typing “services.msc” in the Run dialog (Win+R). Locate “NVIDIA Display Container LS” in the list of services.
Right-click this service and select “Start.” If it fails to start, check the error message for further troubleshooting guidance.
Users can also try restarting dependent services. Click the “Dependencies” tab in the service properties to see which other services might be affecting it, and ensure they’re running properly.
Are there specific NVIDIA driver versions known to cause the NVIDIA Control Panel to not open, and how can this be fixed?
Some users report issues with specific driver versions, particularly after major Windows updates. Versions released immediately after Windows feature updates sometimes have compatibility problems.
The best solution is to either roll back to a previous stable driver version or update to the newest available driver. Rollback can be done through Device Manager by right-clicking the NVIDIA GPU and selecting “Properties” > “Driver” > “Roll Back Driver.”
For persistent problems with multiple driver versions, users can try the Studio drivers instead of Game Ready drivers, as they tend to be more stable for general use. These can be downloaded from the NVIDIA website after selecting your GPU model.


