The Meta Quest 3 opens up a world of VR gaming possibilities, and connecting it to your PC expands these options even further. By linking your headset to a computer, you can access a wider library of games and experience enhanced graphics that standalone VR can’t match. There are three main ways to connect your Meta Quest 3 to a PC: using a USB cable (Link), wirelessly through Air Link, or with Virtual Desktop software.
Each connection method has its advantages. The wired Link option provides the most stable experience with minimal latency, making it ideal for fast-paced games. Air Link offers the freedom to move without cables while still accessing your PC’s processing power. Virtual Desktop is a paid third-party option that some users find more reliable than the official methods.
Getting started is simple. You’ll need the Meta Quest app installed on your PC, a compatible USB-C cable for wired connections, or a good Wi-Fi setup for wireless options. Your PC should meet the minimum specifications for VR gaming to ensure smooth performance no matter which connection method you choose.
How To Connect A Quest 3 To A PC
Connecting your Meta Quest 3 to a PC opens up access to powerful VR experiences, including SteamVR games and PC VR content that go beyond what’s available on the standalone headset. Here’s a complete breakdown of all the ways you can connect a Meta Quest 3 to a PC:
1. Meta Link Cable (Wired Connection)
Best for: Lowest latency and best visual quality
- What You Need:
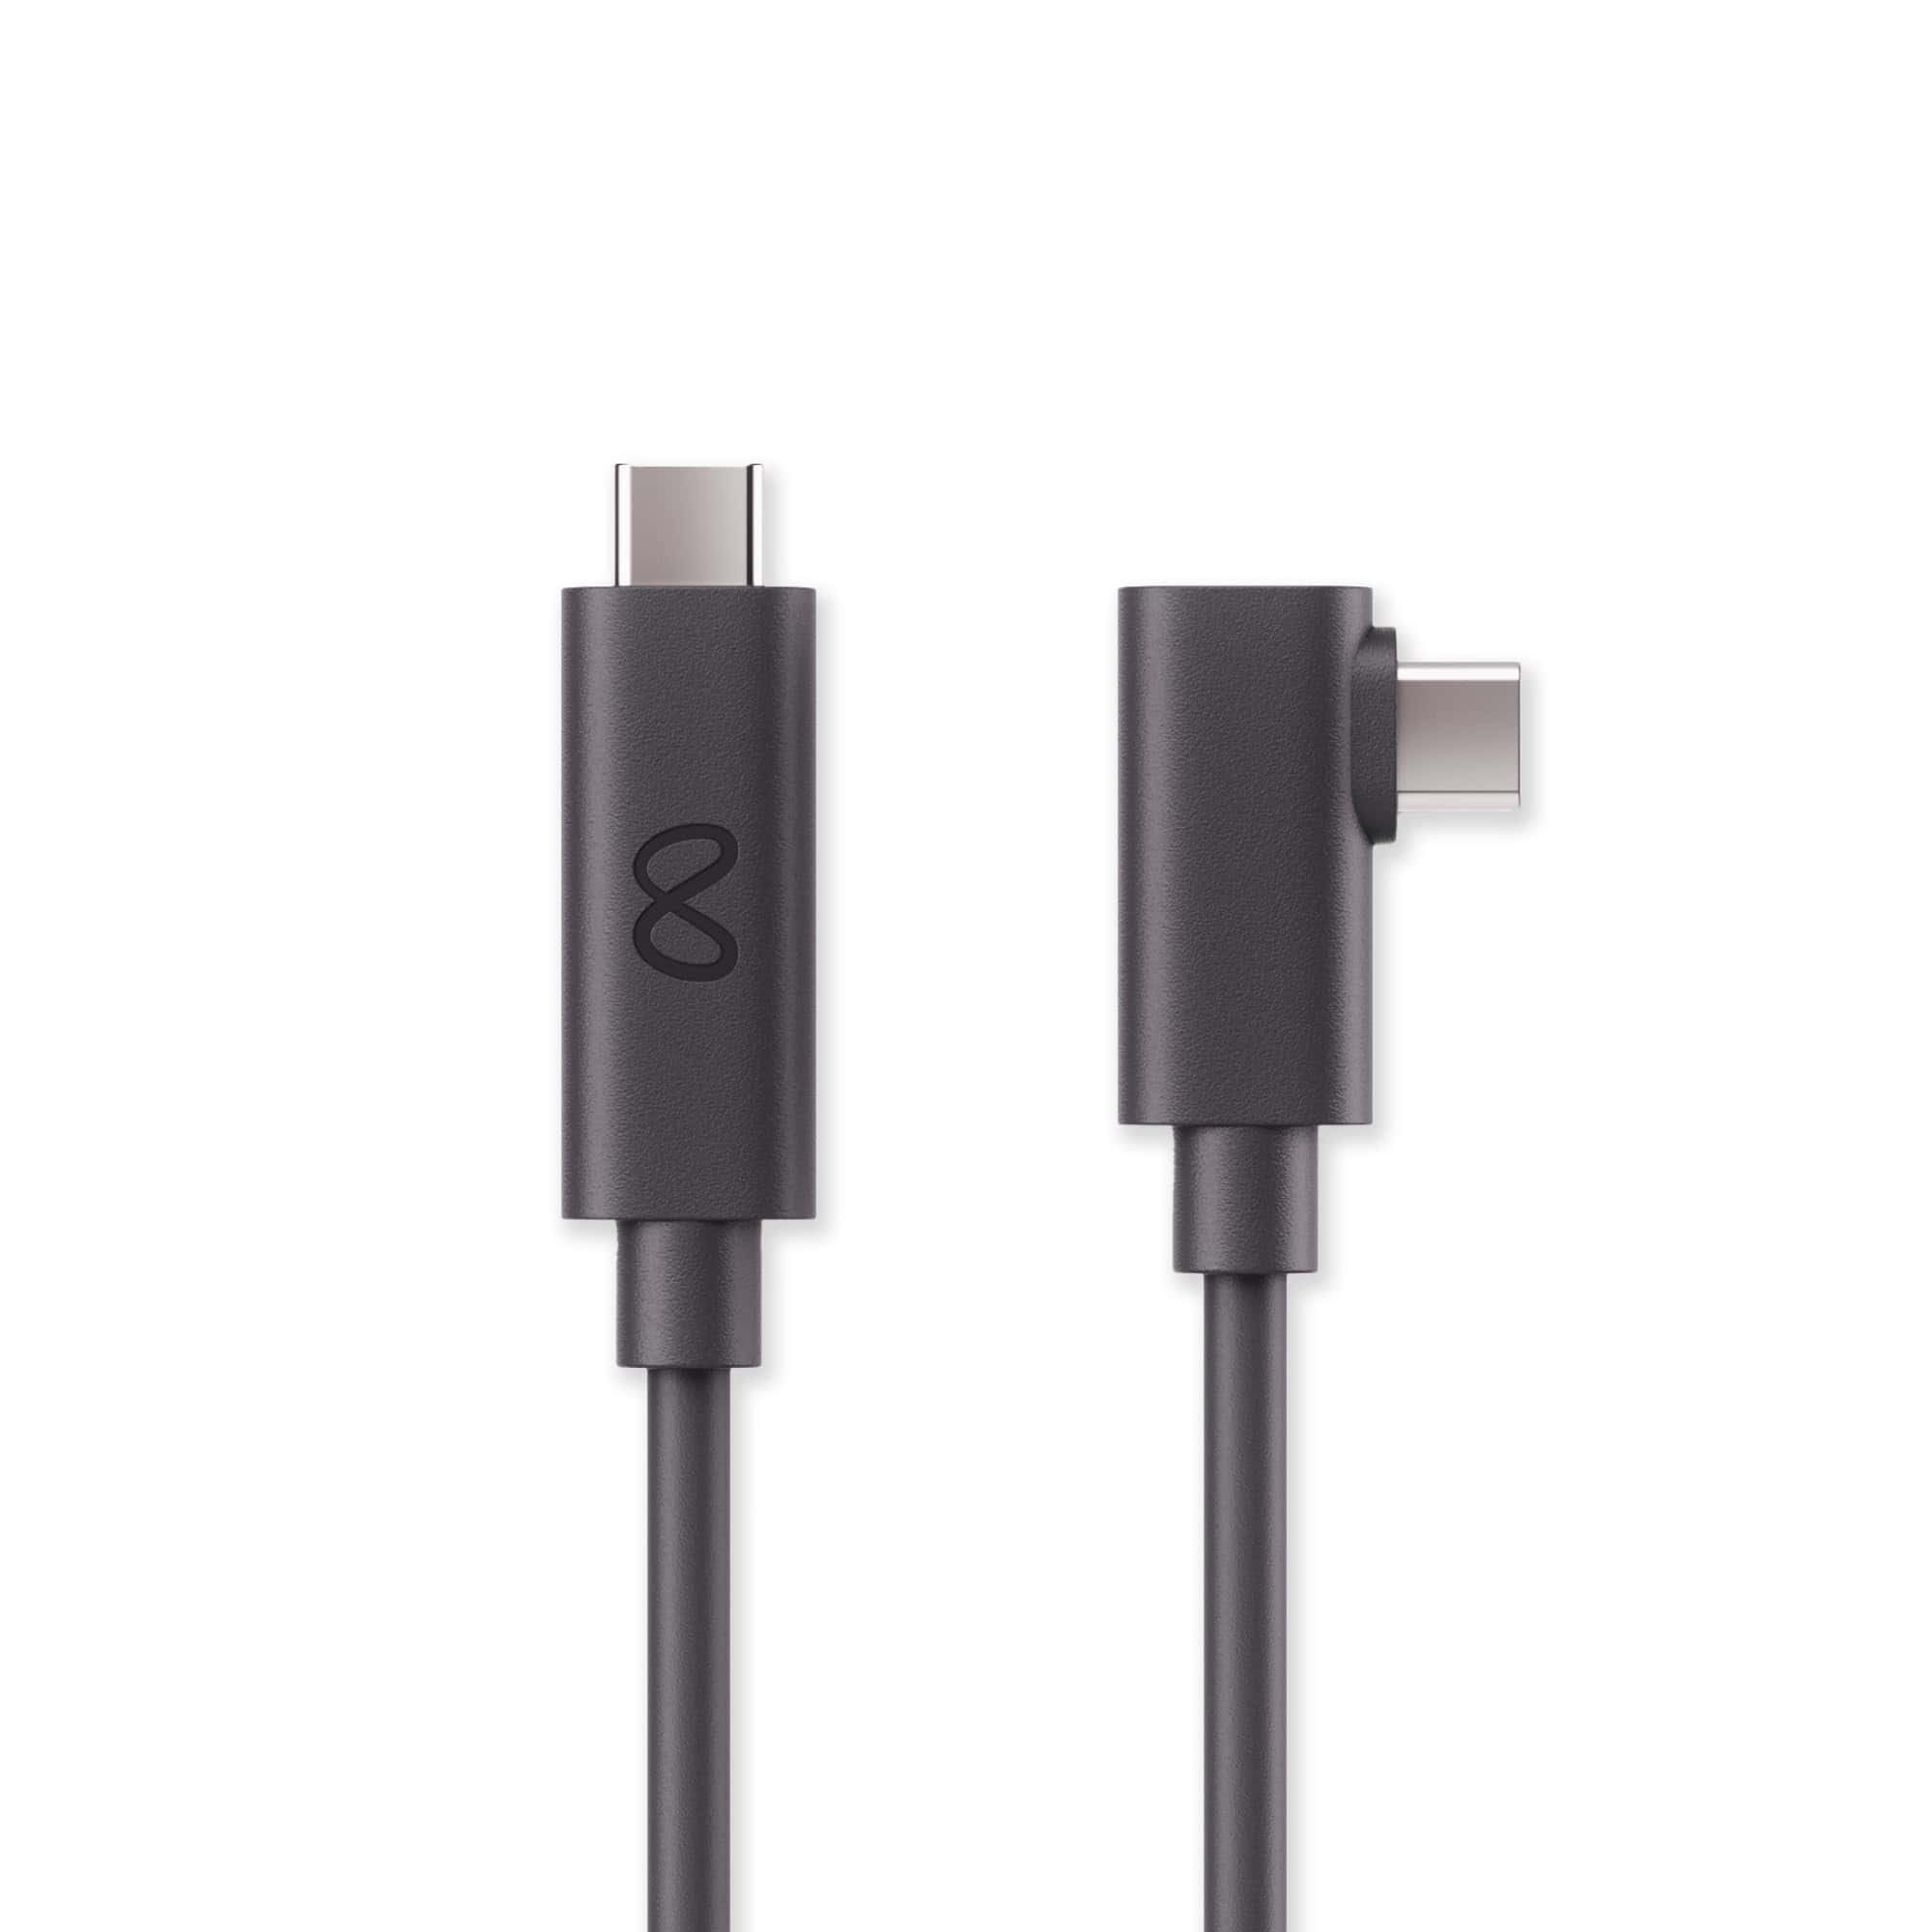
- A USB-C 3.0 (or higher) cable (Meta Link Cable or third-party equivalent)
- A compatible USB-C port on your PC
- How It Works:
- Connect the cable from your Quest 3 to your PC
- Open the Meta Quest app on your computer
- Select Devices > Add Headset > Quest 3
- Follow the prompts to enable Link Mode
- Pros:
- Stable connection, low latency, and high-quality graphics
- Ideal for demanding PC VR games
- Cons:
- You’re tethered by the cable
- Requires high-speed USB ports for optimal performance
2. Air Link (Wireless PC VR Over Wi-Fi)
Best for: Wireless freedom on local Wi-Fi
- What You Need:
- A Wi-Fi 6 router (or at least a strong 5GHz network)
- PC and Quest 3 connected to the same network
- How It Works:
- On your PC, open the Meta Quest app
- Go to Settings > Beta and enable Air Link
- On your Quest 3, go to Quick Settings > Settings > System > Air Link
- Pair your headset with your PC
- Pros:
- Completely wireless VR
- Smooth gameplay with good network conditions
- Cons:
- Performance depends on network quality
- Can experience compression artifacts or latency on weaker Wi-Fi setups
3. Virtual Desktop (Wireless Streaming with Added Features)
Best for: Enhanced wireless streaming with customization
- What You Need:
- Purchase Virtual Desktop from the Meta Quest Store
- Install Virtual Desktop Streamer on your PC (Download here)
- How It Works:
- Run Virtual Desktop Streamer on your PC
- Connect to your PC wirelessly through the Virtual Desktop app on Quest 3
- Pros:
- Highly customizable settings for bitrate, resolution, and performance
- Supports SteamVR and Oculus games
- Often lower latency than Air Link on the same network
- Cons:
- Costs $19.99 on the Quest Store
- Requires good Wi-Fi (preferably Wi-Fi 6) for best experience
4. Steam Link (Beta Support on Quest 3)
Best for: Direct wireless play of SteamVR games
- What You Need:
- Steam installed on your PC with SteamVR
- Install Steam Link Beta app on your Quest 3 (from the Meta Store)
- How It Works:
- Open Steam Link on Quest 3
- Connect to your PC and launch SteamVR games
- Pros:
- Direct connection to Steam library
- No need for extra apps like Virtual Desktop
- Cons:
- Still in beta, can be less stable
- May not offer the same quality or customization as Virtual Desktop
5. Sideloaded Streaming Apps (Advanced Users)
Best for: Experimental features and setups
- Options Include:
- ALVR (Air Light VR): Open-source wireless streaming solution
- Chiaki4VR: Experimental PS Remote Play (non-PC VR but still cool!)
- How It Works:
- Use SideQuest to sideload experimental apps
- Configure streaming through respective apps
- Pros:
- Open-source, free, and highly customizable
- Cons:
- Requires technical knowledge
- Less user-friendly, potential bugs
Important Tips for the Best Connection
✅ Use Wi-Fi 6 or 6E routers for optimal wireless experiences
✅ Connect your PC via Ethernet to reduce latency
✅ Keep your Quest 3 close to the router if using wireless
✅ Ensure your PC meets Meta Quest Link minimum specs (GPU, CPU, RAM)
Key Takeaways
- The Meta Quest 3 can connect to a PC via USB cable, Air Link wireless connection, or Virtual Desktop software.
- A USB 3.0 port and compatible cable are required for wired connections, while wireless methods need a stable Wi-Fi network.
- Your PC must meet minimum VR requirements for the best experience regardless of which connection method you choose.
Establishing the Connection
Connecting your Meta Quest 3 to a PC opens up a whole new world of VR experiences and games. There are several methods to establish this connection, each with its own setup process and requirements.
Using the Quest Link Cable
The most reliable connection method is through a physical USB-C cable. To get started, you’ll need a compatible USB-C cable that supports data transfer at USB 3.0 speeds or higher.
First, plug one end of the cable into a USB 3.0 port on your computer. The port is often colored blue on many PCs. Then connect the other end to the USB-C port on your Quest 3 headset.
When properly connected, a notification saying “USB Detected” will appear in your headset. You’ll need to allow access when prompted.
Open the Meta Quest app on your PC and select “Enable Link.” In your headset, you’ll need to approve the connection. Once established, your PC will recognize the headset as a display device.
Initiating a Wireless Connection via Air Link
Air Link offers a cable-free way to connect your Quest 3 to your PC. This method requires both devices to be on the same Wi-Fi network.
To begin, open the Meta Quest app on your PC and enable Air Link in the settings. Next, put on your headset and navigate to the Settings menu. Select the “System” option, then “Air Link.”
Your PC should appear in the available devices list. Select it and click “Pair.” You’ll receive a pairing code to confirm on both devices.
For optimal performance, use a 5GHz Wi-Fi connection and keep your router close to your play area. This minimizes latency issues during gameplay.
Setting Up Virtual Desktop for Streamed Connectivity
Virtual Desktop offers another wireless option with some advantages for PC VR gaming. Unlike Air Link, it requires purchasing the app from the Meta Quest Store.
After installation, download the Virtual Desktop Streamer application on your PC. Run the program and enter your Oculus username to link your devices.
Put on your headset and open the Virtual Desktop app. Your PC should appear in the list. Select it to establish the connection. The app’s interface gives you access to your PC desktop in VR.
Virtual Desktop includes custom settings for game performance and visual quality. Users can adjust latency settings, bitrate, and rendering quality to find the perfect balance between visual fidelity and smooth gameplay.
Software and Compatibility
To connect your Meta Quest 3 to a PC, you’ll need specific software and compatible hardware. The right setup ensures your VR experience runs smoothly whether you’re using a cable or wireless connection.
Installing Necessary Software
The Meta Quest app (formerly Oculus app) is essential for connecting your headset to a PC. Download it from the Meta website and follow the installation wizard. The app manages your VR library and handles the connection between your headset and computer.
After installation, create or log into your Meta account. The software will guide you through setting up either Link (wired) or Air Link (wireless) connections.
For Air Link, enable it in both the PC app and in the headset settings. For wired connections, simply connect your USB-C cable when prompted.
Some users prefer Virtual Desktop, a paid third-party app that offers an alternative way to connect wirelessly. It requires installation on both your PC and headset.
Compatibility with Windows and Mac Systems
Meta Quest 3 officially supports Windows 10 and 11 operating systems. Your PC needs to meet minimum specifications including:
- Intel i5-4590/AMD Ryzen 5 1500X or greater
- At least 8GB RAM
- Compatible GPU (NVIDIA GTX 1060/AMD Radeon RX 480 or better)
- USB 3.0 port for wired connections
Mac compatibility is limited. While M1 and M2 Macs have powerful hardware, official Meta Quest software doesn’t support macOS. Some users work around this using Virtual Desktop and Windows emulation, but performance may vary.
For the best experience, a gaming-oriented Windows PC with a dedicated graphics card is recommended. Check Meta’s official compatibility tool on their website to verify if your computer meets requirements before purchasing VR games.
Frequently Asked Questions
Connecting a Meta Quest 3 to a PC offers expanded gaming and application options. Here are answers to common questions about the connection process, requirements, and troubleshooting tips.
What steps are required to connect the Meta Quest 3 to a PC using a USB cable?
To connect a Meta Quest 3 to a PC with a USB cable, users need a high-quality USB 3.0 cable. The cable should be plugged into a USB 3.0 port on the computer and the other end into the headset.
After connecting the cable, users need to put on their headset and watch for a prompt asking permission to allow access to data. Once permission is granted, the Meta Quest Link software on the PC will detect the headset.
The final step involves enabling Oculus Link from within the headset menu, which will switch the display from the Quest interface to the PC interface.
How can I wirelessly link my Meta Quest 3 to a computer?
Air Link allows wireless connection between the Meta Quest 3 and a PC. Users must first ensure both devices are connected to the same Wi-Fi network, preferably 5GHz for optimal performance.
The Meta Quest app must be installed on the PC with Air Link enabled in the settings. In the headset, users navigate to Settings, select Air Link, and pair with the PC when it appears in the available devices list.
Once paired, the connection works similar to a wired link but without the physical tether. Users may need to adjust settings for best performance based on their network conditions.
What is the process to set up the Meta Quest app on a PC for syncing with the Meta Quest 3?
Setting up the Meta Quest app begins with downloading it from the official Meta website. After installation, users sign in with their Meta account—the same one used on their Quest 3 headset.
The app guides users through a setup process that includes detecting the headset. Users should ensure Bluetooth is enabled on their PC for the initial pairing process.
Once the app detects the nearby Quest 3, it will prompt for confirmation on both devices. After confirmation, the app will be ready to manage the headset, install games, and enable features like Link and Air Link.
Can the Meta Quest 3 be cast to a PC, and if so, what are the instructions?
Yes, the Meta Quest 3 can be cast to a PC using the Meta Quest app. Users need to open the app on their computer and select the casting option from the menu.
The headset must be powered on and connected to the same network as the PC. In the app, users select their Quest 3 from the available devices list to begin casting.
Once the connection is established, the PC screen will display what the user sees in the headset. This feature is useful for sharing the VR experience with others or recording gameplay.
What are the prerequisites for using Air Link to connect the Meta Quest 3 to a PC?
Air Link requires a compatible PC with at least Windows 10 and a router that supports 5GHz Wi-Fi. The PC should meet the minimum specifications for VR, including a compatible GPU and processor.
Both the Quest 3 and PC must be connected to the same Wi-Fi network, and the connection needs to be stable with minimal interference. A dedicated router for VR often provides the best experience.
Users should also ensure their Meta Quest app is updated to the latest version, as outdated software may cause connection issues or limited functionality.
Is there a specific PC application required for the Meta Quest 3 to interface with a computer?
Yes, the Meta Quest app (formerly known as Oculus app) is required to interface the Quest 3 with a PC. This application handles device management, game installation, and Link connection settings.
For those wanting to play PC VR games, the app includes Oculus Link functionality. The app must be installed and set up before attempting to connect the headset via cable or Air Link.
Some users also use third-party applications like Virtual Desktop, which provides additional features for connecting to a PC beyond what the official app offers.


