
Scheduling emails in Outlook can boost your productivity and help manage your time better. This feature lets you write messages when it’s convenient for you and send them later. You can schedule emails in Outlook by clicking the “Send” button dropdown and selecting “Schedule Send”.
Many people don’t know about this useful tool. It’s great for sending work emails outside of business hours or making sure important messages arrive at the right time. You can pick from preset times or set a custom date and time for your email to go out.
Using scheduled send can make your work life easier. It helps you stay on top of tasks and communicate more effectively. Plus, it gives you control over when your messages reach others’ inboxes.
Scheduling Emails in Outlook
In today’s fast-paced world, timing is everything, even when it comes to sending emails. Outlook’s “Schedule Send” feature allows you to compose emails in advance and have them sent at a specific date and time. This can be useful for various reasons, such as sending birthday wishes at midnight or following up with a client after a meeting.
Steps to Schedule Send in Outlook:
- Compose Your Email: Open a new email window in Outlook and compose your message as you normally would.
- Access the Options Tab: Click on the “Options” tab in the top ribbon of the email window.
- Delay Delivery: In the “More Options” group, click on the “Delay Delivery” button.
- Set the Delivery Time: In the “Properties” window that appears, check the box next to “Do not deliver before” and select the desired date and time for your email to be sent.
- Close and Send: Click on the “Close” button to save your settings. Then, click on the “Send” button as you normally would. Outlook will hold your email and send it at the scheduled time.
Additional Tips:
- Double-check the Time Zone: Make sure the time zone is set correctly in the “Properties” window, especially if you’re sending emails to recipients in different time zones.
- Edit Scheduled Emails: If you need to make changes to a scheduled email, go to your “Outbox” folder, open the email, and click on the “Delay Delivery” button again to modify the delivery time.
- Use “Send Later” Add-ins: If you need more advanced scheduling features, consider using third-party add-ins like “Send Later” or “Boomerang” that offer additional options like recurring emails and follow-up reminders.
Key Takeaways
- Outlook’s Schedule Send feature lets you write emails now and send them later
- You can choose preset times or set a custom date and time for email delivery
- Scheduling emails helps manage work-life balance and improves communication timing
Understanding Email Scheduling in Outlook
Email scheduling in Outlook lets users send messages at preset times. This feature works across different Outlook versions and offers flexibility for managing communications.
The Basics of Scheduled Emails
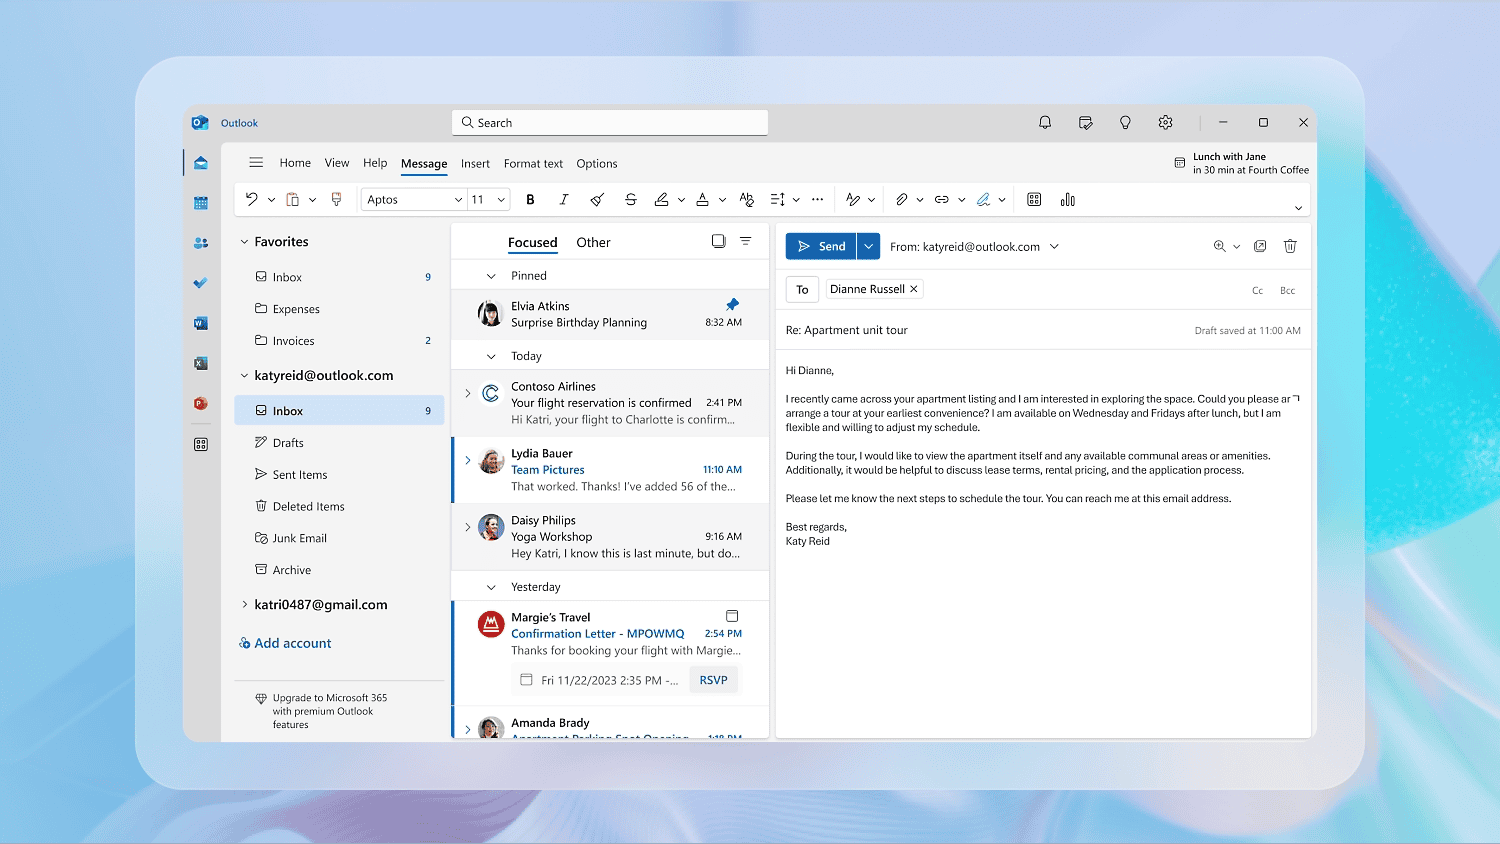
Outlook’s schedule send feature allows users to pick when an email will be sent. To use it, write your email as usual. Before sending, click the dropdown next to the Send button. Choose “Schedule Send” from the options.
You can pick from preset times or set a custom date and time. Once you select a time, click Send. The email will stay in your Drafts folder until the chosen time.
Remember, Outlook must be open for scheduled emails to send. If Outlook is closed at the set time, the email will send when you next open the program.
Outlook Versions and Scheduling Features
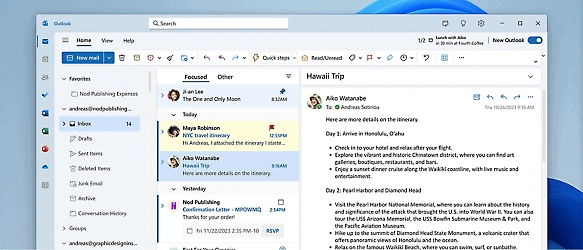
Different Outlook versions offer email scheduling. Desktop Outlook, Outlook for Microsoft 365, and Outlook on the web all have this feature. The new Outlook for Windows also includes scheduling options.
Each version may have slightly different steps to schedule an email. In most cases, you’ll find the option near the Send button. Some versions might offer extra features like scheduling suggestions based on recipient time zones.
Check your Outlook version’s help section for exact steps. This ensures you’re using the most up-to-date method for your specific Outlook version.
Setting up Email Scheduling
Outlook offers several ways to schedule emails. Users can pick when to send messages and set up delays for their emails.
Choosing the Right Delivery Options
To schedule an email in Outlook, start by writing your message. Click the “Send” button dropdown and select “Schedule Send.” You’ll see some preset times to choose from. Pick one of these or set your own time.
If you want a custom time, click “Send Later” and pick the date and time you want. Your email will stay in the Outbox until then. Outlook must be open for scheduled emails to send.
Remember, you can change or cancel a scheduled email before it sends. Just open the message from your Outbox and click “Send Now” or change the schedule.
Navigating the Send Later Function
The Send Later feature is easy to use. After writing your email, look for the “Send” button at the top of the message. Click the small arrow next to it to see more options.
Choose “Schedule Send” from the list. A calendar will pop up. Pick the date and time you want to send your email. Click “Send” when you’re done.
Your email will wait in the Outbox until the set time. If you need to make changes, you can find the email there and edit it before it goes out.
Utilizing Delay Delivery
Delay Delivery is a tool that holds your emails for a set time before sending. This is great if you often send emails at odd hours or want to give yourself time to make changes.
To use Delay Delivery, go to File > Options > Mail. Look for the “Defer delivery” section. Check the box that says “Do not deliver before” and set a time. This will apply to all emails you send.
You can also set this for just one email. While writing, go to the Options tab and click “Delay Delivery.” Choose how long to wait before sending.
Best Practices and Further Considerations
Scheduling emails in Outlook can boost productivity and improve communication. It’s important to use this feature wisely and avoid common pitfalls.
Managing Scheduled Communication
Set up a system to track scheduled emails. Create a folder for pending messages and check it regularly. This helps prevent forgetting about important communications.
Use scheduling for non-urgent messages. Send time-sensitive info right away to avoid delays. Think about the recipient’s working hours when picking send times.
Take advantage of Outlook’s “Do Not Deliver Before” option. This lets you prepare emails in advance but control when they arrive. It’s useful for coordinating team updates or announcements.
Consider using Viva Insights if available. This tool can suggest optimal times to send emails based on recipient activity patterns.
Avoiding Common Mistakes
Double-check the scheduled time and date before sending. It’s easy to make a typo that could cause problems. Pay extra attention to AM/PM settings.
Review scheduled emails in your Outbox or Drafts folder. You can still edit or cancel them if needed. This is helpful if new information comes up after scheduling.
Make sure Outlook is running at the scheduled send time. If it’s closed, emails won’t go out until you open it again. For critical messages, keep Outlook open or use a cloud-based solution.
Be careful with recurring emails. They can clutter inboxes if not managed well. Use them sparingly and review periodically to ensure they’re still needed.
FAQs
Can I schedule recurring emails in Outlook?
Outlook’s built-in “Schedule Send” feature doesn’t support recurring emails. However, you can use third-party add-ins like “Send Later” or “Boomerang” to schedule recurring emails.
What happens if I’m offline when a scheduled email is supposed to be sent?
Outlook will attempt to send the email as soon as you’re back online. If you remain offline for an extended period, the email may not be sent until you reconnect to the internet.
Can I cancel a scheduled email in Outlook?
Yes, you can cancel a scheduled email by going to your “Outbox” folder, opening the email, and clicking on the “Cancel Send” button in the “Properties” window.
Does the recipient know that the email was scheduled?
No, the recipient won’t see any indication that the email was scheduled. It will appear as a regular email in their inbox.
Can I schedule emails on the Outlook mobile app?
Yes, you can schedule emails on the Outlook mobile app by following similar steps as on the desktop version. Look for the “Schedule Send” or “Delay Delivery” option in the email settings.