Installing a privacy screen on your iPhone can help keep your personal information away from prying eyes. Such screens are designed to limit the viewing angle of your phone display, so only the person holding the phone can see the content clearly. This feature is useful in crowded places like public transport, cafes, or offices where you might be using sensitive applications.
To add a privacy screen to your iPhone, the first step is selecting a screen protector that fits your device model. The market offers various types of privacy screens ranging from adhesive to static cling varieties. Once you obtain the right screen, clean your iPhone’s display thoroughly to remove fingerprints and dust. This ensures the screen adheres properly without bubbles or gaps.
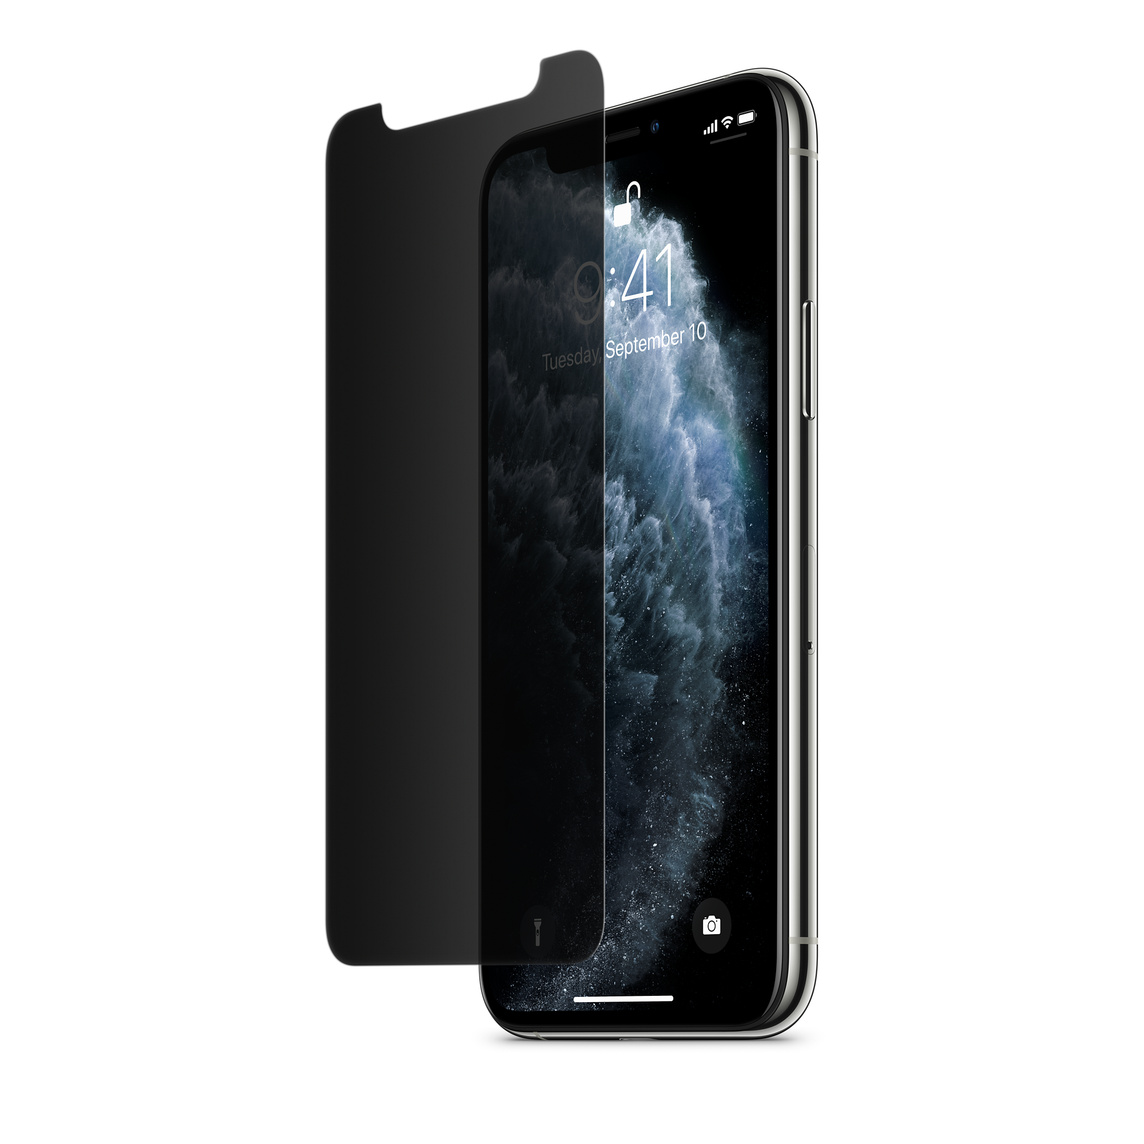
Protect Your iPhone Screen with a Privacy Screen Protector
Privacy screen protectors add an extra layer of security to your iPhone. It limits viewing angles, making it tough for others to sneak a peek. Here’s a simple guide on how to install one:
What You’ll Need
- Privacy Screen Protector: Choose one specifically designed for your iPhone model.
- Microfiber Cloth: Lint-free microfiber is perfect for cleaning your phone screen.
- Cleaning Wipe (Optional): An alcohol-based screen cleaner can help remove fingerprints and smudges.
Installation Steps
- Clean and Prep: Turn off your iPhone. Use the microfiber cloth (and an optional cleaning wipe) to thoroughly clean your screen. Aim for a dust-free and spotless surface.
- Peel and Align: Carefully remove the backing from the privacy screen protector. Align it precisely with your iPhone screen, ensuring the camera and speaker cutouts match perfectly.
- Apply and Smooth: Start by placing one edge of the protector down on your screen. Then, slowly and gently smooth it out towards the opposite edge, pushing any air bubbles outward.
- Final Wipe-down: Use the microfiber cloth to give the screen a final clean, removing any lingering smudges or fingerprints.
Tips
- Work in Cleanliness: Install the screen protector in a dust-free area.
- Avoid Repositions: Try to align perfectly on the first attempt as repositioning can cause bubbles or attract more dust.
- Check Compatibility: Some privacy screen protectors can slightly dim the screen or interfere with Face ID (depending on thickness).
Choosing a Privacy Screen Protector
Consider these factors when picking the ideal protector for your iPhone:
| Factor | Considerations |
|---|---|
| Durability | Opt for tempered glass for stronger protection against scratches and small drops. |
| Darkness | Decide how dark you want the privacy filter to be. Consider how often you use your phone around others. |
| Viewing Angle | Some protectors offer 2-way privacy (side views) others 4-way privacy (including top and bottom). |
| Price | Privacy screen protectors range in price based on brand and added features. |
Note: Most modern privacy screen protectors are designed to be as case-friendly as possible.
Key Takeaways
- A privacy screen prevents others from viewing your iPhone display.
- Choose a compatible screen protector for your iPhone model.
- Clean your phone’s display before applying the privacy screen.
Setting Up a Privacy Screen on Your iPhone
iPhone users value their privacy. This section will guide them through selecting the right screen, applying it correctly, and adjusting their device for better privacy.
Selecting the Right Privacy Screen
The best privacy screen for an iPhone matches the user’s specific iPhone model. Brands like Zagg offer privacy screens that promise compatibility. Users should ensure the privacy screen fits their model precisely. The right product will cover the entire active area of the display but will not interfere with the case or sensors for Touch ID or Face ID.
Applying the Privacy Screen
Proper application involves a clean display and careful alignment:
- Clean the screen with a microfiber cloth to remove fingerprints and dust.
- Peel off the backing of the privacy screen to expose the adhesive.
- Align the privacy screen with the iPhone’s display, starting from the top. Press the privacy screen onto the display, starting from the center and moving outward to avoid bubbles.
Adjusting Display Settings for Optimal Privacy
Once the privacy screen is in place, users might need to tweak their iPhone settings for best results.
- Increase screen brightness if the privacy screen makes the display too dim.
- Adjust text size for clarity via Settings > Accessibility > Display & Text Size.
- Confirm Touch ID or Face ID is active for security under Settings > Touch ID/Face ID & Passcode.
By selecting the appropriate privacy screen, applying it with care, and adjusting settings, users enhance their privacy on the iPhone.


