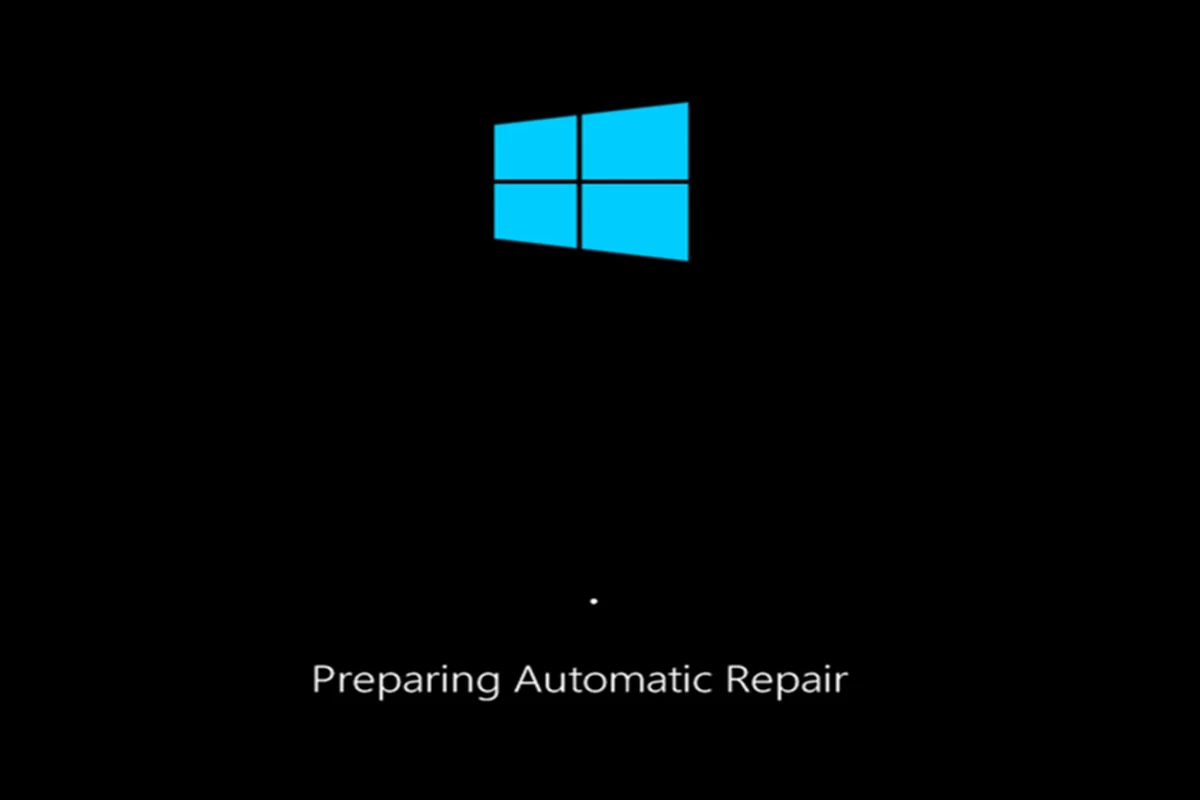
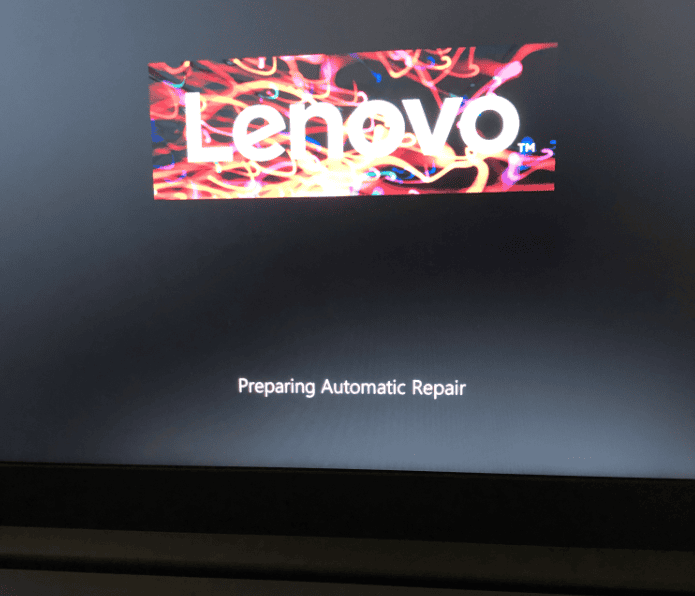
If your Lenovo Laptop running Windows 10 or Windows 11 encounters a startup error, it may activate an automatic repair process called “Preparing Automatic Repair.” This process is meant to find and fix problems preventing the operating system from starting correctly. Sometimes, however, the repair process can get stuck in a loop, leaving users stuck seeing a “Diagnosing Your PC” message with no progress.
To fix the Preparing Automatic Repair loop, you can try running system restores, booting in safe mode, undoing recent updates, checking for hardware issues, or if necessary, resetting the PC or performing a clean installation of Windows. The goal is to break the cycle and restore normal boot functions without losing important data. Troubleshooting a Lenovo computer stuck on “Preparing Automatic Repair” involves various steps, from simple restarts to more advanced repairs. With patience and persistence, you should be able to get your device back up and running.
Encountering the “Preparing Automatic Repair” message on your Lenovo device can be frustrating. It often signals an underlying issue that the system is attempting to fix. Here’s a breakdown of common causes and potential solutions:
Understanding the “Preparing Automatic Repair” Loop
When your Lenovo device boots up with this message, it’s entering a diagnostic and repair mode. It’s trying to identify and resolve problems that prevent Windows from starting normally. However, sometimes it gets stuck in a loop, repeatedly attempting repairs without success.
Common Causes
Corrupted System Files: Missing or damaged system files can trigger the automatic repair process.
Hard Drive Issues: Problems with your hard drive, such as bad sectors or a failing drive, can prevent Windows from booting correctly.
Boot Configuration Errors: Issues with the Boot Configuration Data (BCD) can disrupt the startup process.
Recent Hardware or Software Changes: New hardware installations or software updates can sometimes conflict with the system and lead to startup failures.
Troubleshooting Steps
Wait it out: Sometimes the repair process can take a while. Give it at least 30 minutes to complete.
Hard Reboot: If it’s stuck, force shut down your device by holding the power button for 10 seconds. Turn it back on and see if it boots normally.
Boot into Safe Mode: Try accessing Safe Mode to troubleshoot further. Repeatedly press F8 or Shift+F8 during startup to access the Advanced Boot Options menu.
System Restore: If you have a recent restore point, try restoring your system to a previous state.
Startup Repair: Use the Windows Recovery Environment (WinRE) to run Startup Repair, which can fix many boot-related issues.
Check Disk for Errors: Run the ‘chkdsk’ command in the Command Prompt (accessed through WinRE) to scan and repair disk errors.
Rebuild BCD: Use the ‘bootrec’ commands in the Command Prompt to rebuild the BCD.
Reinstall Windows: If other options fail, you might need to reinstall Windows. Back up your data first!
Hardware Check: If none of the software solutions work, it’s possible there’s a hardware issue. Consider contacting Lenovo support or a technician.
Troubleshooting Table
Issue
Possible Causes
Solutions
Stuck in “Preparing Automatic Repair” loop
Corrupted system files, hard drive issues, boot configuration errors, recent hardware/software changes
Wait, hard reboot, boot into Safe Mode, System Restore, Startup Repair, check disk, rebuild BCD, reinstall Windows, hardware check
What Does Preparing Automatic Repair Mean?
Feature
Description
Purpose
Diagnose and potentially fix issues preventing your computer from booting up normally.
Trigger
Automatic Repair is triggered when Windows detects errors during startup that might stop your computer from functioning properly.
Process
– Scans system files for corruption. – Attempts to repair corrupted files or identify the cause of the boot failure.
Outcome
– Successful repair: Windows boots up normally. – Repair failure: You’ll see an error message or be presented with recovery options.
The time to complete Automatic Repair can vary greatly, ranging from a few minutes to over an hour depending on the severity of the problem.
Key Takeaways
Automatic Repair is a Windows feature designed to fix boot-up issues.
A loop can occur when Automatic Repair fails to resolve the problem.
Troubleshooting can involve various repair strategies and may require a fresh installation.
Understanding Automatic Repair
When Windows encounters a problem during startup, Automatic Repair kicks in as a first-line remedy. This built-in tool attempts to fix common issues that prevent the system from booting properly.
Automatic Repair Loop
Sometimes, instead of solving startup issues, Automatic Repair can fall into a continuous loop, leaving users stuck. This loop often manifests as a persistent “Preparing Automatic Repair” or “Diagnosing Your PC” message. In other cases, the loop might end with “Automatic repair couldn’t repair your PC,” after which the system attempts to restart and enters the loop again. The root of this problem often lies in corrupt system files, registry errors, or faulty hardware drivers.
Common triggers of the Automatic Repair loop can include:
Sudden power losses or improper shutdowns
Malware or viruses
Corrupted boot or system files
Faulty updates or driver installations
What to Do If “Preparing Automatic Repair” Doesn’t Work
Difficulty
Action
Description
Easy
Force Restart
1. Hold down the power button for at least 10 seconds to completely shut down your computer. 2. Wait for a few seconds and then press the power button again to restart.
Easy
Boot into Safe Mode
1. While your computer restarts, try repeatedly pressing a function key like F4, F5, or F8 depending on your device to enter the boot menu (consult your manufacturer’s manual if unsure). 2. Look for an option like “Safe Mode” and select it to boot with minimal programs and drivers. 3. In Safe Mode, you might be able to troubleshoot the issue or perform a system restore.
Moderate
Disable Automatic Repair (For Advanced Users)
Warning: This method involves editing system files and carries some risk. Only proceed if you are comfortable. 1. You’ll need a Windows installation media or recovery drive. Boot from the media and choose “Repair your computer” option. 2. Navigate to Troubleshoot > Advanced Options > Command Prompt. 3. Type the following command and press Enter: bcdedit /set {default} bootstatus policy ignore 4. Restart your computer. Automatic Repair should be skipped. 5. Now you can try other troubleshooting methods or reinstall Windows.
Difficult
Refresh/Reset PC or Reinstall Windows
If the above methods fail, you may need to reset your PC. This will erase your data and reinstall Windows. 1. Boot into the Windows Recovery Environment (refer to instructions for “Disable Automatic Repair”). 2. Choose “Troubleshoot” and then “Refresh this PC” or “Reset this PC”. “Refresh” keeps your personal files but removes apps and settings. “Reset” removes everything. 3. Alternatively, you can choose “Reinstall Windows” to completely wipe your drive and install a fresh copy of Windows. Important: Back up your data before using these options.
Components of Automatic Repair
When Automatic Repair is initiated, it runs through several diagnostic and repair tasks to fix known startup problems. Its components include:
Startup Repair: It tries to fix problems that are keeping Windows from loading.
System Restore: This feature rolls back the system to an earlier point where everything was working correctly.
Boot File Repair: Automatic Repair checks and fixes issues with boot files, Boot Configuration Data (BCD), and the boot sector.
The Automatic Repair tool may perform tasks such as:
Checking the disk for errors
Scanning and repairing damaged system files
Restoring registry from a backup
Under the hood, tools like “BCDEdit” might be used to configure the boot loader or to set “RecoveryEnabled” to NO, which can help stop the loop issue for advanced users. The repair processes are part of the Windows Recovery Environment (WinRE), a specialized recovery service offered by the Windows operating system.
Table: Automatic Repair Functions
Function
Description
Startup Repair
Fixes problems preventing Windows from booting
System Restore
Restores system to an earlier point in time
Boot File Repair
Fixes issues with boot files and configurations
These integral parts work in tandem to diagnose the boot issue, fix the problems, and help the computer to start properly. If Automatic Repair fails, it might be necessary to pursue advanced troubleshooting, which could include command-line repairs, resetting the PC, or in extreme cases, reinstalling Windows.
Resolving Automatic Repair Issues
When a Windows PC encounters a problem during boot or suffers from system instabilities, Automatic Repair is a built-in troubleshooting feature designed to tackle these issues. This section focuses on methods to resolve Automatic Repair problems and keep your computer functioning smoothly.
Diagnostic and Repair Tools
Safe Mode: Start your computer in Safe Mode to run essential diagnostics without interference from third-party software. This mode can help identify and solve driver or software conflicts that might cause Windows startup problems.
In Safe Mode:
Chkdsk (Check Disk): Utilize this command to check the integrity of your hard drive and fix file system errors.
Sfc /scannow (System File Checker): Deploy this tool to repair missing or corrupted system files.
Fixboot: Apply this command when the boot sector needs repair.
Memory Diagnostics: Run this tool to check for memory issues.
Advanced Recovery Options
Reset Your PC: This option reinstalls Windows but gives you the choice to keep or remove your personal files. It can correct deep-seated system errors without affecting your personal data when chosen accordingly.
When your PC boots to the Automatic Repair screen:
Insert the installation media and choose to boot from it.
Navigate to Troubleshoot > Reset this PC. Choose Keep my files for a less drastic option or Remove everything to fully reset.
System Restore: If you have previously set up a Windows restore point, use System Restore to revert your PC’s system files, settings, and apps to a previous state where things worked correctly.
To access System Restore:
Steps:
Select Advanced options from the Automatic Repair screen.
Click on System Restore and follow the prompts to select a restore point.
Disable Automatic Repair: Sometimes, disabling Automatic Repair can stop the loop and allow access to further troubleshooting.
To disable Automatic Repair:
Launch Command Prompt and enter:
bcdedit /set {current} recoveryenabled no
Preventive Measures and Maintenance
Regular maintenance can often prevent issues from occurring in the first place. Below are some strategies to keep your system running well:
Backup: Regularly back up important files and system states to avoid data loss.
Updates: Make sure to install the latest Windows updates to improve security and system stability.
Anti-malware Protection: Use reliable anti-virus software to prevent and remove malware, which can cause serious system issues.
Drivers and Hardware: Keep hardware drivers up to date and check for hardware failures that might affect your computer’s ability to run properly.
Adhering to these guidelines and using the tools Windows provides can significantly reduce the occurrence of boot errors and Automatic Repair loops.
Frequently Asked Questions
When faced with issues related to ‘Preparing Automatic Repair’ on a Windows computer, it can be quite stressful. This section aims to address common concerns and provide actionable solutions.
How do I resolve the ‘Preparing Automatic Repair’ boot loop on Windows 10?
If your Windows 10 device continuously restarts to ‘Preparing Automatic Repair,’ a forced shutdown is your first step. Press and hold the power button for 10 seconds to shut down. Turn on the PC after a minute. If this doesn’t work, boot from Windows installation media, select ‘Repair your computer,’ and choose ‘Startup Repair.’
What should I do when my computer is stuck on ‘Preparing Automatic Repair’ on Windows 11?
With a Windows 11 computer stuck on the repair screen, a similar approach to Windows 10 applies. Hold the power button to perform a hard shutdown. After restarting, if the issue persists, use recovery media to access the Windows Recovery Environment and choose ‘Startup Repair’ or ‘System Restore.’
Why does my laptop continuously boot into automatic repair, and how can I fix it?
This loop often indicates system file issues or hardware conflicts. To fix it, access the recovery options by using installation media. From there, try ‘Startup Repair.’ If that doesn’t solve the problem, a ‘System Restore’ or ‘Command Prompt’ to run ‘chkdsk’ might be necessary.
My screen is black after my PC attempted to initiate ‘Preparing Automatic Repair.’ What are the next steps?
A black screen signifies a more severe issue, but it can sometimes be fixed with a hard reset. If that doesn’t resolve the problem, external devices might be causing conflicts. Unplug all peripherals and restart the computer. If there’s still no display, boot from installation media and select ‘Repair your computer.’
How long should I wait during ‘Preparing Automatic Repair’ before taking action?
Typically, give it about 10 to 15 minutes. If the process hasn’t moved on from ‘Preparing Automatic Repair’ within this time frame, you’re likely experiencing a loop or freeze, which requires a manual restart and potentially further troubleshooting steps.
What are the steps to disable the automatic repair feature on my Windows 7 computer?
Disabling automatic repair on Windows 7 isn’t recommended, but it can be done for troubleshooting. Start your computer and press ‘F8’ before Windows starts to load. Choose ‘Disable automatic restart on system failure.’ Be mindful that disabling this feature stops Windows from fixing certain issues automatically.