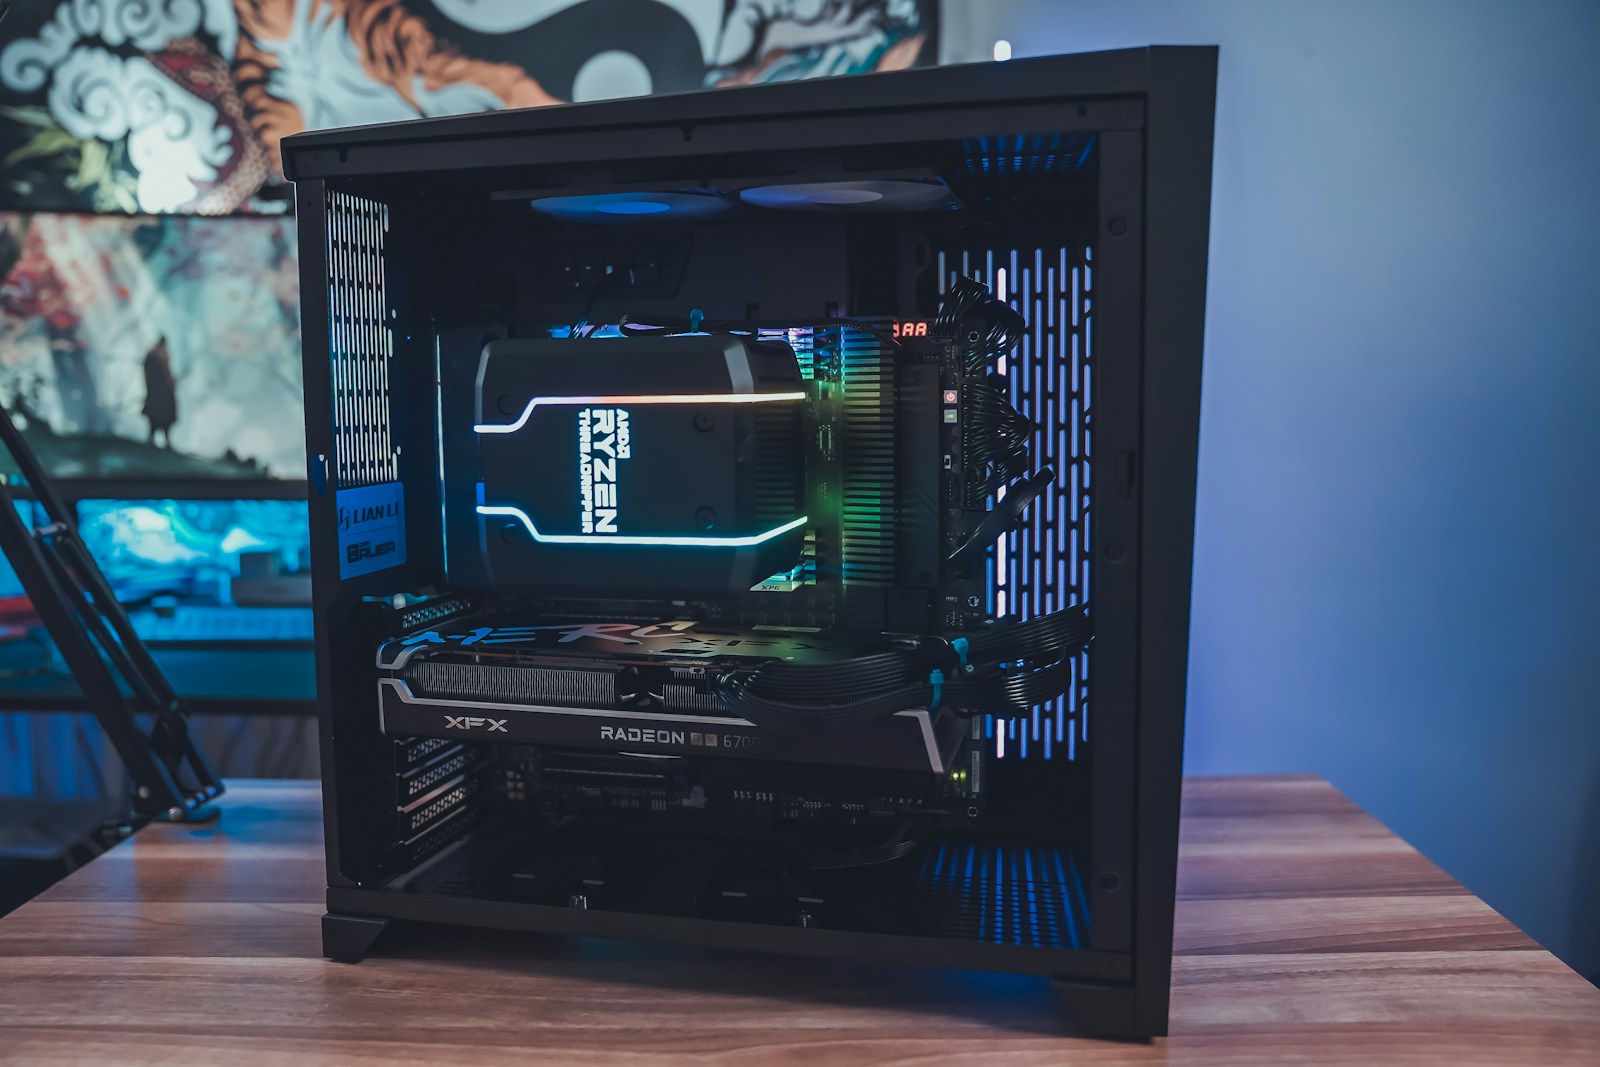
Building a PC involves more than just assembling parts; it’s an opportunity to create a machine tailored to your specific needs. Whether you’re interested in gaming, productivity, or general use, the process can be both rewarding and educational. Custom PCs often save money compared to pre-built options while delivering superior performance.
With the right components and a clear plan, you can build a system that outperforms many off-the-shelf solutions. This guide aims to simplify the process, helping you choose, assemble, and optimize your PC with confidence.
Step-by-Step Guide to Building a Custom PC
Understanding Your Goals and Budget
Before purchasing parts, define the purpose of your PC. Are you planning to game, edit videos, or use it for everyday tasks? Each use case has distinct requirements. Establish a realistic budget, ensuring that you allocate more funds for critical components like the CPU and GPU if performance is a priority.
Budget Allocation Example
| Component | Percentage of Budget | Example Cost (for $1000 PC) |
|---|---|---|
| CPU | 25% | $250 |
| GPU | 35% | $350 |
| Motherboard | 15% | $150 |
| RAM | 10% | $100 |
| Storage | 10% | $100 |
| PSU | 5% | $50 |
Gathering Your Tools
You’ll need a Phillips-head screwdriver, cable ties, and possibly an anti-static wrist strap. Avoid working on a carpet to reduce static discharge risks. Use a flat, well-lit surface for assembly.
Picking the Right Components
CPU and GPU
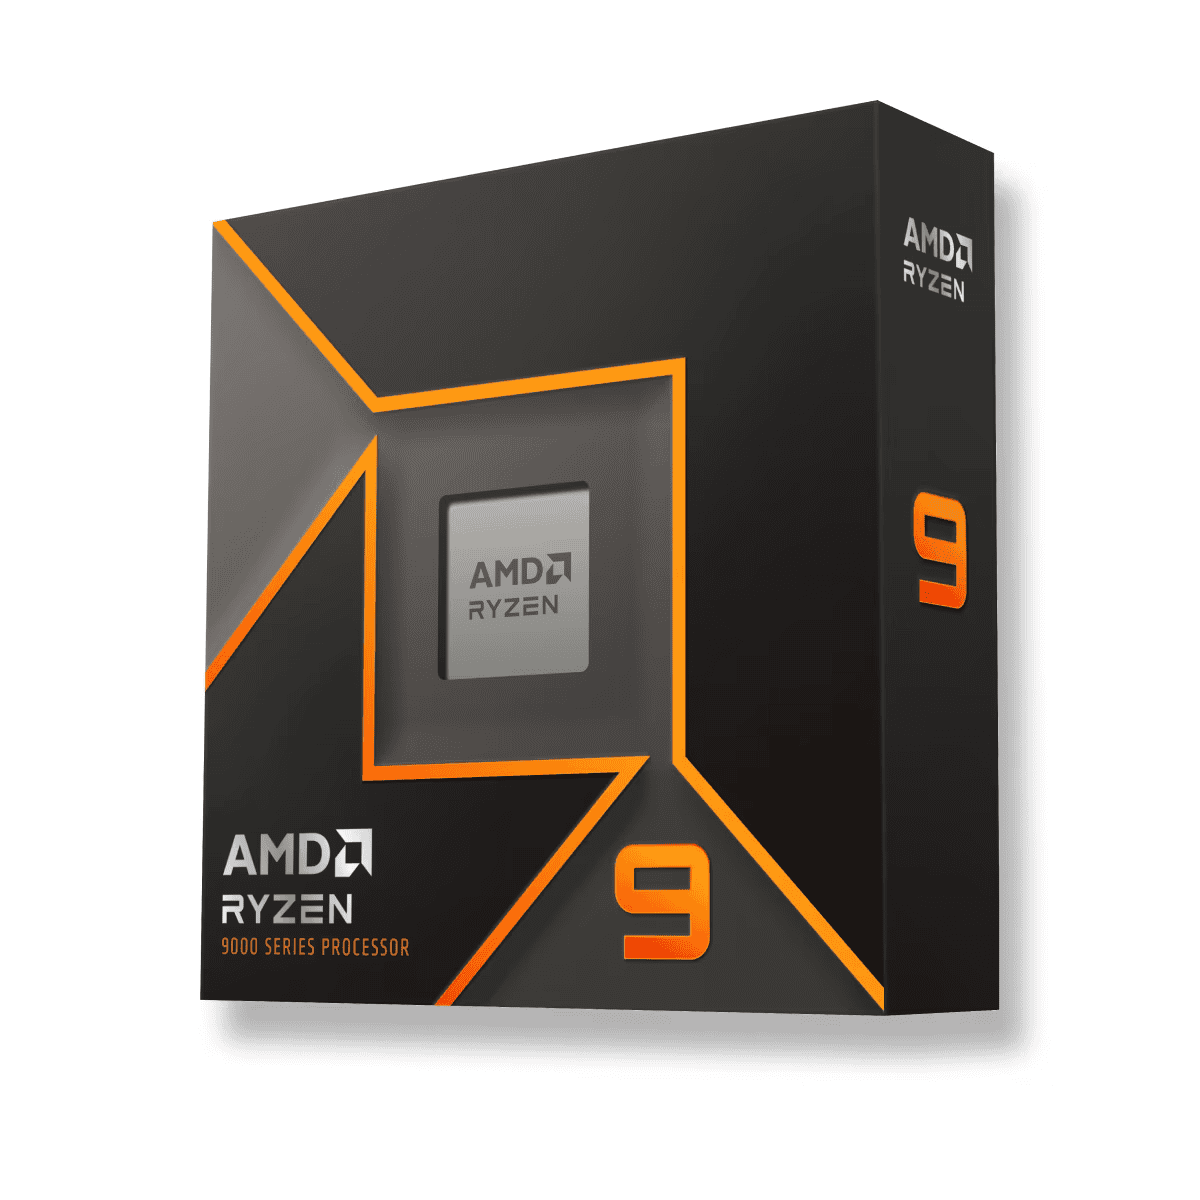
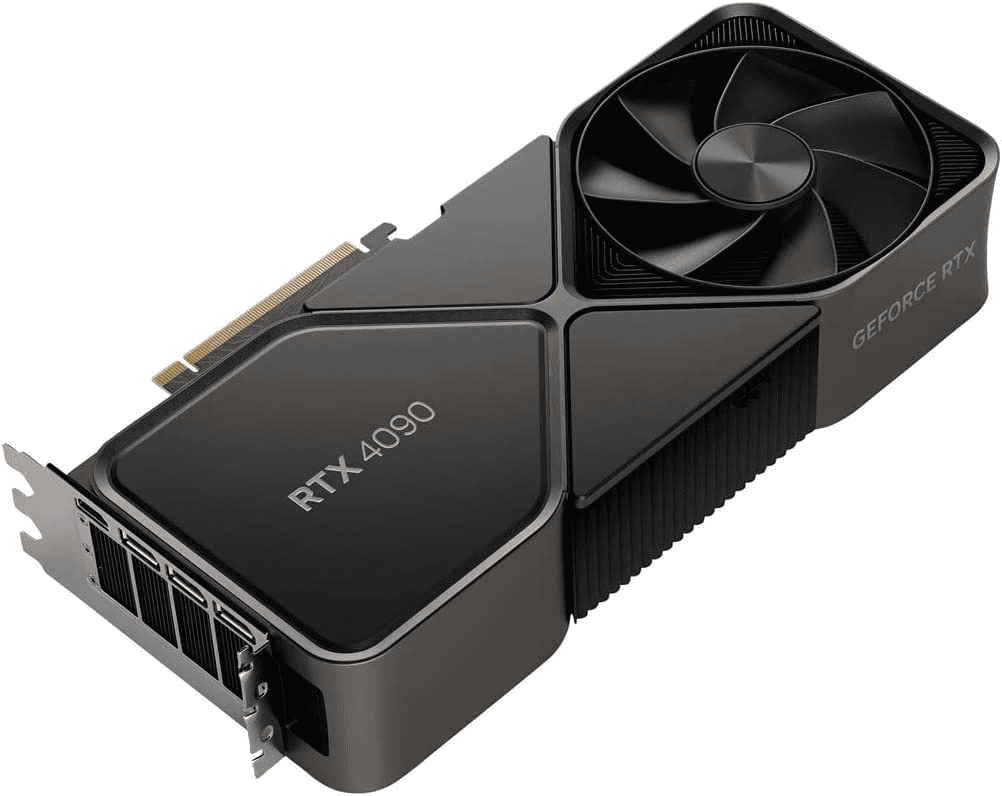
The CPU is the brain of your PC, and the GPU handles graphics. Choose a processor that matches your needs. For gaming, prioritize a strong GPU. Intel Core and AMD Ryzen are popular CPU options, while NVIDIA and AMD dominate the GPU market.
Motherboard
Ensure compatibility with your CPU and RAM. Check for the right socket type and form factor (ATX, micro-ATX, or mini-ITX).
RAM and Storage
Go for at least 16GB of RAM for gaming and multitasking. For storage, pair an SSD for speed with an HDD for capacity if needed.
Power Supply
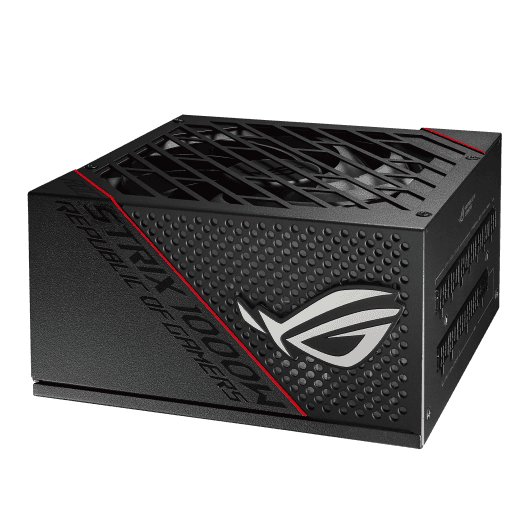
Choose a reliable PSU with enough wattage for all components. Modular PSUs simplify cable management.
Case
Select a case that fits your motherboard and GPU. Look for good airflow and sufficient space for future upgrades.
Building Your PC
Step 1: Install the CPU
Align the CPU with the motherboard socket and lock it in place. Be gentle to avoid damaging pins.
Step 2: Attach the CPU Cooler
Apply thermal paste if needed, then secure the cooler. Some CPUs come with pre-applied paste.
Step 3: Insert RAM
Push RAM sticks into the slots until they click. Check the manual for the correct placement.
Step 4: Install Storage
Mount your SSD or HDD in the case and connect them to the motherboard using SATA or NVMe ports.
Step 5: Place the Motherboard
Install the motherboard into the case, aligning it with the standoffs. Secure it with screws.
Step 6: Install the GPU
Insert the GPU into the PCIe slot and lock it in place. Use screws to secure it to the case.
Step 7: Connect PSU Cables
Plug the PSU cables into the motherboard, GPU, and storage devices. Ensure all connections are secure.
Step 8: Cable Management
Organize cables for airflow and aesthetics. Use cable ties to bundle wires neatly.
Testing Your PC
Connect peripherals and power on the system. Enter the BIOS to check if all components are detected. Troubleshoot any issues before proceeding.
Installing the Operating System
Create a bootable USB with your OS of choice. Follow on-screen instructions to install the OS and essential drivers.
Alternative Options: Pre-Built vs Custom PCs
Pre-built PCs save time and effort but limit customization. They’re often more expensive for equivalent specs. Custom PCs offer better value and upgrade flexibility but require more effort to assemble.
Comparison Table: Pre-Built vs Custom PCs
| Factor | Pre-Built | Custom |
|---|---|---|
| Cost | Higher | Lower |
| Ease | Plug-and-play | Time-intensive |
| Performance | Fixed | Optimized for needs |
How to Choose the Right Components for Your Use Case
Consider the software and games you’ll run. For gaming, prioritize the GPU. Content creators should focus on a high-core CPU. Multitaskers benefit from ample RAM. Balance components to avoid bottlenecks, ensuring smooth performance across tasks.
Building Your Own PC: Components and Considerations
Building a custom PC offers flexibility and potential cost savings. The process involves selecting compatible parts and assembling them carefully. Key components include the motherboard, CPU, RAM, storage drives, power supply, and case.
The motherboard serves as the foundation, connecting all other parts. It must match the CPU socket type and support the chosen RAM. Intel and AMD are the main CPU manufacturers, each with various models offering different performance levels and price points.
RAM affects system speed and multitasking ability. Most modern builds use DDR4 memory, with 16GB being a common starting point. Storage options include fast SSDs for the operating system and programs, with larger HDDs for additional data storage if needed.
Graphics cards are crucial for gaming and certain professional tasks. NVIDIA and AMD produce popular models across various price ranges. For basic use, some CPUs include integrated graphics capabilities.
Power supplies must provide enough wattage for all components. Modular designs can simplify cable management. Cases come in different sizes and styles, impacting cooling options and component compatibility.
PC building requires some technical knowledge and careful handling of parts. Using an anti-static mat and grounding oneself helps prevent damage to sensitive electronics. Online tools like PCPartPicker can assist with checking component compatibility.
Common PC Building Questions
What Parts Do I Need for a Gaming Computer?
A gaming PC requires several key components:
- CPU (processor)
- Motherboard
- RAM (memory)
- Graphics card
- Storage (SSD and/or HDD)
- Power supply
- Case
- CPU cooler
Optional parts include:
- Extra case fans
- RGB lighting
- Sound card
- Optical drive
Choose parts that fit your budget and performance needs. A powerful CPU and graphics card are essential for gaming.
How Do I Put Together a PC Step-by-Step?
- Install CPU in motherboard socket
- Attach CPU cooler
- Insert RAM sticks
- Mount motherboard in case
- Connect power supply cables
- Install storage drives
- Insert graphics card
- Plug in case connectors and fans
- Close case and connect peripherals
- Install operating system
Take precautions against static electricity. Refer to component manuals for specific installation steps.
Is Building a PC Cheaper Than Buying Pre-Built?
Building a PC often costs less than buying a pre-built system with similar specs. Builders can:
- Select cost-effective parts
- Avoid paying for unnecessary features
- Take advantage of sales and deals
- Upgrade parts over time
Pre-built PCs may be cheaper for entry-level systems. Factor in the value of your time and warranty coverage when comparing costs.
What Budget Factors Matter for a PC Build?
Key budget considerations:
- Set a total budget
- Allocate more to CPU and GPU for gaming
- Don’t skimp on the power supply
- Balance performance and cost across components
- Leave room in budget for peripherals
- Consider future upgrade costs
A $800-$1200 budget can build a solid mid-range gaming PC. High-end builds may cost $2000+.
How Do I Pick Compatible PC Parts?
Ensure component compatibility by:
- Choosing a motherboard that supports your CPU socket
- Verifying RAM speed and capacity compatibility
- Checking power supply wattage requirements
- Measuring case dimensions for GPU and cooler clearance
- Confirming storage connectors match motherboard ports
Use online PC part picker tools to check compatibility. Research reviews of part combinations.
What Mistakes Should First-Time PC Builders Avoid?
Common pitfalls include:
- Forgetting to install motherboard standoffs
- Applying too much thermal paste
- Not connecting all power cables
- Mishandling components and causing static damage
- Buying incompatible parts
- Overlooking cable management
- Skipping the PC building manual
- Not testing components before full assembly
Take time to plan the build. Ask for help from experienced builders if needed.

