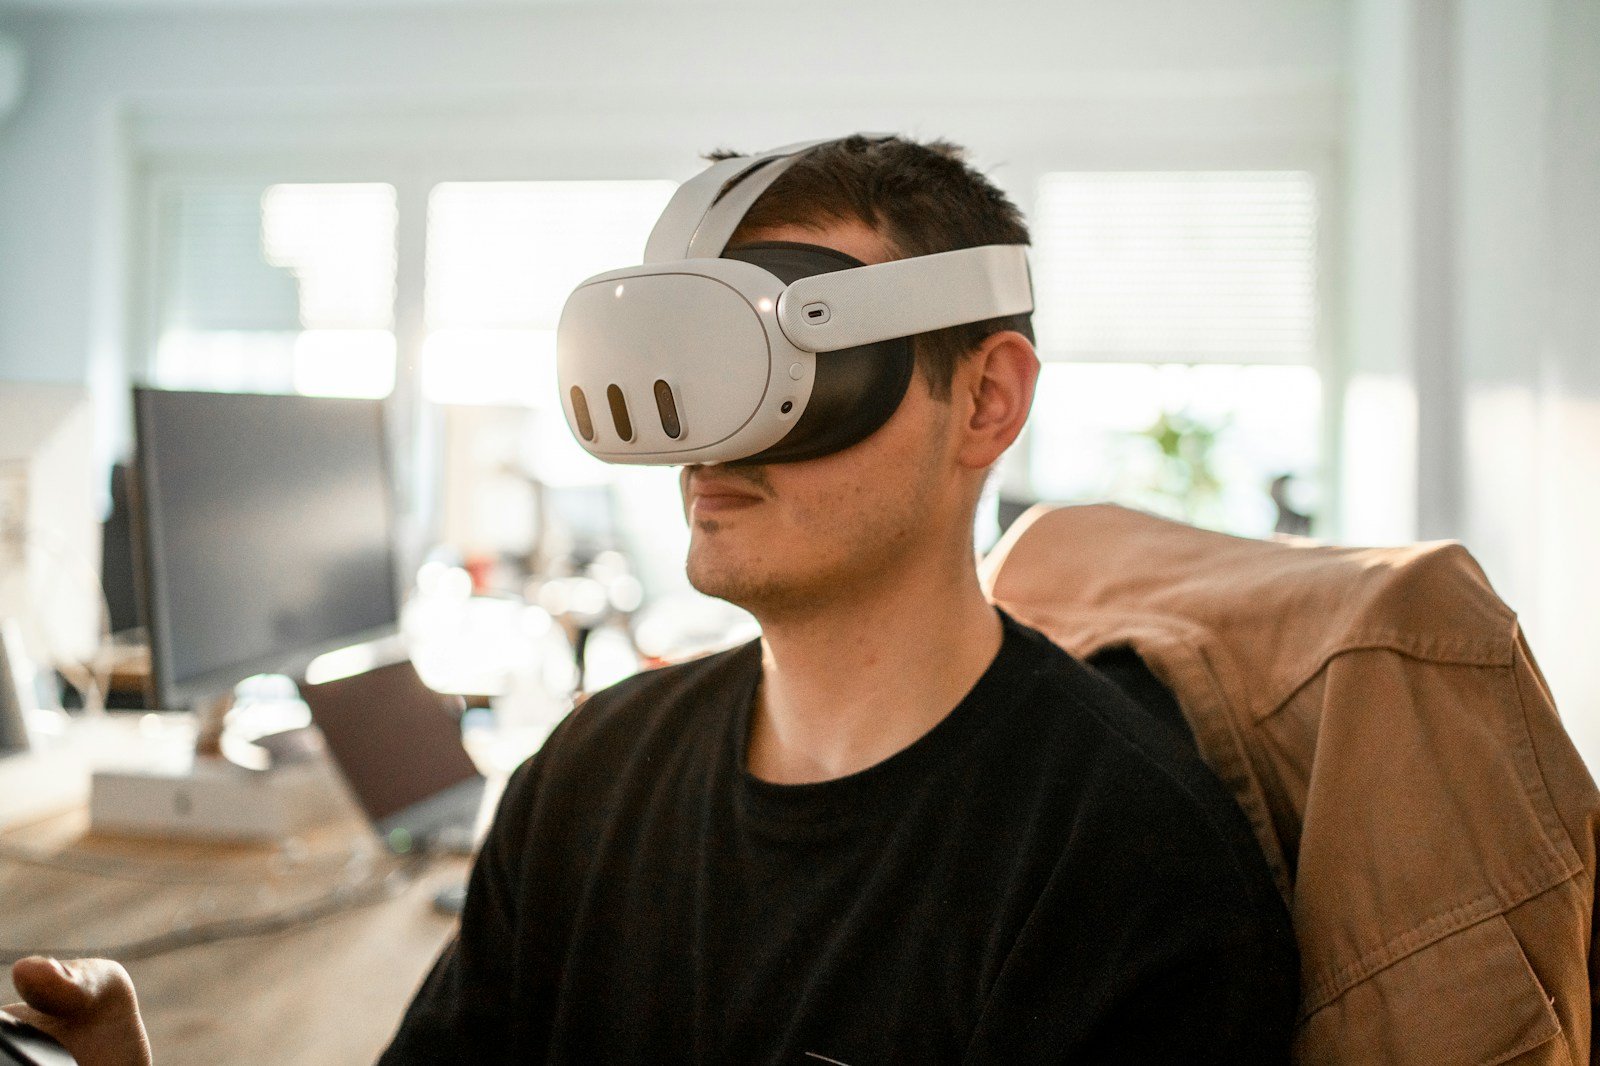
Connecting your Meta Quest (Quest 2, Quest 3, or Quest Pro) to a TV lets others see what you’re doing in VR. There are several ways to do this, depending on the equipment you have.
Method 1: Cast Meta Quest to a TV (Wireless – Easiest)
This is the most common and recommended method.
What You Need
- A Meta Quest headset
- A smart TV or streaming device with Chromecast built-in
- Examples: Google Chromecast, Android TV, Chromecast-enabled TVs
- Both devices connected to the same Wi‑Fi network
Steps
- Turn on your TV and select the Chromecast input.
- Put on your Meta Quest headset.
- Press the Meta button on your right controller to open the menu.
- Select Camera (or Sharing, depending on your headset).
- Choose Cast.
- Select your TV or Chromecast device from the list.
- Confirm Start Casting.
Your Quest screen should now appear on the TV.
✅ Pros: Wireless, simple, no extra hardware
⚠️ Cons: Slight delay; quality depends on Wi‑Fi
Method 2: Cast to a TV Using a Phone or Computer
If your TV doesn’t support Chromecast directly, you can cast through another device.
Option A: Using the Meta Quest Mobile App
What You Need
- Meta Quest app on Android or iOS
- Phone connected to the same Wi‑Fi
- TV with screen mirroring or HDMI input
Steps
- Open the Meta Quest app on your phone.
- Tap the Cast icon (top right).
- Select your Quest headset.
- Choose your phone as the casting destination.
- Mirror your phone’s screen to your TV (AirPlay, Smart View, HDMI adapter).
Option B: Using a Web Browser (PC or Laptop)
What You Need
- A computer with a web browser
- HDMI cable to connect the computer to the TV
Steps
- On your computer, go to:
https://www.oculus.com/casting - Log in with your Meta account.
- Put on your Quest headset.
- Open Cast from the headset menu.
- Select Computer as the destination.
- Connect your computer to the TV using HDMI.
Method 3: Wired Connection (Advanced / Best Quality)
This method uses a capture card and is usually for streamers or recording gameplay.
What You Need
- USB‑C cable (from Quest to capture card)
- USB capture card (USB‑C to HDMI)
- TV with HDMI input
Steps (High-Level)
- Connect the Quest to the capture card via USB‑C.
- Connect the capture card to the TV using HDMI.
- Use compatible software to mirror the Quest display.
✅ Pros: Lowest latency, best video quality
⚠️ Cons: Extra hardware, more setup
Troubleshooting Tips
- Ensure both devices are on the same Wi‑Fi network
- Restart your Quest and TV if casting doesn’t appear
- Update your Meta Quest software to the latest version
- Reduce Wi‑Fi congestion for smoother performance
Best Method Summary
| Situation | Best Option |
|---|---|
| Smart TV with Chromecast | Direct wireless casting |
| No Chromecast | Cast via phone or computer |
| Streaming or recording | Wired capture card |
Oculus / Meta Quest 2
Connecting your Oculus Quest 2 to a TV has become easier than ever in 2025, allowing friends and family to see what you’re experiencing in virtual reality. The simplest way to connect your Oculus Quest 2 to a TV is by using the casting feature through the Meta Quest mobile app while ensuring both devices are on the same Wi-Fi network. This wireless method eliminates the need for cables and provides a convenient viewing experience for everyone in the room.
For those with smart TVs or streaming devices like Roku, the process is straightforward. First, turn on your Oculus Quest 2 and open the sharing menu to select “Cast.” Then choose your TV or streaming device from the available options. If your TV doesn’t appear in the list, you may need to cast to your mobile phone or computer first, then connect that device to your TV using an HDMI cable.
Key Takeaways
- Connect your Oculus Quest 2 to your TV wirelessly by using the Meta Quest mobile app with both devices on the same Wi-Fi network.
- Smart TVs and streaming devices like Roku can receive Quest 2 casts directly when selected from the headset’s sharing menu.
- Troubleshoot connection issues by ensuring all devices are updated, restarting your equipment, or using a computer as an intermediary casting option.
Setting Up Your Oculus Quest 2 for TV Connection
Connecting your Oculus Quest 2 to a TV allows friends and family to see what you’re experiencing in virtual reality. This process requires a few specific components and settings to work properly.
Initial Requirements
Before connecting your Oculus Quest 2 to a TV, you’ll need to ensure you have all the necessary equipment. The most important requirement is that both your Quest 2 headset and TV must be connected to the same Wi-Fi network.
You’ll need one of these casting devices:
- Chromecast
- Smart TV with built-in casting capability
- Amazon Fire Stick with casting apps like AirScreen
Make sure your Quest 2 headset has the latest update installed. Updates often improve casting performance and fix connectivity issues.
The Meta Quest app (formerly Oculus app) should be installed on your smartphone. While not always necessary for casting directly, it provides an alternative method if you encounter problems.
Connecting Chromecast to Your TV
If using a Chromecast device, plug it into an available HDMI port on your television. Connect the power cable to the Chromecast and a power outlet.
Turn on your TV and switch to the correct HDMI input channel where the Chromecast is connected. Most TVs will display a message indicating which input is active.
Use your smartphone to set up the Chromecast if you haven’t already. The Google Home app walks you through the process of connecting it to your Wi-Fi network.
Ensure the Chromecast is on the same Wi-Fi network as your Quest 2 headset. Different networks will prevent successful connection between devices.
Casting from the Oculus Quest 2
Put on your Quest 2 headset and navigate to the main menu by pressing the Oculus button on the right controller. Look for the Share icon in the universal menu bar.
Select the casting option from the sharing menu. The headset will search for available casting devices on your network. Choose your TV or Chromecast from the list that appears.
You can also cast from the Meta Quest app on your smartphone. Open the app, connect to your headset, and tap the casting icon in the top right corner. Then select your TV or Chromecast device.
Once connected, everything visible in your headset will display on the TV with a slight delay. The sound will come through both the TV and headset simultaneously.
Troubleshooting Connection Issues
When your Oculus Quest 2 won’t connect to your TV, several common problems might be preventing successful casting. These issues often relate to network settings, device compatibility, or software glitches that can be resolved with specific steps.
Common Casting Problems and Solutions
One of the most frequent issues is having devices on different Wi-Fi networks. Make sure your Oculus headset and TV (or casting device) are connected to the same network. This is a crucial first step before attempting to cast.
For Samsung TV users specifically, check that your TV has built-in Chromecast or a Chromecast device attached. Not all TVs support direct casting from Quest 2.
If you see a “Connection Failed” message, try restarting all devices involved:
- Power cycle your Oculus Quest 2
- Restart your TV or casting device
- Reboot your Wi-Fi router
- Restart the Oculus app on your phone
iPhone and iOS users sometimes face compatibility issues. Make sure your Oculus app is updated to the latest version to prevent connection problems.
Advanced Troubleshooting Steps
Router settings often cause casting problems. Check that “IP Multicast” and “P2P Networking” are enabled in your router settings. These features are necessary for proper casting functionality.
Try forgetting your Wi-Fi network on the Quest 2 and reconnecting:
- Go to Settings > Wi-Fi
- Select your current network
- Choose “Forget”
- Reconnect by selecting the network and entering the password
If casting still fails, consider alternative connection methods. Using a USB cable with Air Link can provide a more stable connection for playing VR games on your TV, especially when wireless casting isn’t working.
As a last resort, consider a factory reset of your Quest 2, but remember this will delete all data. Before taking this step, try uninstalling and reinstalling the Oculus app on your phone, as this often resolves persistent connection issues without losing your game data.
Frequently Asked Questions
Connecting your Oculus Quest 2 to a TV enhances the social gaming experience by allowing others to see what the headset user views. Various connection methods exist depending on your TV type and available equipment.
What are the steps for casting Oculus Quest 2 content to a television?
To cast Oculus Quest 2 to a TV, both devices need to connect to the same Wi-Fi network. The TV must have Google Chromecast built-in or a Chromecast device connected to it.
The user should press the Oculus button on the right controller to access the menu. Then select “Share” and tap “Cast” to see available devices.
When the TV or Chromecast appears in the list, selecting it will begin the casting process. A confirmation screen will appear once connected successfully.
Can I wirelessly connect my Oculus Quest 2 to a TV, and if so, how?
Yes, wireless connection is the primary method for linking an Oculus Quest 2 to a TV. This requires both devices to be on the same Wi-Fi network.
The most reliable wireless connection uses a Chromecast device or a TV with Chromecast built-in. Some smart TVs with casting capabilities also work without additional hardware.
After ensuring both devices share the same network, the user activates the casting function from the Oculus menu and selects the TV as the target display.
Is it possible to cast Oculus Quest 2 to a Samsung TV specifically, and what method is recommended?
Casting to Samsung TVs depends on the model’s compatibility with Chromecast. Newer Samsung smart TVs may support casting directly, while older models require a Chromecast device.
For Samsung TVs without built-in casting support, connecting a Chromecast dongle to an HDMI port offers the most reliable solution. This creates a compatible receiver for the Quest 2’s casting signal.
Some Samsung TVs with Roku functionality can receive casts after configuring both devices on the same network.
How do I mirror my Oculus Quest 2 to a smartphone or tablet?
Mirroring to a smartphone or tablet uses the Oculus mobile app. The user must first install the app on their mobile device and log in with the same account used on the Quest 2.
Both the Quest 2 and mobile device need to connect to the same Wi-Fi network. From the app, tap the casting icon in the top right corner and select the headset.
Once connected, the mobile device will display what the headset user sees. This method works well for sharing experiences when a TV isn’t available.
What is required to cast content from Oculus Quest 2 to a PC monitor?
Casting to a PC monitor requires the Oculus app for Windows or macOS. The computer and Quest 2 must be on the same Wi-Fi network.
After installing the app and logging in with the same account, users can select the casting option either from the headset or within the desktop app. The PC monitor will then display the VR content.
Some users prefer this method as computers often provide more stable connections than wireless display devices.
Are there any compatibility considerations when connecting Meta Quest products to various TV models?
TVs without built-in Chromecast or casting capabilities require external devices like a Chromecast dongle. Some older TV models may not support the resolution quality that Quest 2 can deliver.
Internet connection speed affects casting quality. A minimum of 5Mbps upload speed is recommended for smooth streaming, with faster speeds needed for higher resolutions.
Certain TV brands work better than others. Google TVs, Android TVs, and TVs with Chromecast built-in typically provide the most seamless experience when connecting with Quest 2.