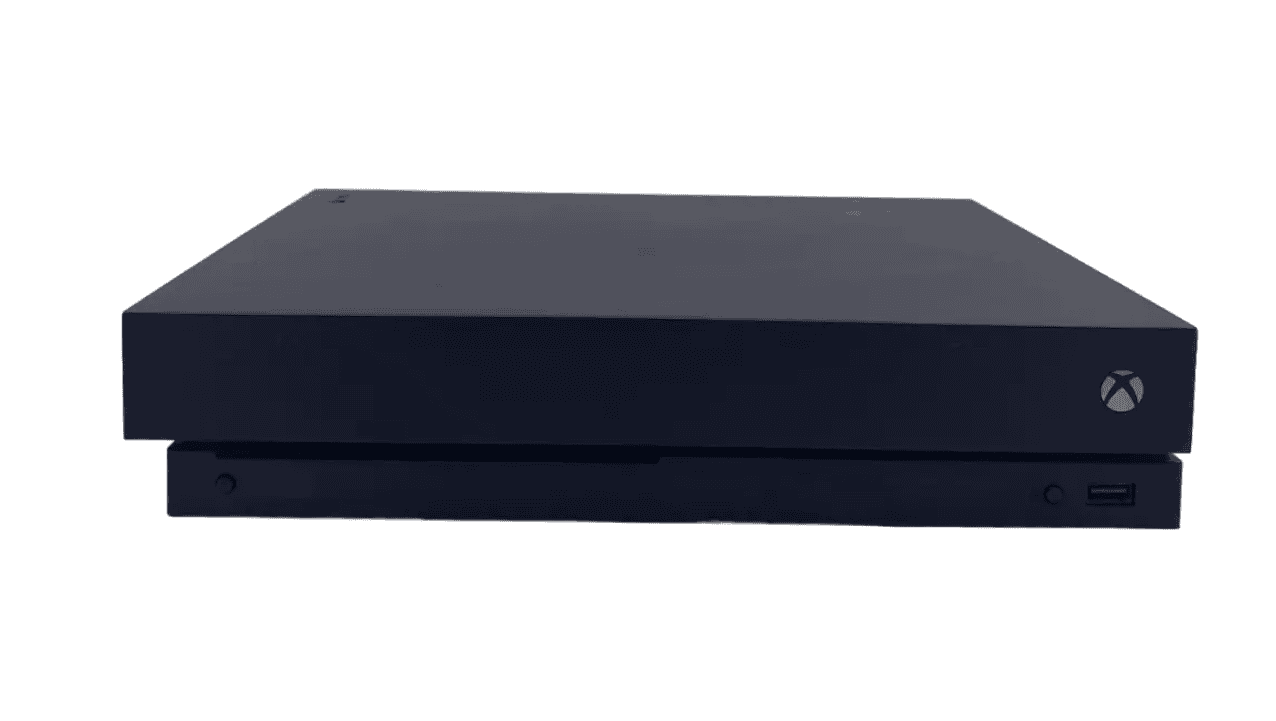
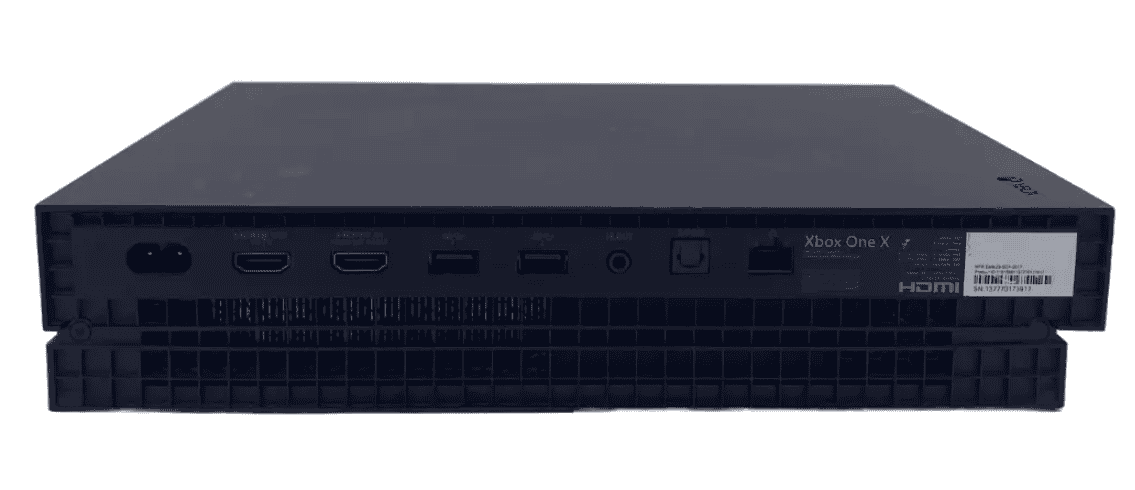
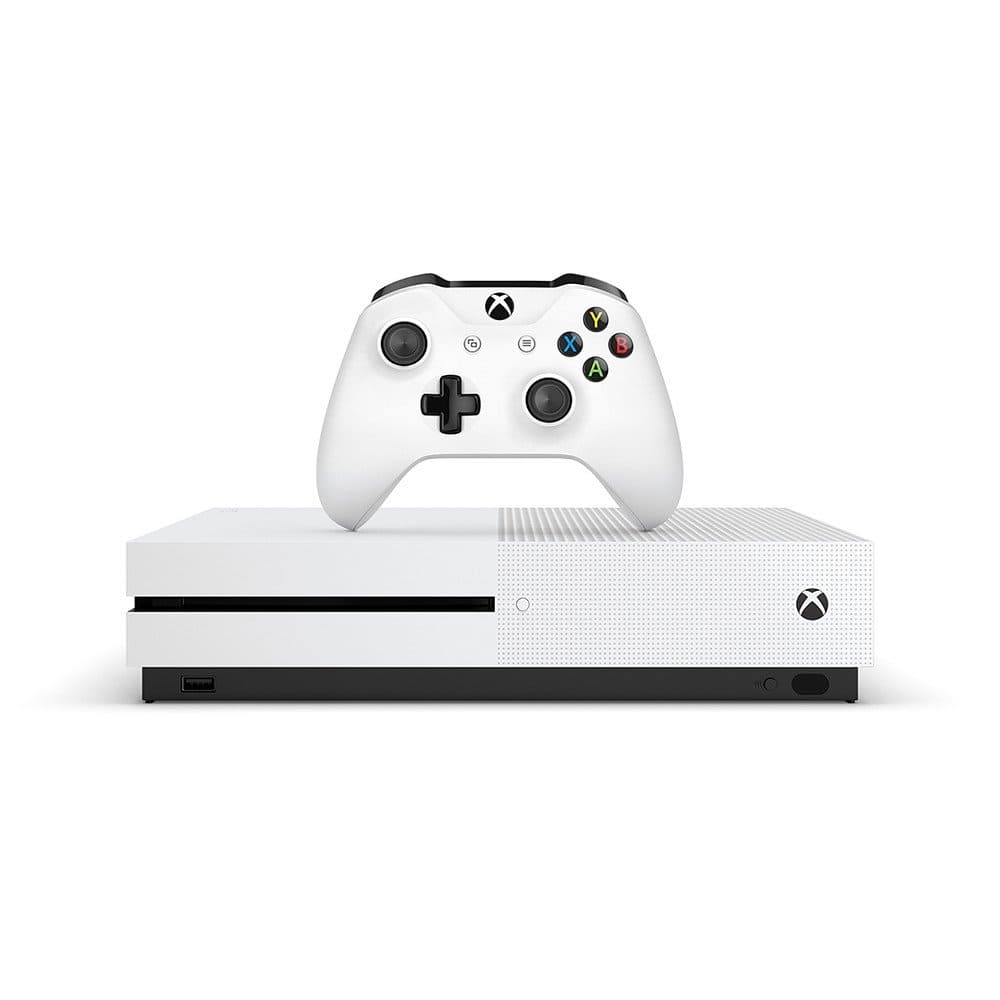
Taking apart an Xbox One can be a useful skill for cleaning, repairs, or upgrades. The process is not too complex with the right tools and know-how. You’ll need a few basic tools like a T8 and T9 Torx screwdriver to open the Xbox One console.
The Xbox One, made by Microsoft, has a modular design inside. This makes it easier to remove parts like the fan, hard drive, and disc drive. But it’s important to be careful. Unplug the console and work on a clean, flat surface.
Many people open their Xbox One to clean dust, fix overheating, or swap the hard drive for more storage. Some even customize the outer case with paint or designs. Just remember, opening the console may void your warranty if it’s still active.
Disassembling an Xbox One: A Guide for Experienced Users
Taking apart your Xbox One can be useful for repairs, modifications, or deep cleaning. However, it’s a complex process that requires technical knowledge and the right tools. Proceed with caution, as disassembling your console will void your warranty.
Disclaimer: This guide is intended for experienced users. If you’re not comfortable working with electronics, it’s best to seek professional assistance.

What You’ll Need
- Torx screwdrivers: Various sizes, including T8, T9, and T10 security Torx.
- Plastic pry tools: For opening clips and separating components.
- Anti-static wrist strap: To prevent electrostatic discharge (ESD) damage.
- Clean workspace: A well-lit and organized area to work.
- Small containers: To keep track of screws and small parts.
Disassembly Steps
- Power off and unplug: Ensure your Xbox One is completely powered off and unplugged from the power outlet.
- Remove the external casing:
- Use a plastic pry tool to carefully release the clips holding the top and bottom halves of the casing together. Start at the back of the console and work your way around.
- Once the clips are released, gently lift the top casing off the console.
- Disconnect the Wi-Fi antennas:
- Locate the Wi-Fi antenna cables connected to the motherboard. Carefully disconnect them.
- Remove the optical drive:
- If your Xbox One has an optical drive, unscrew and disconnect the cables attached to it.
- Carefully slide the optical drive out of the console.
- Remove the hard drive:
- Unscrew and disconnect the hard drive caddy.
- Slide the hard drive out of the caddy.
- Disconnect the front panel:
- Carefully disconnect the cables connecting the front panel to the motherboard.
- Remove the front panel from the console.
- Remove the heat sink and fan:
- Unscrew the screws holding the heat sink and fan assembly in place.
- Carefully lift the assembly off the motherboard.
- Remove the motherboard:
- Disconnect any remaining cables attached to the motherboard.
- Unscrew the screws holding the motherboard in place.
- Gently lift the motherboard out of the console.

Note:
Further disassembly of the motherboard or other components is not recommended unless you have advanced technical expertise.
Reassembly
To reassemble your Xbox One, follow the disassembly steps in reverse order. Be sure to reconnect all cables and screws properly.
Important Cautions
- ESD protection: Use an anti-static wrist strap to prevent ESD damage to sensitive components.
- Screw organization: Keep track of all screws and their corresponding locations.
- Cable management: Be careful not to damage any cables during disassembly or reassembly.
- Technical expertise: Only attempt disassembly if you have the necessary technical skills and knowledge.
- Warranty void: Disassembling your Xbox One will void your warranty.
If you’re unsure about any part of the disassembly process, it’s best to consult a professional technician or refer to detailed disassembly guides and videos available online.
Key Takeaways
- Basic tools like Torx screwdrivers are needed to open an Xbox One
- The Xbox One has a modular design for easier part removal
- Opening the console can help with cleaning, repairs, and upgrades
Essential Tools and Precautions for Disassembly
Taking apart an Xbox One requires the right tools and safety measures. Proper preparation helps prevent damage to the console and keeps you safe during the process.
Preparing Your Workspace and Tools
Set up a clean, well-lit workspace before starting. Gather these tools:
- T10 Torx screwdriver
- Flathead screwdriver
- Plastic prying tool
- Tweezers
- Anti-static wrist strap
A T10 Torx screwdriver is crucial for removing most screws in the Xbox One. A flathead screwdriver helps with prying open certain parts. Plastic prying tools are gentler on the console’s plastic casing.
Keep a small container nearby to store screws and other small parts. This prevents losing important components during disassembly.
Safety Precautions
Safety should be a top priority when taking apart an Xbox One. Here are key precautions:
- Unplug the console and remove all cables.
- Wear an anti-static wrist strap to prevent static damage to components.
- Work on a non-conductive surface like a wooden table.
- Avoid touching circuit boards directly.
Be gentle when handling internal parts. Some components are delicate and can break easily. If unsure about a step, consult a repair guide for your specific Xbox One model.
Take pictures of each step as you go. This helps with reassembly later. Label any disconnected cables or parts for easy identification.
Step-By-Step Xbox One Disassembly
Taking apart an Xbox One requires careful steps and the right tools. This guide covers opening the casing, removing internal parts, and extracting the hard drive.
Opening the Xbox One Casing
To open the Xbox One, you’ll need a Torx screwdriver. Start by placing the console upside down on a flat surface. Look for screws on the back near the top and bottom edges. Remove these screws carefully.
Once the screws are out, gently lift the top casing. Be careful not to damage any internal parts. The casing might be a bit tight, so take your time.
After removing the top, you’ll see the inside of your Xbox One. The main parts you’ll notice are the fan, hard drive, and CD drive.
Removing the Internal Components
With the casing off, you can now access the internal parts. The fan is usually easy to spot. It’s important for keeping the console cool.
To remove the fan, unplug its cable from the motherboard. Then, take out the screws holding it in place. Lift the fan out carefully.
Next, find the CD drive. It’s usually near the front of the console. Unplug its cable and remove any screws holding it down. You can now take out the CD drive.
The motherboard is the large green board at the bottom. It connects all parts of the Xbox One. To remove it, unplug all cables and take out the screws around its edges.
Extracting the Hard Drive
The hard drive stores all your games and data. It’s usually in a metal case inside the Xbox One. To remove it, first find the SATA and power cables connected to it. Unplug these cables carefully.
Next, look for screws holding the hard drive in place. Remove these screws with your Torx screwdriver. Once the screws are out, you can lift the hard drive from the console.
If you plan to replace the hard drive, make sure to get one that’s compatible with the Xbox One. You’ll need to format it correctly before use.
Reassembly and Repairability Considerations
The Xbox One has a user-friendly design that makes it easier to take apart and put back together compared to older models. Its modular components and simple layout help with repairs and upgrades.
Reassembling the Xbox One
To put the Xbox One back together, start with the main board. Place it in the bottom case. Add the hard drive, optical drive, and fan. Make sure all cables are connected properly. The power supply unit goes in next. Attach the wireless board and front panel board.
Snap the top case onto the bottom. Line up the clips carefully. Press down until you hear them click into place. Be gentle to avoid breaking anything.
Put the screws back in. Don’t overtighten them. Check that all parts fit snugly and nothing is loose. Test the console before closing it up fully.
Understanding Xbox One’s Modular Design
The Xbox One has a smart layout inside. Parts like the hard drive, fan, and power supply can be swapped out easily. This modular design is good for repairs.
You don’t need many tools to open it up. A few screwdrivers will do the job. Once inside, you can reach most parts without trouble. The cooling system comes out in one piece.
Microsoft made fixing the Xbox One simpler than the Xbox 360. Fewer plastic tabs mean less risk of breaking things. The repair guide is clear and easy to follow.
This design earns the Xbox One a good repairability score. It’s not perfect, but it’s better than many other electronics.


