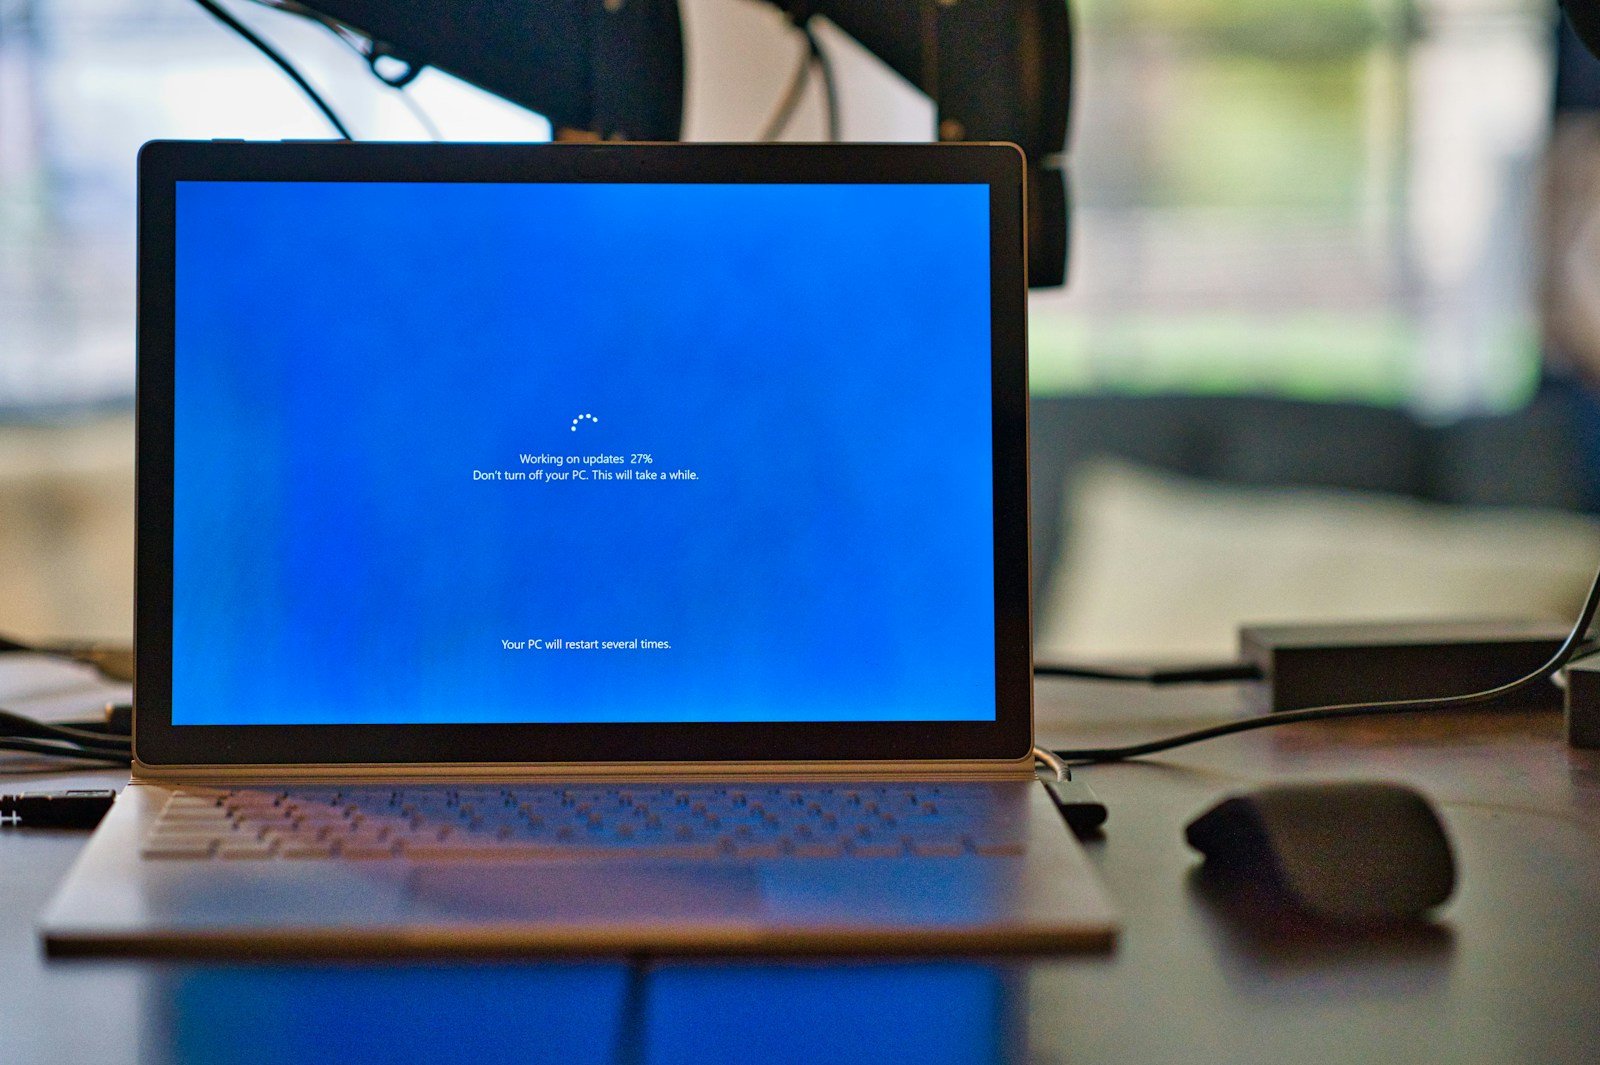
Enabling Secure Boot on your computer adds an important layer of protection against malware and unauthorized operating systems. This security feature is built into the UEFI firmware (which replaced the older BIOS systems) and ensures only trusted software can run during startup. To enable Secure Boot, you’ll typically need to access your computer’s UEFI settings by pressing a key like F2 or Delete during startup, navigate to the Boot or Security section, and switch Secure Boot from “Disabled” to “Enabled.”
Keep in mind that Secure Boot requires compatible hardware and software. Most computers made after 2012 support this feature, and it works well with Windows 10, Windows 11, and many Linux distributions. Before enabling Secure Boot, make sure your operating system supports it to avoid boot problems after making the change.
Secure Boot on Computers: Complete Guide
Secure Boot is a critical security feature designed to protect your computer from malware and unauthorized software during the startup process. It ensures that only trusted software signed by the Original Equipment Manufacturer (OEM) or operating system vendor loads when your PC boots up.
This complete guide explains what Secure Boot is, how it works, why it matters, and how to enable or disable it on your computer.
What Is Secure Boot?
Secure Boot is part of the UEFI (Unified Extensible Firmware Interface) specification—a modern replacement for the traditional BIOS. It verifies the digital signature of bootloaders, drivers, and operating system files during the boot process.
If the software is unsigned or tampered with, Secure Boot prevents it from running, protecting your system from rootkits, bootkits, and other firmware-level malware.
How Does Secure Boot Work?
- Power On: When you turn on your computer, the UEFI firmware starts.
- Signature Verification: Secure Boot checks the digital signatures of bootloaders and OS files against a database of trusted certificates.
- Authorized Boot: If the signature is valid, the boot process continues.
- Blocked Boot: If the signature is invalid or missing, the system halts or displays a warning, preventing potentially malicious code from running.
Why Is Secure Boot Important?
- Prevents Malware: Stops low-level malware that loads before the OS.
- Protects System Integrity: Ensures only trusted software runs during startup.
- Supports Modern OS Requirements: Windows 11 requires Secure Boot enabled for installation.
- Enhances Device Security: Helps safeguard sensitive data and system stability.
How to Check if Secure Boot Is Enabled
On Windows:
- Press Windows + R, type
msinfo32, and press Enter. - In the System Information window, find Secure Boot State.
- It will show On, Off, or Unsupported.
How to Enable or Disable Secure Boot
Step 1: Access UEFI Firmware Settings
- Restart your computer.
- During boot, press the key to enter UEFI/BIOS setup (commonly F2, Del, Esc, or F10—check your manufacturer’s guide).
Step 2: Locate Secure Boot Option
- Navigate to the Security, Boot, or Authentication tab.
- Find the Secure Boot setting.
Step 3: Enable or Disable Secure Boot
- Set Secure Boot to Enabled to activate it.
- Set it to Disabled if you need to install unsigned software or operating systems.
Step 4: Save and Exit
- Save changes and exit UEFI setup.
- Your computer will reboot with the new Secure Boot setting.
Important Considerations
- Disabling Secure Boot can expose your system to security risks.
- Some older hardware or operating systems may not support Secure Boot.
- Disabling Secure Boot may be necessary to install certain Linux distributions or unsigned drivers.
- Always back up important data before changing firmware settings.
Troubleshooting Secure Boot Issues
- If your OS won’t boot after enabling Secure Boot, check if your bootloader or drivers are signed.
- Update your UEFI firmware to the latest version from your manufacturer.
- Reset UEFI settings to default if you encounter problems.
Summary Table: Secure Boot Overview
| Aspect | Details |
|---|---|
| What is it? | UEFI feature that verifies boot software signatures |
| Purpose | Prevent unauthorized/malicious boot code |
| Supported OS | Windows 8 and later, many Linux distros |
| Required for | Windows 11 installation |
| How to access | UEFI/BIOS setup during boot |
| Risks if disabled | Increased vulnerability to boot-level malware |
For detailed instructions tailored to your specific PC model, visit your manufacturer’s support site
Key Takeaways
- Secure Boot prevents unauthorized software from loading during startup and can be enabled through UEFI settings accessed at boot time.
- Most modern computers support Secure Boot, but it requires compatible hardware and a supported operating system like Windows 10/11.
- After enabling Secure Boot, save your changes and exit the UEFI settings to complete the process and improve your system security.
Understanding Secure Boot and UEFI
Secure Boot represents a critical security feature in modern computers that helps protect your system during startup. It works with UEFI firmware to verify that only trusted software runs during the boot process, preventing malicious code from loading before your operating system starts.
The Role of UEFI in Secure Boot
UEFI (Unified Extensible Firmware Interface) is the modern replacement for the traditional BIOS. Unlike the legacy BIOS, UEFI provides a more sophisticated environment with a graphical interface and mouse support.
UEFI creates a chain of trust by:
- Checking digital signatures of boot loaders
- Verifying firmware drivers and applications
- Maintaining a database of authorized keys
When Secure Boot is enabled, UEFI firmware verifies the signature of each piece of boot software, including firmware drivers and the operating system. If the signature is invalid, the firmware prevents the software from running.
The verification process happens before any OS code executes, creating a protected foundation for your system’s startup process.
Secure Boot vs. Legacy Boot
Legacy Boot uses the traditional BIOS system, which lacks the security features of UEFI. The primary differences include:
| Feature | Secure Boot (UEFI) | Legacy Boot |
|---|---|---|
| Security | Validates boot software signatures | No signature verification |
| Drive Support | Supports GPT partitioning | Limited to MBR partitioning |
| Boot Speed | Generally faster | Usually slower |
| Interface | Modern graphical interface | Text-based interface |
Legacy Boot mode often uses Compatibility Support Module (CSM), which emulates BIOS functionality. Many modern systems require disabling CSM to use Secure Boot.
Switching from Legacy to Secure Boot typically requires reinstalling the operating system due to different partition schemes.
Compatibility with Operating Systems
Secure Boot works with most modern operating systems, but compatibility varies. Windows 8 and later versions fully support Secure Boot. Windows 11 actually requires it as part of its security requirements.
Linux distributions have improved Secure Boot support over time. Many major distributions like Ubuntu, Fedora, and SUSE now include signed bootloaders that work with Secure Boot enabled.
For older operating systems:
- Windows 7 doesn’t support Secure Boot natively
- Older Linux distributions may require additional configuration
- Some systems allow adding custom keys for non-standard operating systems
Users of dual-boot systems must ensure all installed operating systems support Secure Boot. Otherwise, they might need to disable this security feature to boot into incompatible systems.
Enabling Secure Boot in BIOS/UEFI Firmware
Secure Boot is a security feature found in modern UEFI firmware that helps protect your system from malicious code during the boot process. Enabling this feature requires navigating through your system’s firmware settings and configuring specific security options.
Accessing BIOS/UEFI Firmware Settings
To enable Secure Boot, users must first access their system’s BIOS/UEFI firmware. This process varies slightly between manufacturers but follows similar patterns.
For most systems, restart the computer and press a specific key during startup. Common keys include Delete, F2, F10, or Esc. This information often appears briefly on screen during startup with a message like “Press F2 to enter Setup.”
On Windows 11 systems, an alternative method exists:
- Go to Settings > Update & Security > Recovery
- Under Advanced startup, select “Restart now”
- When the computer restarts, choose Troubleshoot > Advanced options > UEFI Firmware Settings
ASUS motherboards typically use the Delete key to access BIOS. Once inside, locate the Advanced Mode (sometimes accessed by pressing F7).
Configuring Secure Boot Options
Once in the BIOS/UEFI settings, navigate to the Boot or Security section. The exact location varies by manufacturer.
For most systems:
- Look for “Secure Boot” under the Boot tab
- Change the setting from “Disabled” to “Enabled”
- Ensure “Boot Mode” or “Boot List Option” is set to “UEFI” (not Legacy)
On Dell devices, follow these steps:
- Navigate to General > Boot Sequence
- Set Boot List Option to UEFI
- Apply changes and save
Some systems require TPM (Trusted Platform Module) to be enabled before Secure Boot can function properly. If available, this option is usually found in the Security section.
Managing Secure Boot Keys
Secure Boot relies on digital signature verification using cryptographic keys to validate boot components.
The key hierarchy includes:
- Platform Key (PK): The root of trust
- Key Exchange Key (KEK): Used to update signature databases
- Signature Database (db): Contains authorized signatures
- Forbidden Signature Database (dbx): Contains blocked signatures
Most systems come with Microsoft’s keys pre-installed. This allows Windows and other Microsoft-signed operating systems to boot properly.
Advanced users can manage these keys through the UEFI firmware interface. Some motherboards offer options to:
- Reset keys to factory defaults
- Export current keys
- Import custom keys (useful for Linux distributions)
Be cautious when modifying Secure Boot keys. Incorrect changes may prevent your system from booting properly.
Frequently Asked Questions
Enabling Secure Boot can help protect your computer from malicious software and unauthorized operating systems. Here are answers to some common questions about this important security feature.
What are the necessary steps to enable Secure Boot on Windows 11?
To enable Secure Boot on Windows 11, users need to restart their computer and enter the BIOS/UEFI settings. This can be done by going to Settings > Update & Security > Recovery and selecting “Restart now” under Advanced startup.
When the computer restarts, select Troubleshoot > Advanced options > UEFI Firmware Settings. In the BIOS/UEFI menu, look for the Secure Boot option, which is typically found in the Boot or Security sections.
Set Secure Boot to “Enabled” and save changes before exiting. The computer will restart with Secure Boot active.
How can one activate Secure Boot on a Windows 10 system?
The process for Windows 10 is similar to Windows 11. Users should access the BIOS/UEFI settings through the Advanced startup options.
In Windows 10, go to Settings > Update & Security > Recovery and click on “Restart now” under Advanced startup. Follow the prompts to enter UEFI settings.
Once in the BIOS/UEFI menu, navigate to the Boot or Security section and change Secure Boot to “Enabled.” Save the changes and exit to restart the computer.
Is it possible to switch on Secure Boot when the system is in User Mode?
No, Secure Boot cannot be enabled directly from Windows while the system is running in User Mode. It must be configured in the BIOS/UEFI settings.
The user must restart the computer and enter the BIOS/UEFI setup to make changes to Secure Boot settings. This is because Secure Boot is a pre-boot security feature that loads before the operating system.
What should be done if the Secure Boot state is reported as unsupported?
If Secure Boot is reported as unsupported, first check if your computer has UEFI firmware rather than legacy BIOS. Secure Boot requires UEFI firmware to function.
You may need to convert your disk from MBR (Master Boot Record) to GPT (GUID Partition Table) format. This can be done using the MBR2GPT tool in Windows.
In some cases, you might need to reinstall Windows in UEFI mode if your system was previously installed in legacy BIOS mode. Always back up your data before making such changes.
What is the process for starting Windows 11 in Secure Mode?
Starting Windows 11 in Safe Mode (not to be confused with Secure Boot) can be done through various methods. The simplest is to go to Settings > System > Recovery and click “Restart now” under Advanced startup.
After restart, select Troubleshoot > Advanced options > Startup Settings > Restart. When the computer restarts, a menu will appear with different startup options.
Press the number key (4, 5, or 6) corresponding to the Safe Mode option you want. This will start Windows in Safe Mode.
Can Secure Boot be enabled from a USB, and if so, how?
Secure Boot cannot be directly enabled from a USB drive. The setting must be changed in the BIOS/UEFI firmware settings of the computer.
However, some recovery USB drives created by computer manufacturers might include utilities to access UEFI settings. These are specific to certain brands and models of computers.
For most users, the standard method of entering BIOS/UEFI settings during startup (by pressing F2, Delete, or another key) remains the most reliable way to enable Secure Boot.


