
Having trouble connecting to your network with a “Can’t reach DHCP server” error? This frustrating message appears when your device cannot obtain an IP address automatically from your network’s DHCP server. When this error occurs, your computer cannot communicate properly with other devices on the network, leaving you with limited or no internet access.
This common networking issue can stem from several causes, including physical connection problems, router issues, or incorrect network settings. Many users encounter this problem after making changes to their network setup or following a system update.
The good news is that most DHCP connectivity problems can be resolved without calling technical support. Simple troubleshooting steps like checking cables, restarting your router, or verifying network settings often fix the issue quickly. In the following sections, we’ll guide you through step-by-step solutions to get your connection working again.
What Does “Can’t Reach DHCP Server” Mean?
Before diving into fixes, let’s break down what’s actually happening. DHCP (Dynamic Host Configuration Protocol) is what your router or network server uses to assign IP addresses to devices on your network automatically. When your device can’t reach the DHCP server, it usually means it’s stuck waiting for an IP address, leaving you without internet access. No IP address? No network communication.
This can happen on wired or wireless networks and can be triggered by anything from misconfigured settings to faulty hardware.
Common Causes of DHCP Server Connection Issues
- Faulty Network Cables or Ports: Physical connection problems can prevent your device from reaching the DHCP server.
- Incorrect Network Settings: Static IP configurations, wrong DNS entries, or disabled DHCP client services can block communication.
- Router or Modem Glitches: Sometimes, the DHCP server on your router hangs or crashes.
- Outdated or Corrupted Network Drivers: Especially on Windows PCs, bad drivers can block DHCP communication.
- Firewall or Security Software Interference: Overly aggressive firewalls can block DHCP traffic.
- IP Address Conflicts: If another device is using the IP your system wants, it can’t complete the lease process.
- Hardware Issues on Router or Device: Faulty network cards or router firmware can cause DHCP requests to fail.
Step-By-Step Troubleshooting Guide
These steps will walk you through diagnosing and fixing the problem.
1. Power Cycle Everything
Why It Works
Routers and modems can glitch, and rebooting clears out temporary errors. Devices stuck in a bad state will also refresh.
What To Do
- Unplug your router, modem, and computer from power.
- Wait 60 seconds.
- Plug the modem in first, wait for it to fully boot.
- Plug in the router, wait for it to fully boot.
- Restart your computer or device.
2. Check the Physical Connections
Why It Matters
A loose or faulty cable can silently prevent DHCP traffic.
What To Do
- For wired connections, unplug and replug the Ethernet cable. Try another cable and a different router port if possible.
- For wireless, make sure you’re connecting to the correct network with a strong signal.
3. Release and Renew IP Address (Windows)
What It Does
This forces your device to drop its current IP settings and request a new lease from the DHCP server.
How To Do It
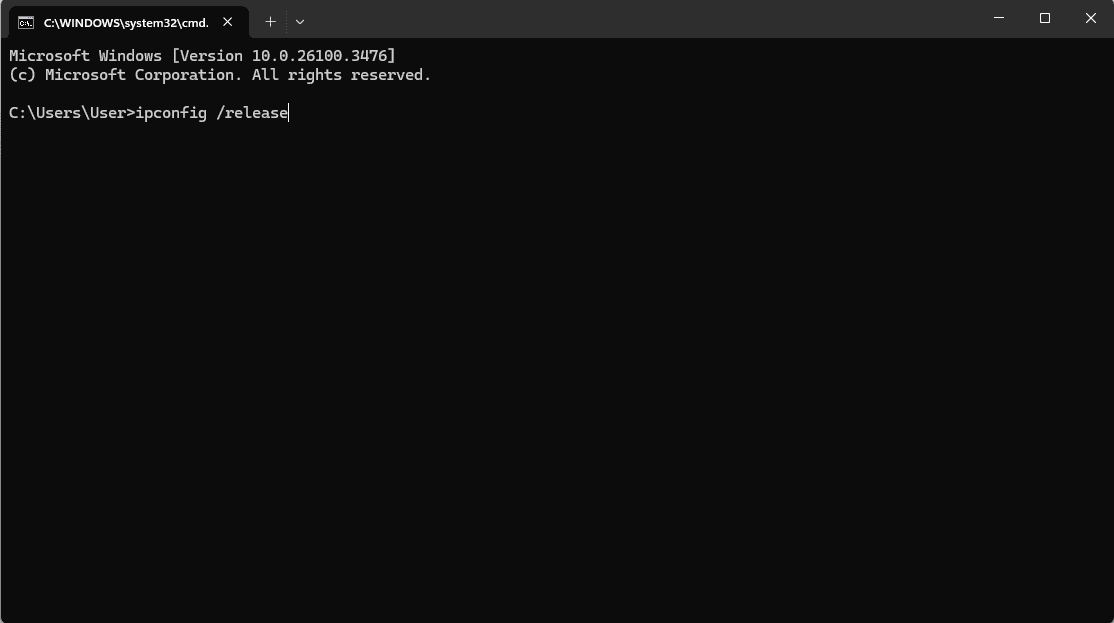
- Open Command Prompt as Administrator.
- Type the following:
ipconfig /release ipconfig /renew - Wait for confirmation and test the connection.
For macOS, go to System Settings > Network > Advanced > TCP/IP and click Renew DHCP Lease.
4. Disable Static IP Configuration
Why This Helps
Manually set IP addresses can conflict with DHCP, leaving your device in limbo.
On Windows:
- Go to Control Panel > Network and Sharing Center.
- Click Change adapter settings.
- Right-click your network adapter and select Properties.
- Select Internet Protocol Version 4 (TCP/IPv4) and click Properties.
- Choose Obtain an IP address automatically and Obtain DNS server address automatically.
On macOS:
- Go to System Settings > Network.
- Select your network and click Details.
- Set Configure IPv4 to Using DHCP.
5. Disable and Re-Enable the Network Adapter
Why It Works
This resets the network hardware on your device and can clear minor glitches.
On Windows:
- Open Device Manager.
- Expand Network adapters.
- Right-click your adapter and select Disable device.
- After a few seconds, right-click and Enable it again.
On macOS:
- Turn Wi-Fi off and back on, or toggle the network service from the settings menu.
6. Update Network Adapter Drivers
Why This Matters
Outdated or corrupt drivers can break communication with your DHCP server.
How To Do It (Windows):
- Open Device Manager.
- Expand Network adapters.
- Right-click your adapter and select Update driver.
- Choose Search automatically for drivers, or download the latest version directly from your motherboard or adapter manufacturer.
On macOS and Linux:
- Run system updates, which typically include updated network drivers.
7. Reset TCP/IP Stack (Windows Only)
Why This Works
Corrupted TCP/IP stack settings can block network connectivity.
Steps:
- Open Command Prompt as Administrator.
- Type:
netsh int ip reset - Restart your computer.
8. Temporarily Disable Firewall or Antivirus
Why To Try This
Overly aggressive security settings can block DHCP requests.
How To Do It:
- Disable your third-party antivirus or firewall temporarily.
- Test the network connection.
- If it works, adjust the firewall settings to allow DHCP traffic.
⚠️ Remember: Don’t leave security software disabled for long.
9. Check Router DHCP Settings
Why It Matters
The DHCP server might be turned off or misconfigured.
What To Do:
- Log in to your router’s admin page (usually 192.168.0.1 or 192.168.1.1).
- Look for LAN settings or DHCP Server settings.
- Make sure DHCP is enabled and the IP address pool has enough addresses available.
- If you’ve hit the DHCP lease limit, devices won’t get an address.
10. Update Router Firmware
Why It Can Help
Buggy firmware can cause DHCP servers to crash or hang.
How To Do It:
- Log in to the router’s admin interface.
- Look for Firmware Update or Advanced Settings > Administration.
- Check for the latest firmware and install it.
- After updating, reboot the router.
11. Try Manual IP Address Assignment
When To Use This
As a temporary workaround if DHCP is totally offline.
Steps (Windows):
- Go to Control Panel > Network and Sharing Center > Change adapter settings.
- Right-click your adapter and select Properties.
- Double-click Internet Protocol Version 4 (TCP/IPv4).
- Select Use the following IP address, then input:
- IP Address:
192.168.1.X(choose a unique number for X) - Subnet Mask:
255.255.255.0 - Default Gateway: your router’s IP (usually
192.168.1.1)
- IP Address:
Steps (macOS):
- Go to System Settings > Network.
- Select your connection and click Details.
- Change Configure IPv4 to Manually and enter your static details.
12. Test with a Different Device or Network
Why To Do It
Helps isolate whether the problem is your device or the network itself.
What To Try:
- Connect another device to the same network.
- If it works, the issue is with your original device.
- If no device works, the problem is on the router or ISP end.
When It’s Time to Call for Help
If you’ve tried everything and you’re still seeing the “Can’t Reach DHCP Server” error, it might be time to contact your ISP or network administrator. You could be facing a faulty modem, ISP DHCP failure, or deeper networking issues that require advanced troubleshooting.
Quick Recap of Fixes
- Restart everything
- Check cables and Wi-Fi
- Release/Renew IP
- Set IP to automatic
- Disable/Enable network adapter
- Update drivers
- Reset TCP/IP stack
- Disable firewalls temporarily
- Confirm router DHCP is active
- Update router firmware
- Assign static IP as a temp fix
- Try another device
This guide should have you covered from simple hiccups to more complex problems. With a bit of patience, you’ll be back online in no time.
Key Takeaways
- A “Can’t reach DHCP server” error occurs when your device fails to obtain an automatic IP address from your router or network server.
- Basic troubleshooting includes checking physical connections, restarting affected devices, and verifying router settings.
- Advanced solutions may involve updating network drivers, manually configuring IP settings, or checking for hardware problems.
Understanding DHCP and Network Connectivity
DHCP plays a critical role in network connectivity by automating IP address assignments. When devices can’t reach the DHCP server, they cannot obtain the necessary network configurations to communicate properly.
DHCP Fundamentals
Dynamic Host Configuration Protocol (DHCP) is a network service that automatically assigns IP addresses to devices. When a computer connects to a network, it sends a DHCP request to discover available DHCP servers. The server responds by offering an available IP address from its configured pool (known as a DHCP scope).
The device then requests this specific IP address, and the DHCP server acknowledges the request, finalizing the assignment. Besides IP addresses, DHCP also provides other essential network settings like:
- Subnet mask
- Default gateway
- DNS server addresses
- Lease duration
Without DHCP, network administrators would need to manually assign unique IP addresses to each device, which becomes unmanageable in networks with many devices.
Interplay Between DHCP, IP Addresses, and Routing
For devices to communicate on a network, they need properly configured IP addresses and routing information. DHCP streamlines this process by providing four critical pieces of information.
First, it assigns a unique IP address that identifies the device on the network. Second, it provides the subnet mask, which determines which part of the IP address identifies the network and which part identifies the host.
The default gateway information tells devices where to send traffic destined for other networks. This router serves as the exit point from the local network to other networks or the internet.
DNS server addresses allow devices to translate domain names into IP addresses. Without these settings properly configured, a device may connect to the local network but fail to access internet resources.
Identifying Common DHCP Server Errors
When troubleshooting “Can’t reach DHCP server” errors, several common issues typically emerge. Network cable problems or faulty hardware connections often prevent DHCP requests from reaching the server. It’s important to check physical connections first.
Router or switch configuration issues may block DHCP traffic. Many networks use VLANs or access control lists that could inadvertently filter DHCP packets if misconfigured.
Some common error indicators include:
- “Unidentified network” warnings
- “Limited connectivity” status
- Automatic “169.254.x.x” IP addresses (APIPA)
- “No valid IP configuration” errors
When the DHCP service itself fails, it may be due to an exhausted IP address pool (DHCP scope), server downtime, or incorrect server settings. In corporate environments, DHCP relay agents may be needed to forward requests across network segments.
Troubleshooting Connectivity Issues
When facing the “Can’t reach DHCP server” error, it’s important to follow a systematic approach to identify and resolve the underlying problem. Network connectivity issues can stem from various sources including hardware, software, or configuration problems.
Tools and Commands for Diagnosing Issues
Several built-in diagnostic tools can help identify DHCP connectivity problems. Command Prompt offers powerful utilities for network troubleshooting.
The ipconfig command provides essential information about network configurations. Running ipconfig /all displays detailed information about all network adapters, including IP addresses, subnet masks, and DHCP status. If the IP address starts with 169.254.x.x, it indicates the device couldn’t reach a DHCP server.
To reset network settings, these commands can be helpful:
ipconfig /release– releases the current IP addressipconfig /renew– requests a new IP addressipconfig /flushdns– clears DNS cache
The ARP command (arp -a) shows the Address Resolution Protocol cache, which maps IP addresses to physical addresses. This can help identify conflicts or communication issues.
Network Hardware Malfunctions
Physical components often cause DHCP connection failures. Start by checking all Ethernet cables for damage or loose connections. Try using a different cable or port to rule out cable problems.
Router issues are common culprits. Check if the router’s lights are normal, particularly the ones indicating internet connectivity. Restarting the router and modem can resolve many temporary DHCP problems. Unplug both devices, wait 30 seconds, then power up the modem first, followed by the router.
Network Interface Cards (NICs) can also malfunction. Check Device Manager for any warning symbols next to the network adapter. Try updating or reinstalling drivers, especially for Realtek and other common network adapters.
If possible, connect another device to the same network to determine if the issue is specific to one device or affects the entire network.
Configuring Network Adapter Settings
Sometimes manual configuration is needed when DHCP isn’t working properly. Access network adapter settings through Control Panel > Network and Internet > Network Connections.
Right-click on the active network connection and select Properties. Find “Internet Protocol Version 4 (TCP/IPv4)” and open its properties. Check if “Obtain an IP address automatically” is selected for DHCP to work.
If DHCP still fails, setting a temporary static IP might help diagnose the issue. Select “Use the following IP address” and enter:
- IP address within your network range (e.g., 192.168.1.x)
- Subnet mask (typically 255.255.255.0)
- Default gateway (your router’s IP, often 192.168.1.1)
- DNS server (can use 8.8.8.8 for Google’s DNS)
Once connectivity is restored, contact your tech support or network administrator for permanent solutions or to verify if DHCP services are running properly on the network.
Advanced DHCP Configuration and Management
Proper DHCP configuration goes beyond basic setup and can help prevent connection issues. When managed correctly, DHCP can work seamlessly with other network services to provide reliable connectivity.
Setting Up a Home Network with DHCP
Most home routers come with built-in DHCP servers that assign IP addresses to devices automatically. To ensure your home network runs smoothly, check your router’s DHCP settings by logging into the admin panel (typically at 192.168.0.1 or 192.168.1.1).
Consider setting a reasonable lease time for IP addresses. A shorter lease time (like 24 hours) works well for networks with limited IP addresses, while longer leases reduce network traffic.
You can also create DHCP reservations for devices that need consistent IP addresses. This links a specific IP to a device’s MAC address, ensuring printers, network storage, and gaming consoles always get the same address.
For larger homes, configure your router to provide enough IP addresses in its DHCP pool. Most routers default to 192.168.1.2 through 192.168.1.254, which is sufficient for most households.
Integrating DHCP with DNS and VLANs
When managing more complex networks, integrating DHCP with DNS and VLANs improves network organization and security. DHCP can be configured to work with DNS servers to automatically update hostname records when IP addresses are assigned.
For networks with VLANs, DHCP scopes can be set up for each VLAN segment. This ensures devices in different VLANs receive appropriate IP configurations, including:
- Correct IP address ranges
- Appropriate subnet masks
- VLAN-specific gateways
- Different DNS settings if needed
DHCP relay agents allow DHCP requests to cross between VLANs when a single DHCP server handles multiple network segments. The relay forwards broadcast DHCP requests as unicast packets to the DHCP server on a different subnet.
Many business-grade routers support these features through their management interfaces, making it possible to maintain organized IP addressing even in complex network environments.
Frequently Asked Questions
Fixing DHCP server connection issues requires different approaches depending on the specific problem. These solutions address common challenges with both wired and wireless networks across various Windows versions.
How do I resolve connectivity issues when the DHCP server is not responding in Windows 11?
When Windows 11 can’t reach the DHCP server, first check the physical connection. Ensure all cables are properly connected and the router is powered on.
Try restarting both the computer and router. Unplug the router for 30 seconds, then plug it back in and restart the computer.
If problems persist, reset the TCP/IP stack by opening Command Prompt as administrator and typing “netsh winsock reset” followed by “netsh int ip reset” and “ipconfig /release” then “ipconfig /renew”.
What steps should be taken if a computer is unable to obtain an IP address from a DHCP server over Ethernet?
When a computer shows an IP address starting with 169.254.x.x, it indicates the DHCP server connection failed. First, check if the Ethernet cable is properly connected at both ends.
Restart the DHCP service on the router by power cycling it. Unplug it for about 30 seconds before plugging it back in.
Try updating network adapter drivers. Open Device Manager, locate the network adapter, right-click it and select “Update driver.”
What could be the reasons behind a DHCP server failure on a Windows 10 system?
The DHCP service might be disabled or not running properly. Check this by opening Services (type “services.msc” in the Start menu) and ensuring the DHCP Client service is running.
Firewall settings might be blocking DHCP communications. Temporarily disable the firewall to test if this resolves the issue.
Router configuration problems can cause DHCP failures. Access the router’s admin panel to verify DHCP is enabled and has available IP addresses to assign.
How can I fix a wireless network connection that is failing to get a DHCP address?
Reset the wireless connection by forgetting the network and reconnecting. Go to Settings > Network & Internet > Wi-Fi, select the network, and choose “Forget.”
Move closer to the router to improve signal strength. Weak Wi-Fi signals can prevent proper DHCP communication.
Try disabling and re-enabling the wireless adapter. Right-click the network icon in the taskbar, open Network & Internet settings, and toggle the Wi-Fi switch off and on.
Why might a device report ‘no DHCP server found’ and how can this be addressed?
Router DHCP service might be disabled or malfunctioning. Log into the router’s administration panel and check if DHCP is enabled.
Network congestion can prevent DHCP responses. If many devices are connected, try disconnecting some to reduce network load.
MAC address filtering might be blocking the device. Check router settings to ensure the device’s MAC address is not being filtered out.
What troubleshooting actions can be performed when network connection quality is low due to DHCP errors?
Run Windows Network Troubleshooter by right-clicking the network icon in the taskbar and selecting “Troubleshoot problems.”
Assign a static IP address as a temporary solution. Navigate to adapter settings, right-click the connection, select Properties, then double-click Internet Protocol Version 4.
Check for interference from other electronic devices. Move the router away from devices like microwaves, cordless phones, and Bluetooth speakers that might cause signal disruption.